Fast EtherHub 3500 System User’s Guide
Menu selections are briefly described in the following table.
Command
Field
Set hub ID
Set Segment
Set SEM status
Change password
Write values to EEPROM
Change isolation status
Exit
Description
Press “h” to set the hub identifier to any value from 1 ~ 6. When stacked with a management agent, note that all hub identifiers are automatically configured.
Press “s” to attach the hub to backplane segment 1 ~ 3.
Press “e” to display the menu for the SmartExtender Module. Refer to the following table for a description of the configuration options for this module.
Press “c” to change the password. Passwords can be up to 5 characters long and are case sensitive.
Press “w” to write all configuration changes to nonvolatile memory. You must save your changes, or they will be lost the next time you restart the system.
You can isolate the hub from the backplane, or reattach it to the backplane.
Press “q” to quit the cofiguration menu and return to the command prompt
Table 4.1 Configuration Options in Main Menu (12i only)
Configuring the SmartExtender Module
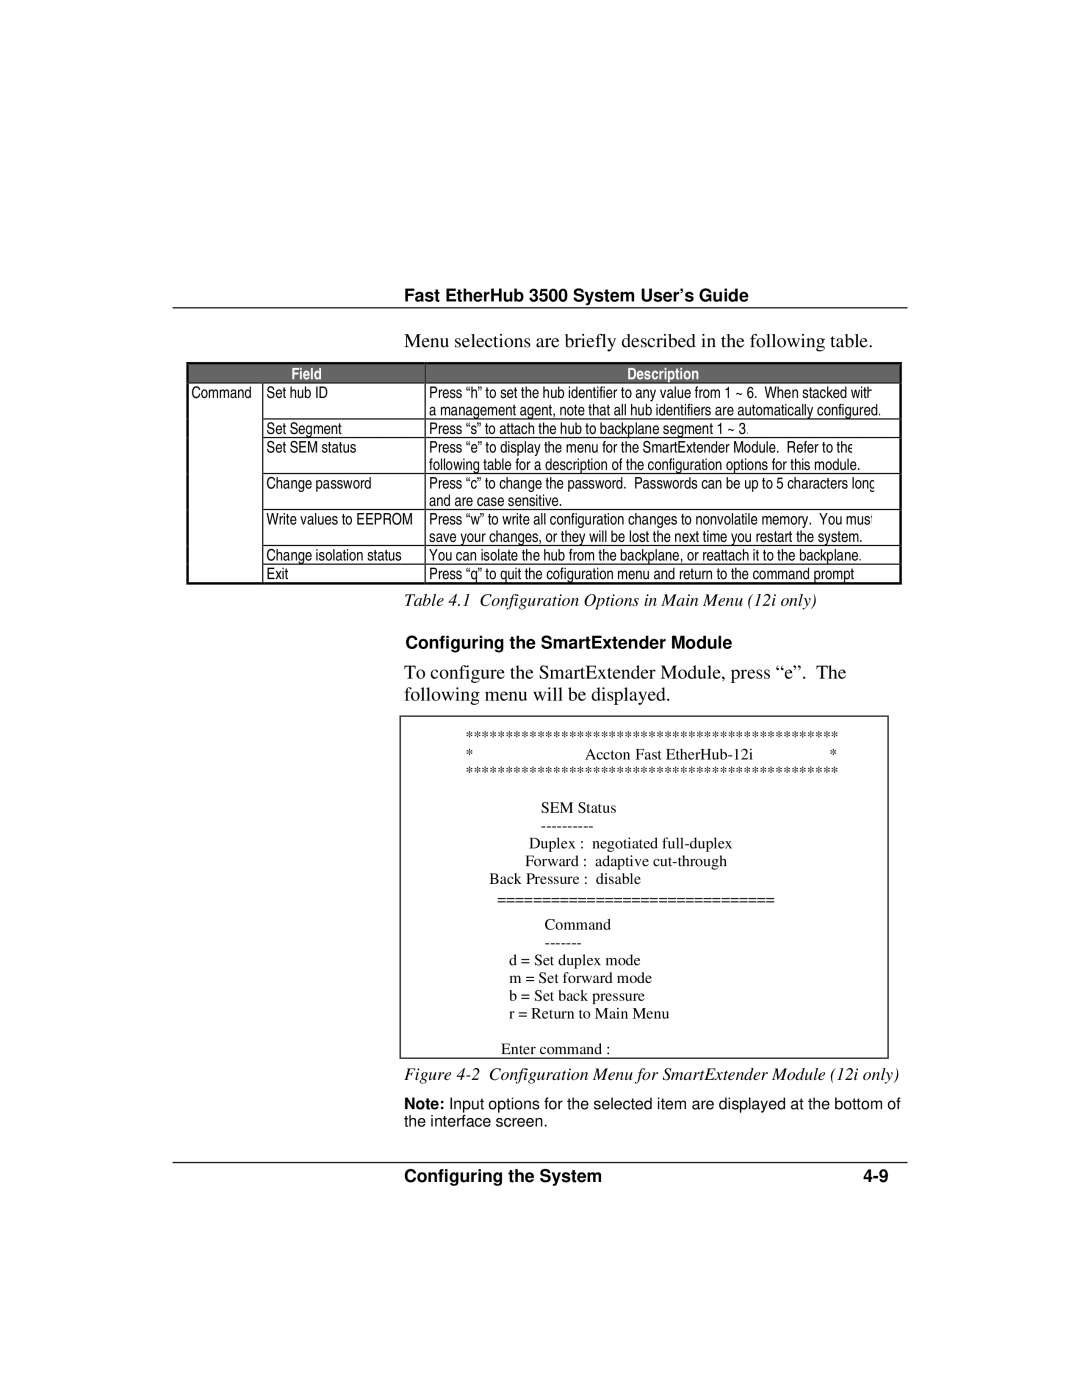
To configure the SmartExtender Module, press “e”. The following menu will be displayed.
***********************************************
*Accton Fast
***********************************************
SEM Status
Duplex : negotiated
Back Pressure : disable
===============================
Command
d = Set duplex mode m = Set forward mode b = Set back pressure
r = Return to Main Menu
Enter command :
Figure 4-2 Configuration Menu for SmartExtender Module (12i only)
Note: Input options for the selected item are displayed at the bottom of the interface screen.
Configuring the System |
