Initializing the System
There are two methods for initializing the MegaPower 3200
•Direct connection of a PC to the CPU using either an
•Ethernet connection through an Ethernet network
Understanding the Screen Icons
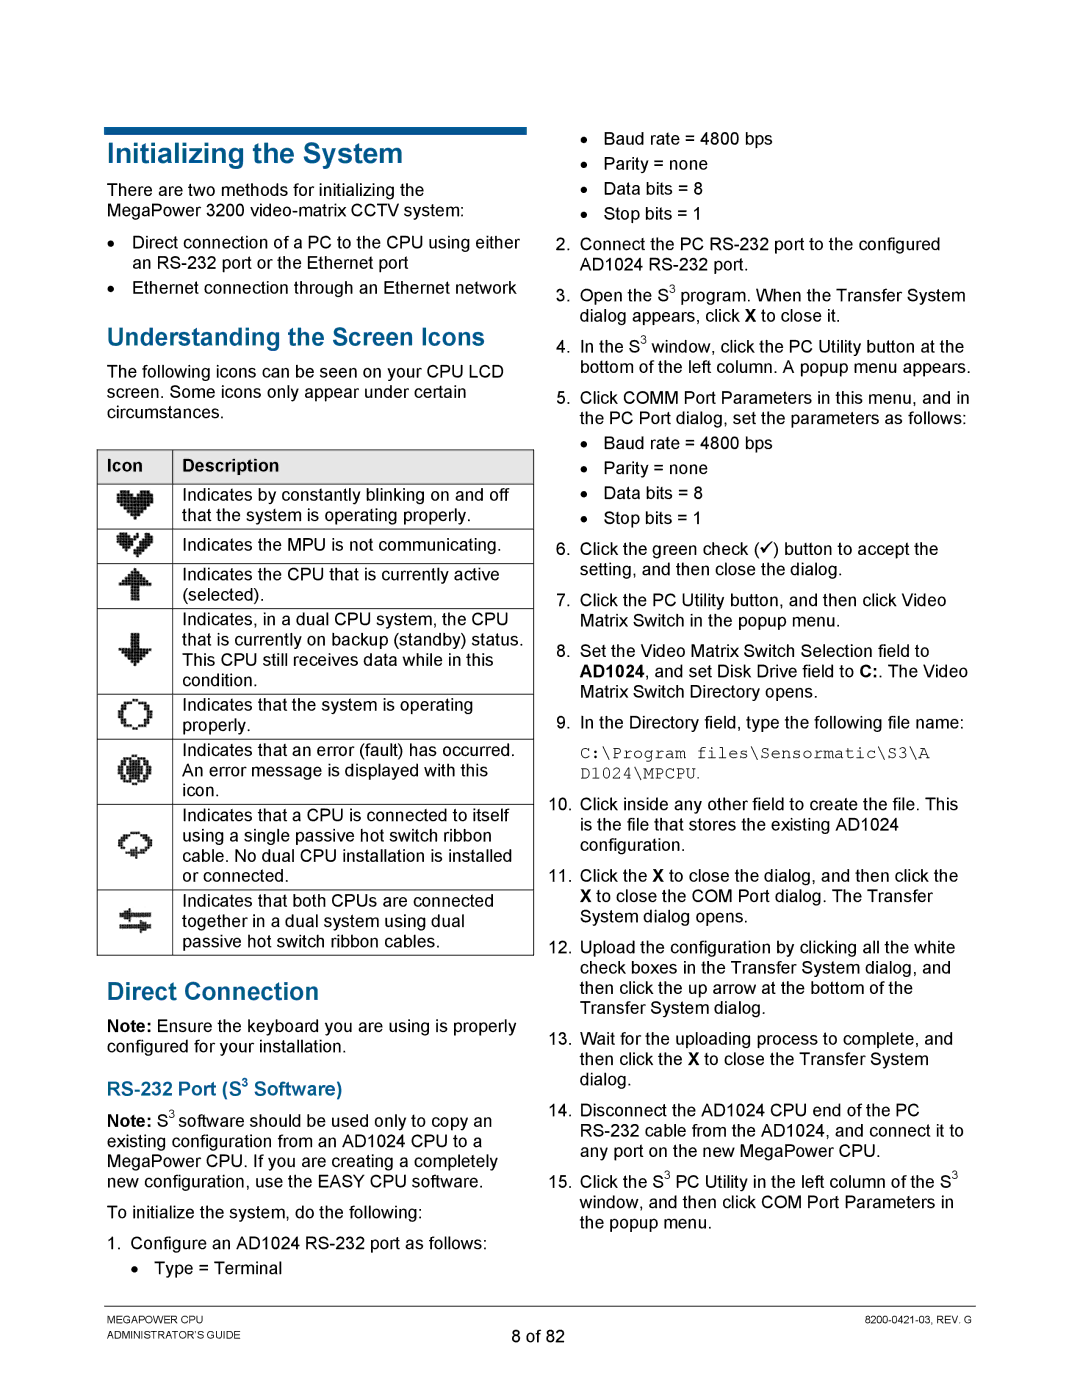
The following icons can be seen on your CPU LCD screen. Some icons only appear under certain circumstances.
Icon | Description |
|
|
| Indicates by constantly blinking on and off |
| that the system is operating properly. |
| Indicates the MPU is not communicating. |
|
|
| Indicates the CPU that is currently active |
| (selected). |
| Indicates, in a dual CPU system, the CPU |
| that is currently on backup (standby) status. |
| This CPU still receives data while in this |
| condition. |
| Indicates that the system is operating |
| properly. |
| Indicates that an error (fault) has occurred. |
| An error message is displayed with this |
| icon. |
| Indicates that a CPU is connected to itself |
| using a single passive hot switch ribbon |
| cable. No dual CPU installation is installed |
| or connected. |
| Indicates that both CPUs are connected |
| together in a dual system using dual |
| passive hot switch ribbon cables. |
Direct Connection
Note: Ensure the keyboard you are using is properly configured for your installation.
RS-232 Port (S3 Software)
Note: S3 software should be used only to copy an existing configuration from an AD1024 CPU to a MegaPower CPU. If you are creating a completely new configuration, use the EASY CPU software.
To initialize the system, do the following:
1.Configure an AD1024
• Type = Terminal
•Baud rate = 4800 bps
•Parity = none
•Data bits = 8
•Stop bits = 1
2.Connect the PC
3.Open the S3 program. When the Transfer System dialog appears, click X to close it.
4.In the S3 window, click the PC Utility button at the bottom of the left column. A popup menu appears.
5.Click COMM Port Parameters in this menu, and in the PC Port dialog, set the parameters as follows:
•Baud rate = 4800 bps
•Parity = none
•Data bits = 8
•Stop bits = 1
6.Click the green check (9) button to accept the setting, and then close the dialog.
7.Click the PC Utility button, and then click Video Matrix Switch in the popup menu.
8.Set the Video Matrix Switch Selection field to AD1024, and set Disk Drive field to C:. The Video Matrix Switch Directory opens.
9.In the Directory field, type the following file name:
C:\Program files\Sensormatic\S3\A D1024\MPCPU.
10.Click inside any other field to create the file. This is the file that stores the existing AD1024 configuration.
11.Click the X to close the dialog, and then click the X to close the COM Port dialog. The Transfer System dialog opens.
12.Upload the configuration by clicking all the white check boxes in the Transfer System dialog, and then click the up arrow at the bottom of the Transfer System dialog.
13.Wait for the uploading process to complete, and then click the X to close the Transfer System dialog.
14.Disconnect the AD1024 CPU end of the PC
15.Click the S3 PC Utility in the left column of the S3 window, and then click COM Port Parameters in the popup menu.
MEGAPOWER CPU ADMINISTRATOR’S GUIDE
8 of 82