Note: By default, pseudo numbers in this dialog box match the physical camera numbers. In all other screens and dialogs, references to camera numbers are actually references to the defined pseudo numbers.
•Title 1 – You can create a
•Title 2 – Title 2 allows you to create the lower line of a
•Video Loss Detection – Provides video loss detection alarming. You can set video loss detection for the following conditions:
−Off – Video loss detection not enabled
−Sync – To detect the presence or loss of the synchronized portion of the video signal
−Low – To detect low picture content
−Medium – To detect medium picture content
−High – To detect high picture content
Note: For detailed information on configuring for video loss detection, go to APPENDIX F: Configuring Video Loss Detection on page 71.
•Site – Identifies the remote site that provides the video trunk inputs to the selected local camera.
•Output – Identifies the monitor output from the remote site that is connected to the selected local camera input.
•Alarm Number – Specifies an alarm contact number to activate when video loss is detected on this video input. See alarm contact definitions and APPENDIX F: Configuring Video Loss Detection on page 71.
3.Click OK to display the new definition or Cancel to close the dialog box without displaying the definition.
Note: Remember to save or transfer your changes before closing EASY CPU.
Editing Camera Definitions
Once a camera is defined, you can edit the definition by highlighting the information in the desired field and entering new information.
For example, to position Title1 on the monitor, click on the Center Title1 field, and choose the desired title position from the dropdown menu that appears: Left, Center, Right, or None (no title will be displayed).
Adding and Deleting Calling Contacts to Cameras
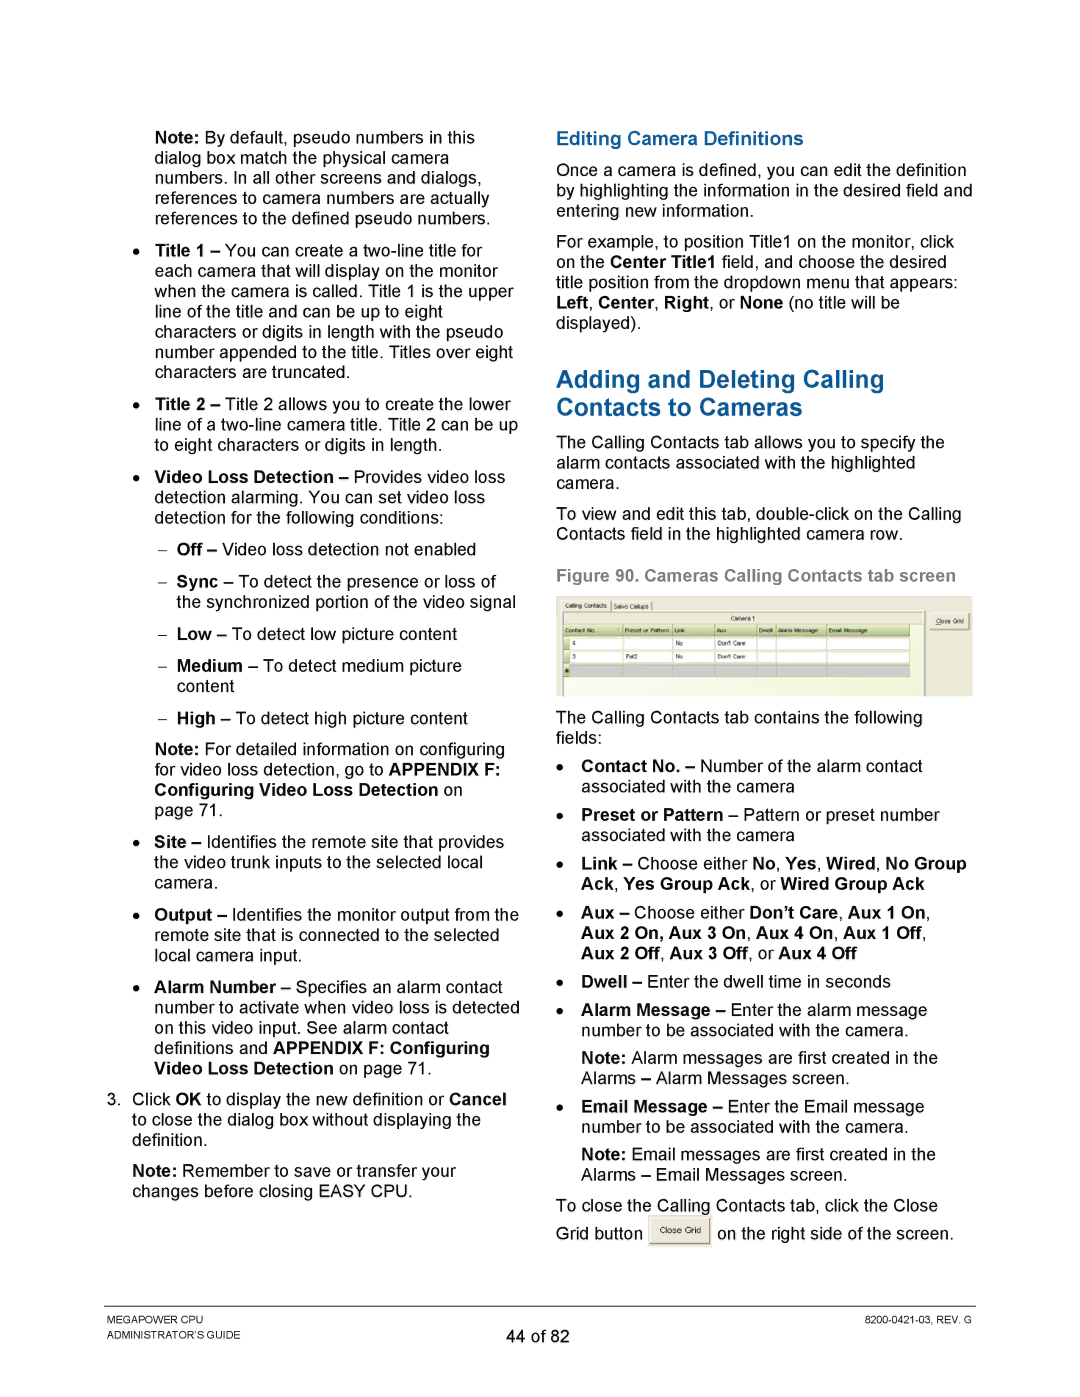
The Calling Contacts tab allows you to specify the alarm contacts associated with the highlighted camera.
To view and edit this tab,
Figure 90. Cameras Calling Contacts tab screen
The Calling Contacts tab contains the following fields:
•Contact No. – Number of the alarm contact associated with the camera
•Preset or Pattern – Pattern or preset number associated with the camera
•Link – Choose either No, Yes, Wired, No Group Ack, Yes Group Ack, or Wired Group Ack
•Aux – Choose either Don’t Care, Aux 1 On, Aux 2 On, Aux 3 On, Aux 4 On, Aux 1 Off, Aux 2 Off, Aux 3 Off, or Aux 4 Off
•Dwell – Enter the dwell time in seconds
•Alarm Message – Enter the alarm message number to be associated with the camera.
Note: Alarm messages are first created in the Alarms – Alarm Messages screen.
•Email Message – Enter the Email message number to be associated with the camera.
Note: Email messages are first created in the Alarms – Email Messages screen.
To close the Calling Contacts tab, click the Close
Grid button ![]() on the right side of the screen.
on the right side of the screen.
MEGAPOWER CPU ADMINISTRATOR’S GUIDE
44 of 82