c. Click the box next to “Group these monitors together.”
d. Click OK to display the new monitor arming configuration or Cancel to close the dialog box without displaying the monitor arming configuration. Remember to save and transfer your changes before closing EASY CPU.
After clicking OK, the system will automatically assign the same group number to each monitor in the group. The group number will be the same as the first monitor number in the group.
For example, suppose you create a group comprised of five monitors starting at monitor number 12. The system will assign monitor numbers 12, 13, 14, 15, and 16 to the five monitors, but they will share the number 12 as their group number.
Even though monitors are assigned in a contiguous block, the armed monitors can be selectively disarmed by changing the Type field to “Disarmed” for each one that you do not want to be armed. However, you cannot interleave monitor blocks.
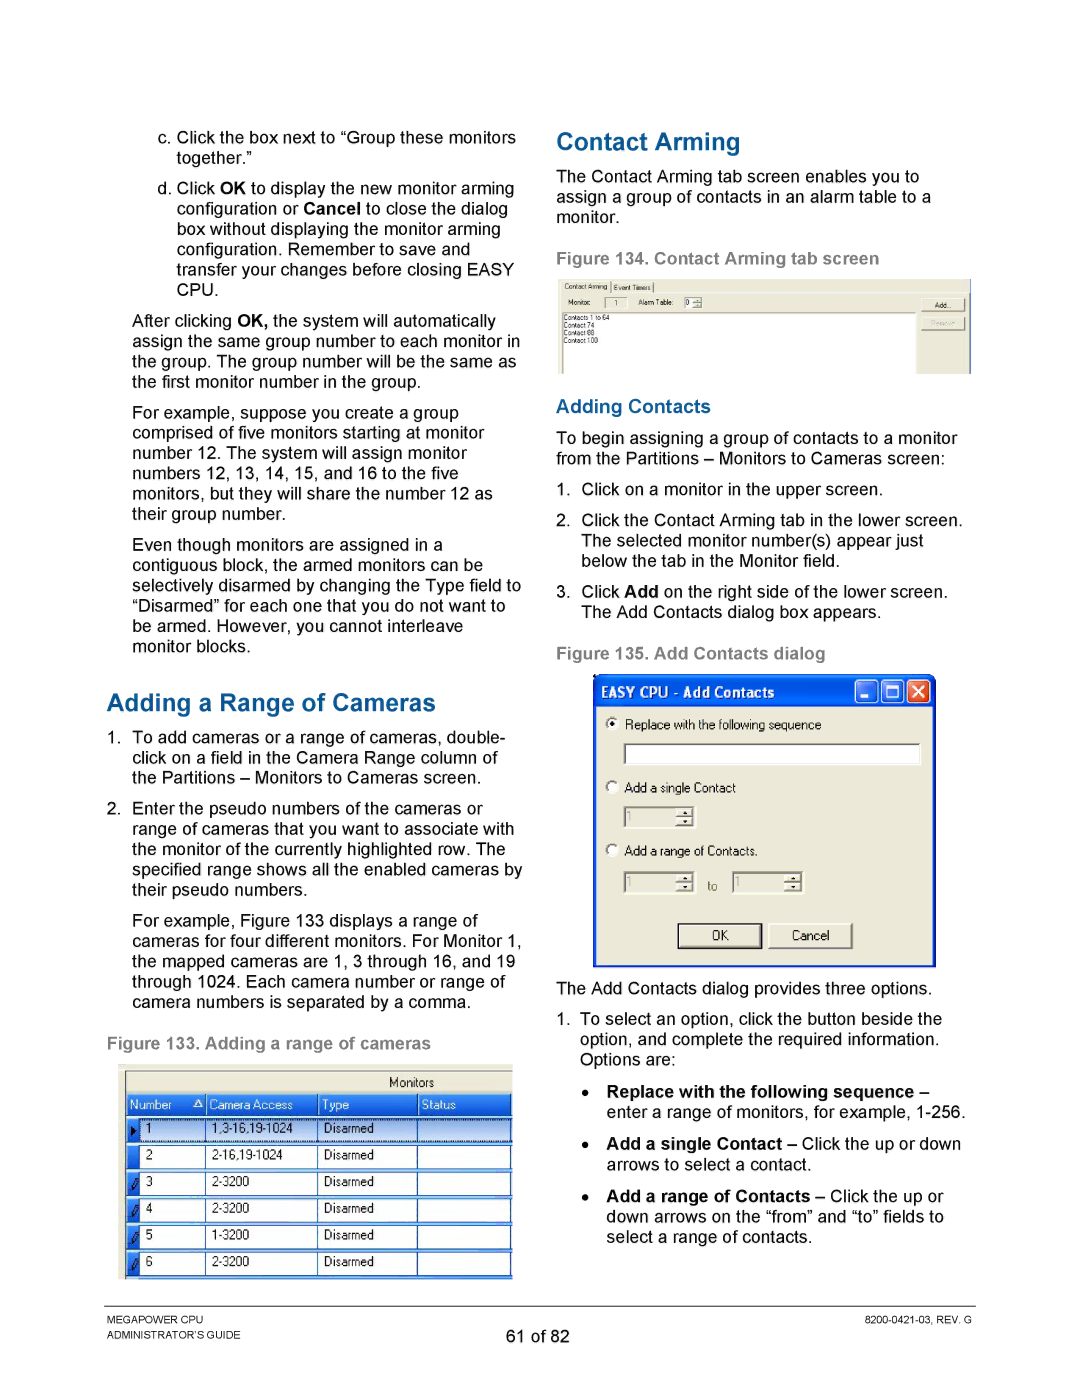
Contact Arming
The Contact Arming tab screen enables you to assign a group of contacts in an alarm table to a monitor.
Figure 134. Contact Arming tab screen
Adding Contacts
To begin assigning a group of contacts to a monitor from the Partitions – Monitors to Cameras screen:
1.Click on a monitor in the upper screen.
2.Click the Contact Arming tab in the lower screen. The selected monitor number(s) appear just below the tab in the Monitor field.
3.Click Add on the right side of the lower screen. The Add Contacts dialog box appears.
Figure 135. Add Contacts dialog
Adding a Range of Cameras
1.To add cameras or a range of cameras, double- click on a field in the Camera Range column of the Partitions – Monitors to Cameras screen.
2.Enter the pseudo numbers of the cameras or range of cameras that you want to associate with the monitor of the currently highlighted row. The specified range shows all the enabled cameras by their pseudo numbers.
For example, Figure 133 displays a range of cameras for four different monitors. For Monitor 1, the mapped cameras are 1, 3 through 16, and 19 through 1024. Each camera number or range of camera numbers is separated by a comma.
Figure 133. Adding a range of cameras
The Add Contacts dialog provides three options.
1.To select an option, click the button beside the option, and complete the required information. Options are:
•Replace with the following sequence – enter a range of monitors, for example,
•Add a single Contact – Click the up or down arrows to select a contact.
•Add a range of Contacts – Click the up or down arrows on the “from” and “to” fields to select a range of contacts.
MEGAPOWER CPU ADMINISTRATOR’S GUIDE
61 of 82