Fats
Shortening, butter and oil shorten, or tenderize, the texture of yeast breads. French bread gets unique crust and texture from the lack of fat added. However, breads that call for fat stay fresh longer. If butter is used directly from refrigerator, it should be cut into small pieces for easier blending during kneading process.
Baking Powder
Double acting baking powder is leavening agent used in quick breads and cakes. This type of leavening agent does not require rising time before baking, as chemical reaction works when liquid ingredients are added and again during baking process.
Baking Soda
Baking soda is another leavening agent, not to be confused or substituted for baking powder. It also does not require rising time before baking, as chemical reaction works during baking process.
Important: Ingredients must be measured with exacting accuracy to avoid affecting taste and texture of bread.
Special Glazes for Yeast Breads
Select 1 of the following special glazes to enhance your bread.
•Egg Glaze: Beat 1 large egg and 1 tablespoon of water together, brush generously over dough – prior to baking.
•Melted Butter Crust: Brush melted butter over just-baked bread for a softer, more tender crust.
•Milk Glaze: For a softer, shiny crust, brush just-baked bread with milk or cream.
•Sweet Icing Glaze: Mix 1 cup sifted icing sugar with 1 to 2 tablespoons of milk until smooth to make a consistent glaze. Drizzle glaze over raisin bread or sweet breads when they are almost cool.
Note: If desired, generously sprinkle with your choice of poppy, sesame or caraway seeds after glazing.
Checking Dough Consistency
Although your breadmaker will mix, knead and bake bread automatically, when baking bread from scratch, it is necessary to learn to recognize condition of your dough. The ratio of flour to liquid is the most critical factor in any bread recipe, yet most easily remedied. After 5 to 8 minutes in Knead Stage, open breadmaker to check consistency of dough. Dough should be in a soft, tacky ball (feel sticky like scotch tape). If it is too dry, add ½-to-1 tsp. of liquid at a time. If it is too wet, add ½-to-1 tbsp. of flour at a time.
High-Altitude Baking
In high-altitude areas (over 3,000 feet) dough tends to rise faster, as there is less air pressure. Therefore, less yeast is necessary. For more information on High Altitude Baking guides contact:
Colorado Cooperative Extension Resource Center Toll free: (877) 692-9358
E-mail: CERC@vines.colostate.edu
Website: www.ext.colostate/edu/depts/coopext
In dry climates, flour is drier and requires slightly more liquid.
In humid climates, flour is wetter and will absorb less liquid, so less liquid is required.
16
Slicing and Storing Bread
For best results, place bread on wire rack and allow to cool for 15 – 30 minutes before slicing. Use electric knife or serrated knife for even slices.
Store unused bread, tightly sealed (sealable plastic bags or plastic containers work well) at room temperature for up to 3 days. For longer storage, (up to 1
month) place bread in sealed container in freezer. Since homemade bread has no preservatives, it tends to dry out and become stale faster. Leftover or slightly hardened bread may be cut into ½-inch or 1-inch cubes and used in recipes to make croutons, bread pudding or stuffing.
MAKING DOUGH AND BAKING BREAD AND BATTER BREADS™
Note: Depending on the Course or recipe used, some steps may not apply or there may be additional steps. Refer to the respective Course sections in this booklet for more detailed instructions.
Important: Add ingredients to bread pan in the order listed in the recipe.
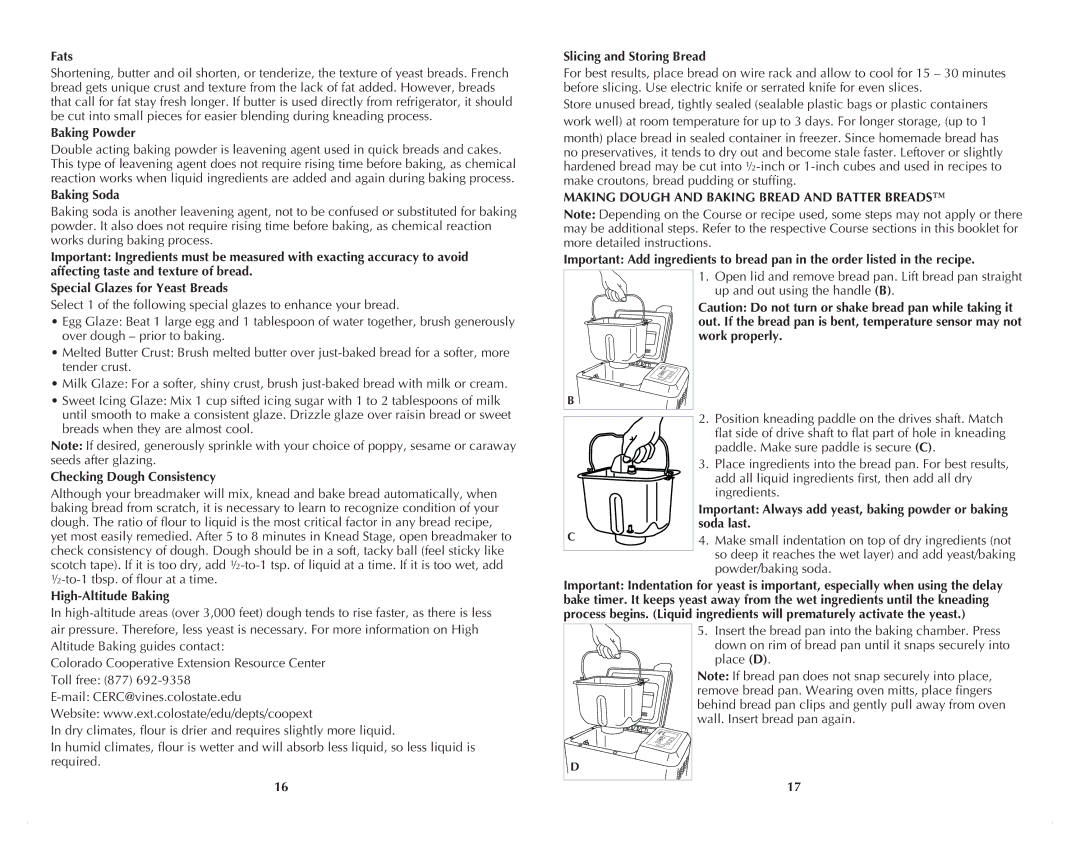
1.Open lid and remove bread pan. Lift bread pan straight up and out using the handle (B).
Caution: Do not turn or shake bread pan while taking it out. If the bread pan is bent, temperature sensor may not work properly.
B
2.Position kneading paddle on the drives shaft. Match flat side of drive shaft to flat part of hole in kneading paddle. Make sure paddle is secure (C).
| 3. | Place ingredients into the bread pan. For best results, |
| | add all liquid ingredients first, then add all dry |
| | ingredients. |
| Important: Always add yeast, baking powder or baking |
C | soda last. |
4. | Make small indentation on top of dry ingredients (not |
| | so deep it reaches the wet layer) and add yeast/baking |
| | powder/baking soda. |
Important: Indentation for yeast is important, especially when using the delay bake timer. It keeps yeast away from the wet ingredients until the kneading process begins. (Liquid ingredients will prematurely activate the yeast.)
5.Insert the bread pan into the baking chamber. Press down on rim of bread pan until it snaps securely into place (D).
Note: If bread pan does not snap securely into place, remove bread pan. Wearing oven mitts, place fingers behind bread pan clips and gently pull away from oven wall. Insert bread pan again.
D
17

