(2) (3) (4) (5)
(3) (4) (5) (6)
CONTENTS
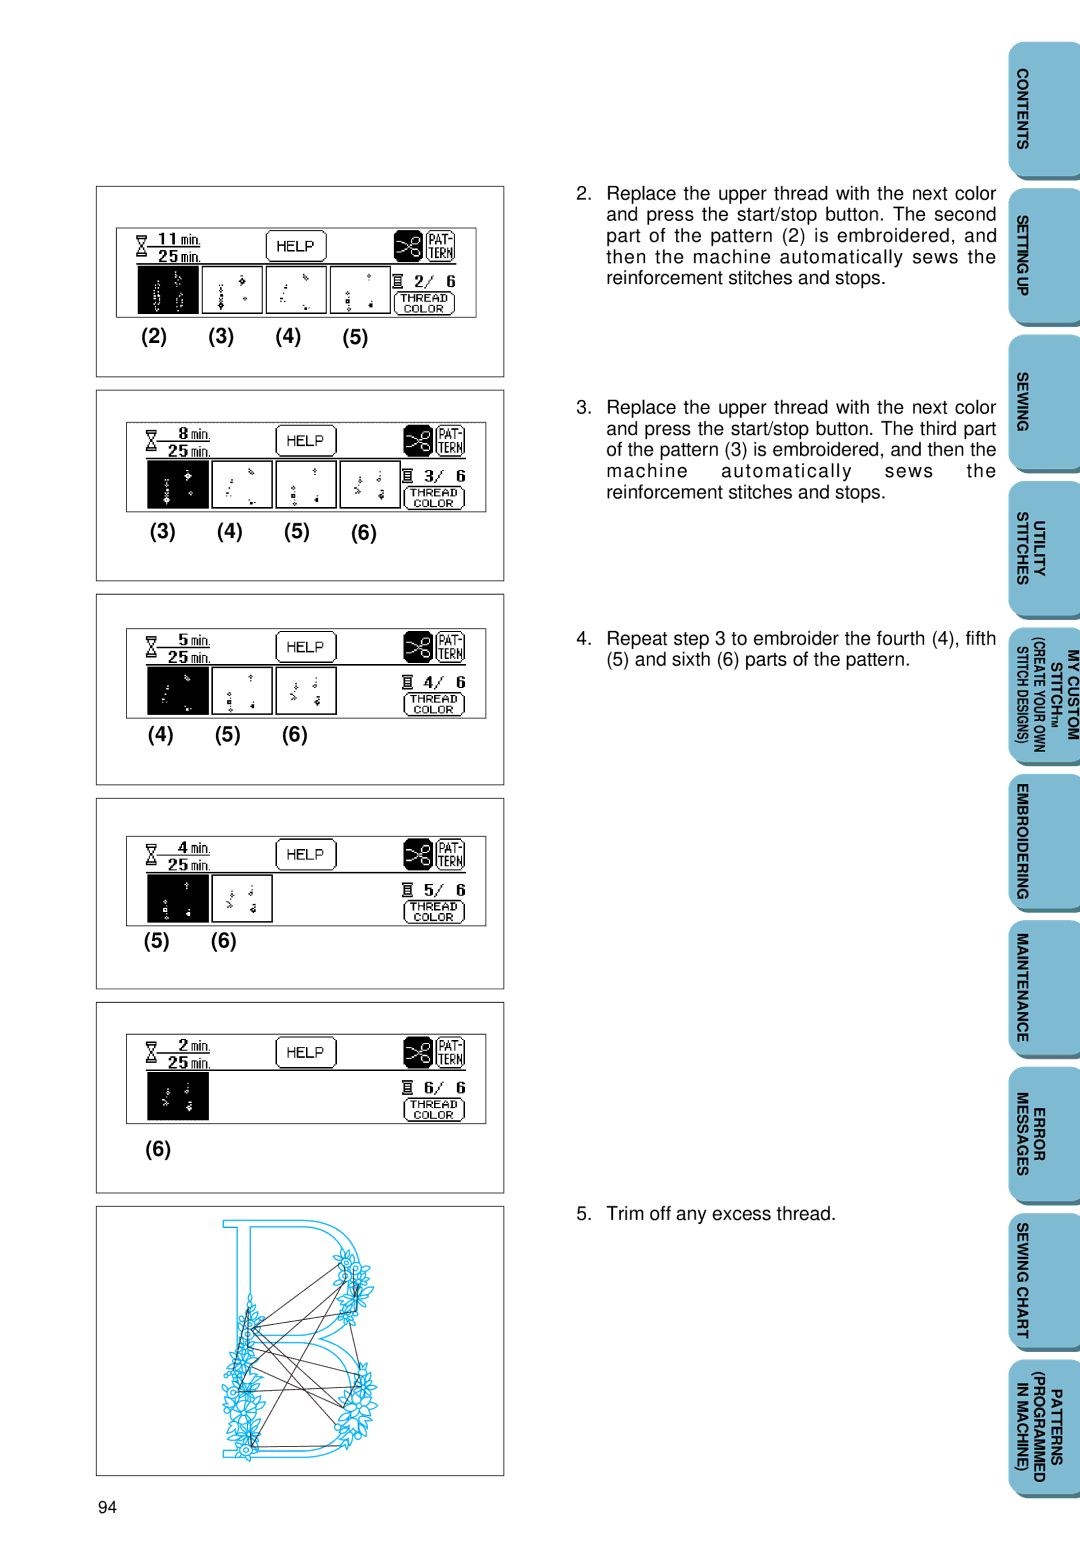
2. Replace the upper thread with the next color |
| ||||
and press the start/stop button. The second | SETTING | ||||
part of the pattern (2) is embroidered, and | |||||
| |||||
then the machine automatically sews the |
| ||||
reinforcement stitches and stops. |
| UP | |||
|
|
|
| ||
3. Replace the upper thread with the next color | SEWING | ||||
| |||||
and press the start/stop button. The third part |
| ||||
of the pattern (3) is embroidered, and then the |
| ||||
machine | automatically | sews | the |
| |
reinforcement stitches and stops. |
|
| |||
|
|
|
| UTILITY STITCHES | |
(4) (5) (6)
(5)(6)
(6)
4.Repeat step 3 to embroider the fourth (4), fifth
(5) and sixth (6) parts of the pattern.
5. Trim off any excess thread.
SEWING CHART |
|
IN MACHINE) | PATTERNS (PROGRAMMED |
94
