ADJUSTMENTS WHILE EMBROIDERING
Continuing embroidering
If one of the threads break or if you stop the sewing machine to adjust the stitching location, you may need to continue sewing from a point other than the current one. In that case, the help screen can be used to find your desired stitch in the pattern.
CONTENTS |
SETTING |
1 2 3 4 5 6
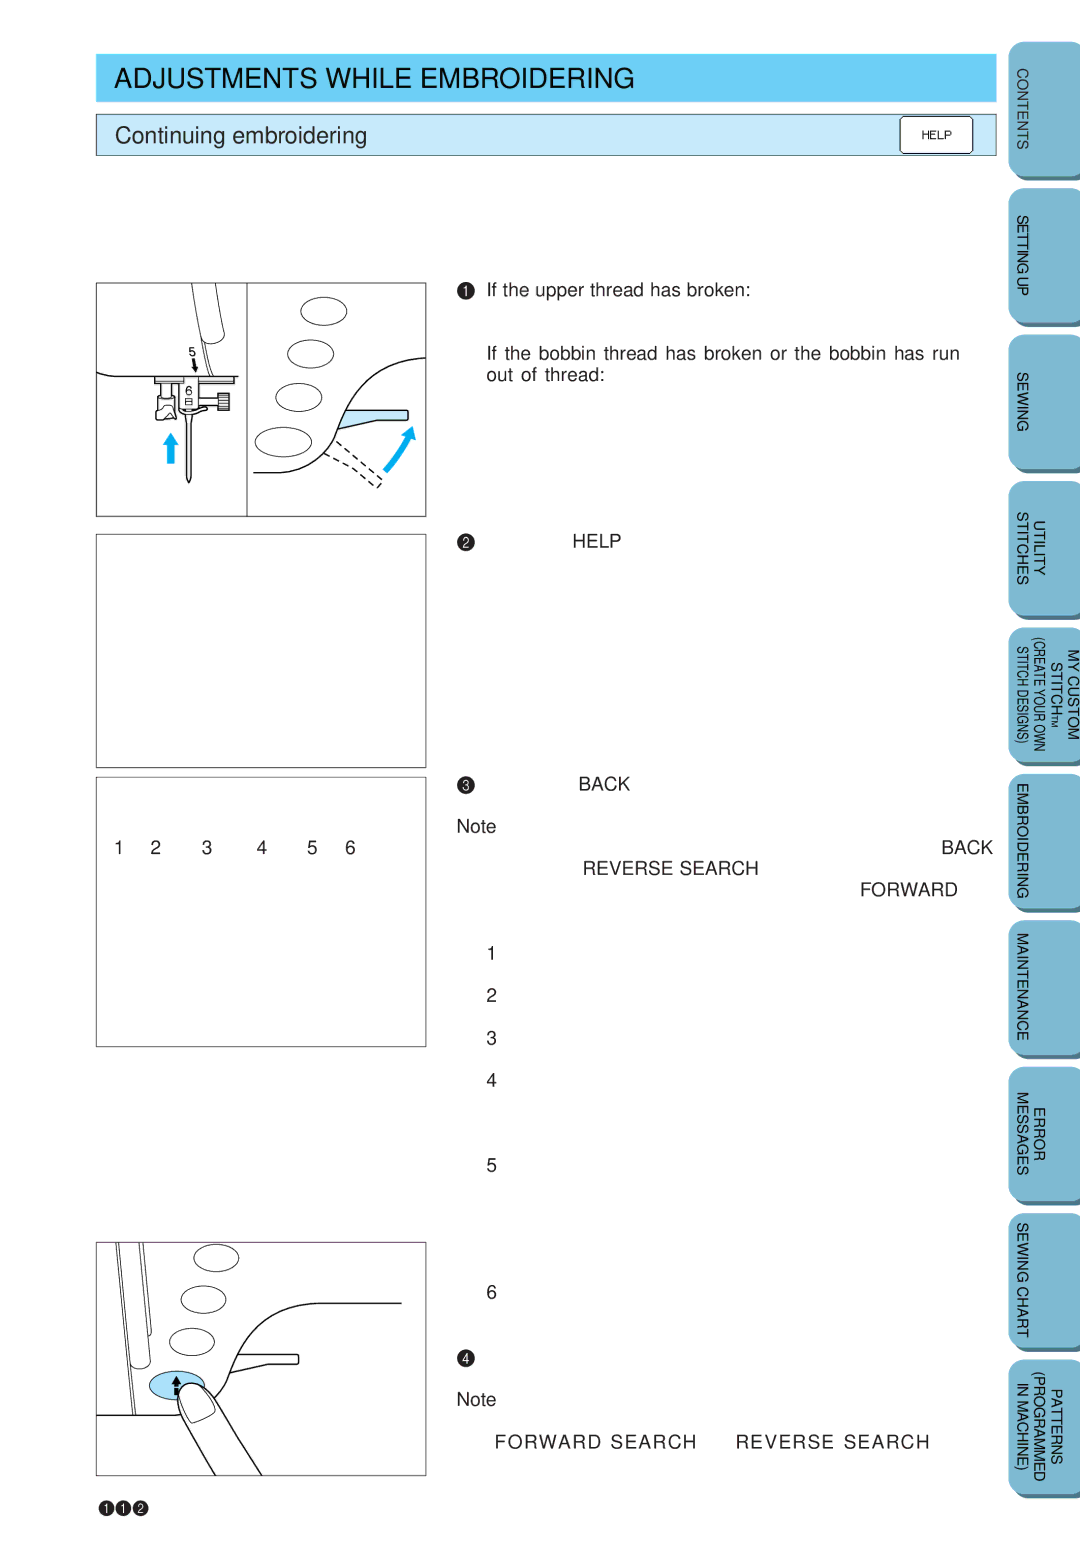
1.If the upper thread has broken: Stop the sewing machine, raise the needle and the presser foot lever, and then re- thread the upper thread.
If the bobbin thread has broken or the bobbin has run out of thread: Cut the upper thread above the fabric and remove the embroidery frame. Remove any thread that is tangled under the embroidery.
2.Press the HELP key.
3.Press the BACK key to move back a few stitches slightly before the point where the thread broke.
Note
If the desired point cannot be reached by pressing the BACK key, press the REVERSE SEARCH key to return to the starting point of the desired color, and then press the FORWARD key until you reach the point at which you would like to resume embroidering. Then, press the start/stop button.
1Press this key to move back to the start position for the entire embroidery pattern.
2Press this key to select the start position for the next color or character without embroidering.
3Press this key to select the start position for the previous color or character without embroidering.
4Press this key to move the embroidery frame so that the needle is positioned one stitch ahead without embroidering.
If this key is pressed continuously, the stitching moves ahead in jumps of 9 stitches starting from the 6th stitch.
5Press this key to move the embroidery frame so that the needle is positioned one stitch backward without embroidering.
If this key is pressed continuously, the stitching moves backward in jumps of 9 stitches starting from the 6th stitch.
6Press this key to return to the previous screen (pattern screen).
4.Lower the presser foot lever and continue embroidering.
Note
The start/stop button may not function for a few seconds after the FORWARD SEARCH or REVERSE SEARCH key is pressed; however, this is not a sign of a malfunction.
112