Connecting patterns
Example: To embroider connecting patterns
1.Mark the location on the fabric where you wish to embroider the design.
CONTENTSSETTING UPSEWING
2.Position the embroidery sheet over the entire design drawn on the fabric so that the reference lines of the embroidery sheet align with the center of the design, and then draw reference lines for the entire design.
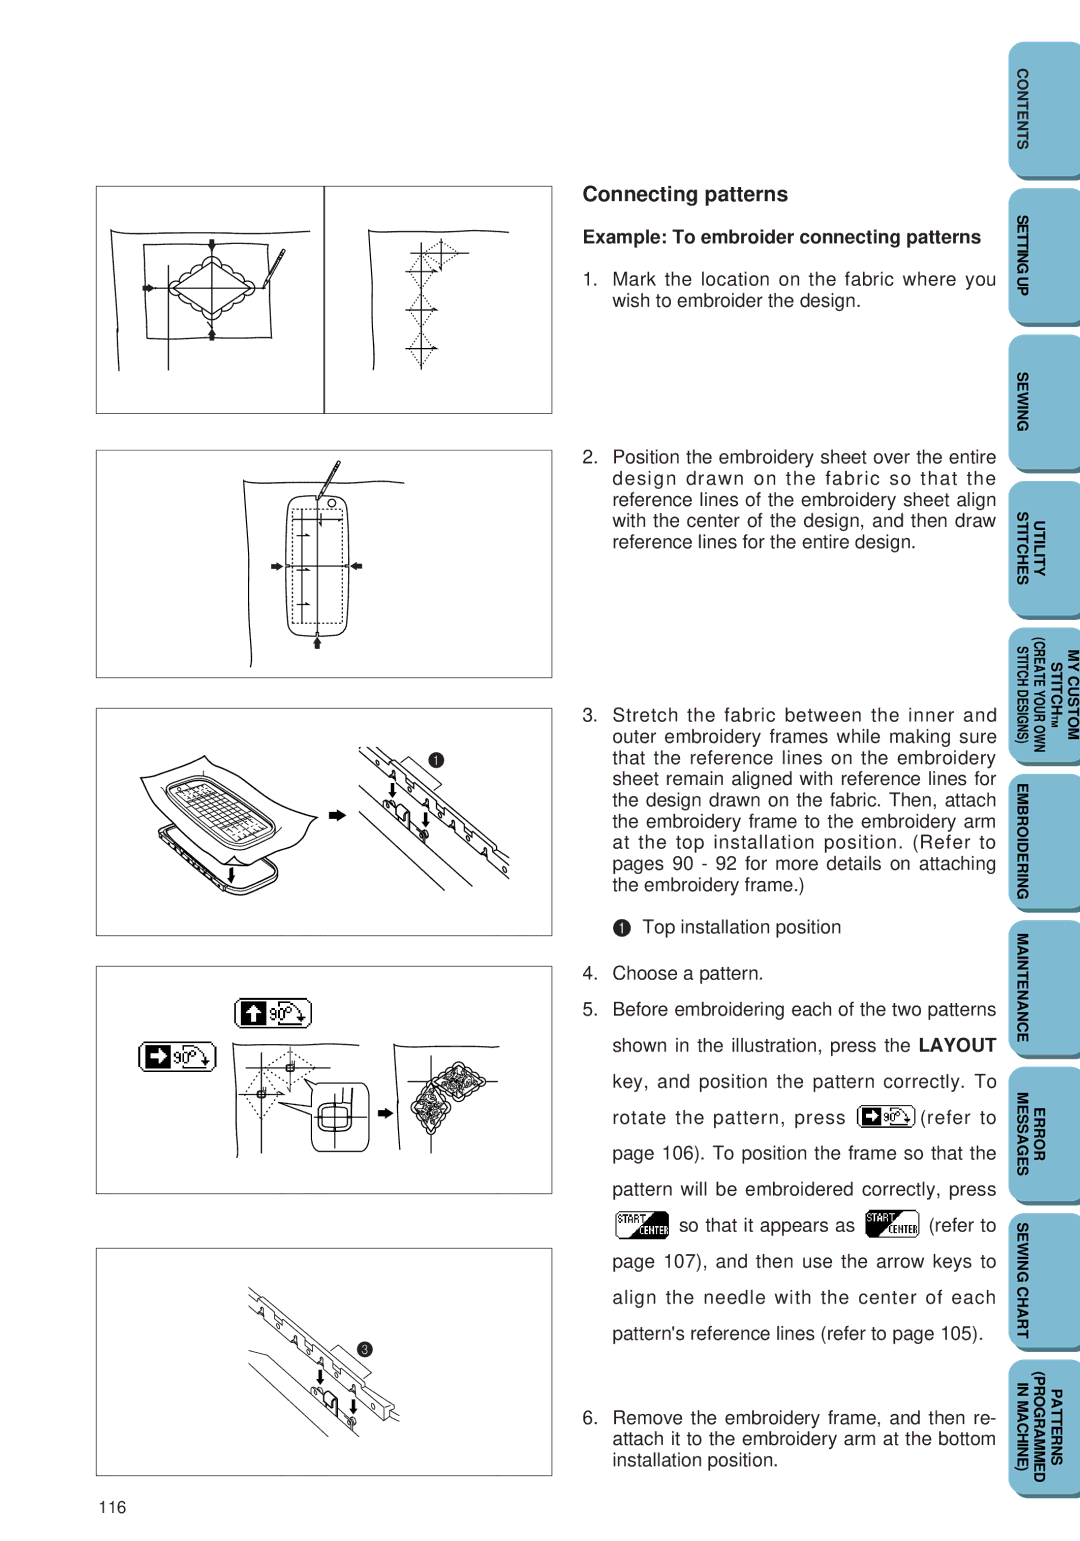
3.Stretch the fabric between the inner and outer embroidery frames while making sure that the reference lines on the embroidery sheet remain aligned with reference lines for the design drawn on the fabric. Then, attach the embroidery frame to the embroidery arm at the top installation position. (Refer to pages 90 - 92 for more details on attaching the embroidery frame.)
1 Top installation position
4.Choose a pattern.
5.Before embroidering each of the two patterns shown in the illustration, press the LAYOUT key, and position the pattern correctly. To
rotate the pattern, press ![]() (refer to page 106). To position the frame so that the
(refer to page 106). To position the frame so that the
pattern will be embroidered correctly, press
![]() so that it appears as
so that it appears as ![]() (refer to page 107), and then use the arrow keys to
(refer to page 107), and then use the arrow keys to
align the needle with the center of each pattern's reference lines (refer to page 105).
6.Remove the embroidery frame, and then re- attach it to the embroidery arm at the bottom installation position.
116
