EMBROIDERY APPLICATIONS
Linking characters
If all of the characters cannot be sewn at one time, sew them in sections while linking them.
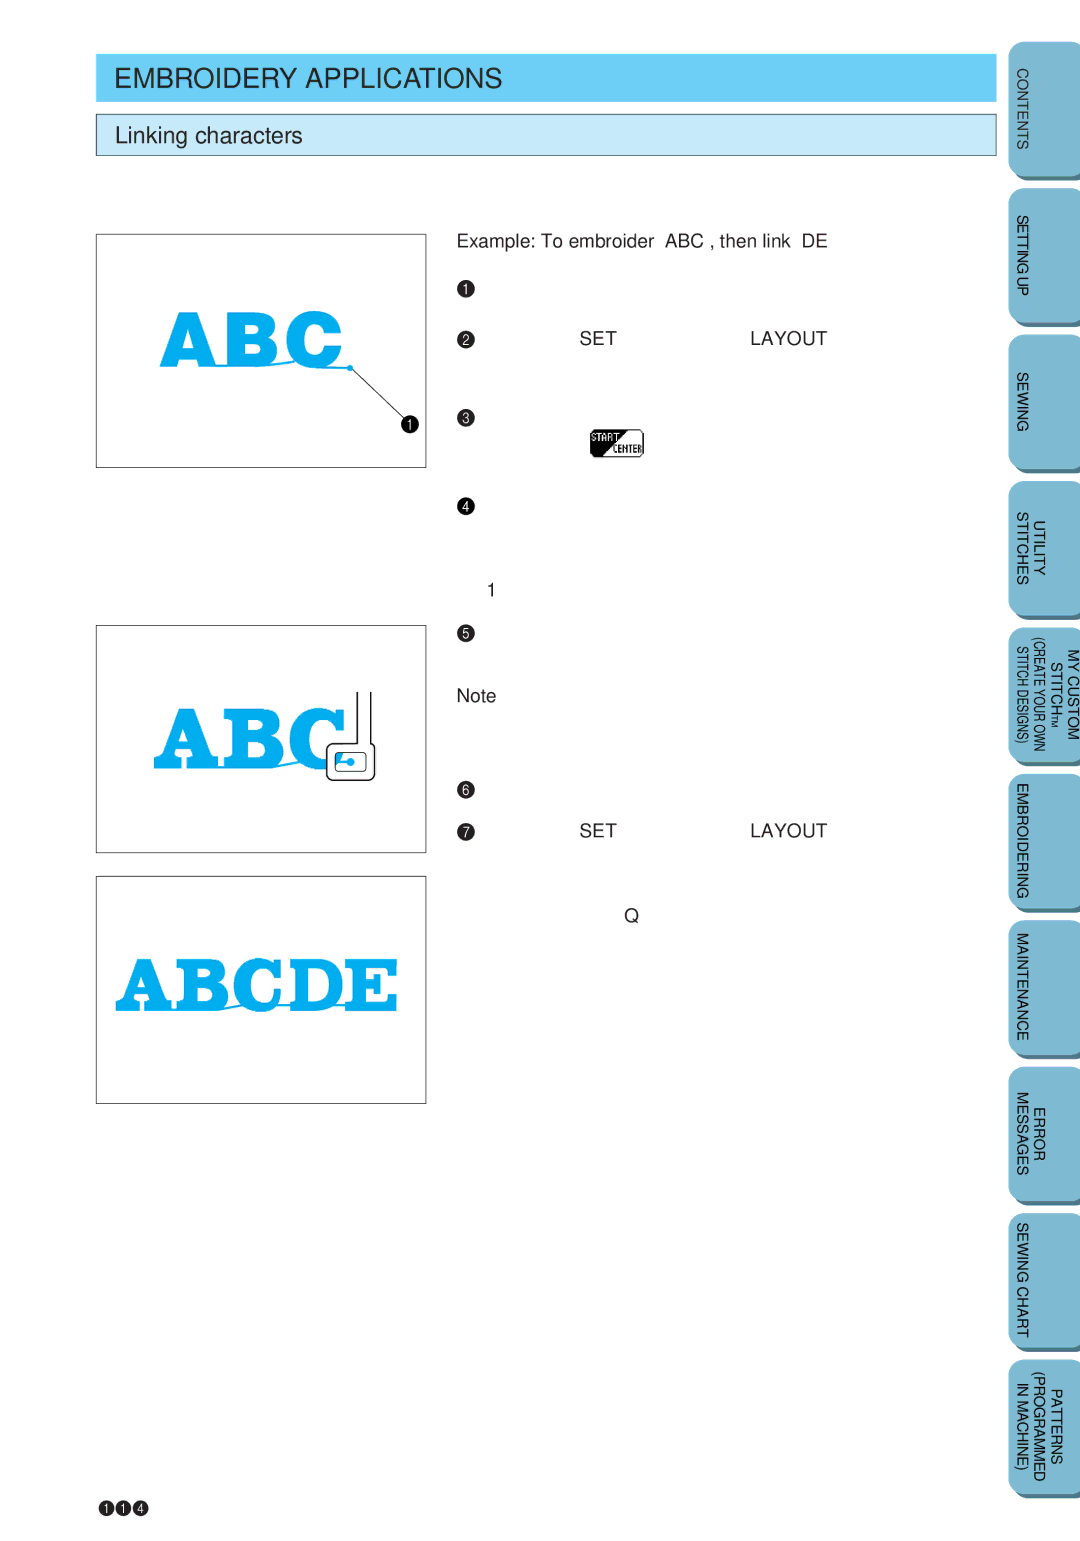
Example: To embroider “ABC”, then link “DE”
1.Select a font and type in “ABC”.
2.Press the SET key, then the LAYOUT key to display the
layout screen.
3. Move the needle to the starting point. (Make sure the button
appears as ![]() .)
.)
4.Press the start/stop button to start embroidering.
Once embroidering is completed, the machine automatically sews the end point. This point can be used as the starting point for the next section of text.
1 End point
5.Adjust the fabric within the embroidery frame so that the last character and the end point are just inside the left edge of the frame.
Note
Make sure that the embroidering line aligns with the reference lines on the embroidery sheet that you are using.
6.Erase “ABC”, and then type in “DE”.
7.Press the SET key, then the LAYOUT key to display the layout screen.
8.Adjust the embroidering position so that the hole in embroidery foot Q aligns with the end point for “ABC”.
9. Press the start/stop button to continue embroidering.
SETTING UP |
|
|
|
SEWING |
|
|
|
STITCHES | UTILITY |
|
|
STITCH DESIGNS) | (CREATE YOUR OWN | STITCHTM | MY CUSTOM |
EMBROIDERING |
|
|
|
MAINTENANCE |
|
|
|
MESSAGES | ERROR |
|
|
SEWING CHART |
|
|
|
IN MACHINE) | (PROGRAMMED | PATTERNS |
|
114