Cisco BTS 10200 Softswitch Operations and Maintenance Guide
Americas Headquarters
Cisco BTS 10200 Softswitch Operations and Maintenance Guide
N T E N T S
Introduction
Using Show and Change Commmands
IUA Measurements
FIM/XML B-1
Viii
Introduction
Organization
Issue Date Status Reason for Change
Document Change History
Preface Introduction
Xii
Meeting Power Requirements
Starting BTS Hardware
Log in as root
Shutting Down BTS Hardware
Starting BTS Software
Starting and Shutting Down the BTS Starting BTS Software
OL-16000-07
Logging into the EMS Using CLI
Username Permission
Managing Users
Task Sample Command
Supply a default password
Changing a user’s password
Password must
Differ from the users login name and any combination
Login name
CLI FTP Corba Snmp
Managing Commands
Adapter and User Security
Cisco BTS
Solaris OS Security and BTShard Package
Ipforwarddirectedbroadcasts=0
Ipforwardsrcrouted=0
Ipignoreredirect=1
Ipireflushinterval=60000
Iprespondtoechobroadcast=1
Iprespondtotimestamp=0
Iprespondtotimestampbroadcast=0
Ipsendredirects=0
Noun Verb Options Description
S88sendmail S93cacheos.finish S99dtlogin
Operator Interface
Authentication, Authorization and Accounting Support
Vulnerabilities in H.323 Message Processing
Sun Microsystems Configurations
Pluggable Authentication Module Support
User Security Account Management
Package Description Type Status
SUNWfruid FRU ID prtfru Command and libfru library
SUNWfruip FRU ID Platform Data module and Access
SUNWdfb Dumb Frame Buffer device drivers
SUNWensqr Ensoniq ES1370/1371/1373 Audio device driver
Solaris OS Patches
Trace Normal Forms TNF Support
XML Libraries
Device GLM Patch
Security CE Patch
Security BadTrap Patch
Managing BTS Users and Commands Using EMS Solaris OS Patches
Monitoring BTS Hardware
This chapter includes overall BTS maintenance strategies
Detecting and Preventing BTS Congestion
Checking BTS System Health
Tasks Frequency
Using BTS System-Health Reports
For more history edit the /var/adm/messages file
Checking BTS System Time
Checking the OS Log of Each Host Machine
CA/FS Side B
Checking Disk Mirroring on Each Host Machine
CA/FS Side a
Log in as root to EMS side a using telnet
Log in as root to EMS side B using telnet
EMS Side a
EMS Side B
Auditing Databases and Tables
Verify the return result matches the following
Exporting Provisioned Data
Termination record points to an invalid mgw
############################## ##### Add featureserver #####
Limitations
Data Groups Matching Data from the DN2SUBSCRIBER Table
Administrative did DNs
Changed Number administrative DNs
Monitoring and Backing Up the BTS Exporting Provisioned Data
DN=xxxx status=assigned
DN=xxxx status=ported-out
DN=0-9xxx status=assigned
DN=0-9xxx status=ported-out
Ndc=npa ec=nxx ADMIN-DN=Y and status=PORTED-OUT
Backing Up the Software Image
Ndc=npa ec=nxx DN=0-90-90-90-9 status=CN
Ndc=npa ec=nxx DN=0-90-9xx status=DISC X
From CA/FS Side a
Full Database Auditing
Checking Shared Memory
From CA/FS Side B
Result match the following
Pre-Provisioning Checklist
Backing Up the Full BTS
Backing Up the CA/FS
Opt/OptiCall/CAxxx/bin/logs
Where xxx is the instance number Back up the system, enter
From the active EMS switch over all platforms, enter
Backing up the EMS/BDMS
Unmount the NFS server, enter
Backing up the EMS Database
Using FTP to Setup File Transfer
Optional Enable the oraarchbackup.ksh process
Using Sftp to Setup File Transfer
Opt/oraback EMS systems Opt/backup Remote FTP system
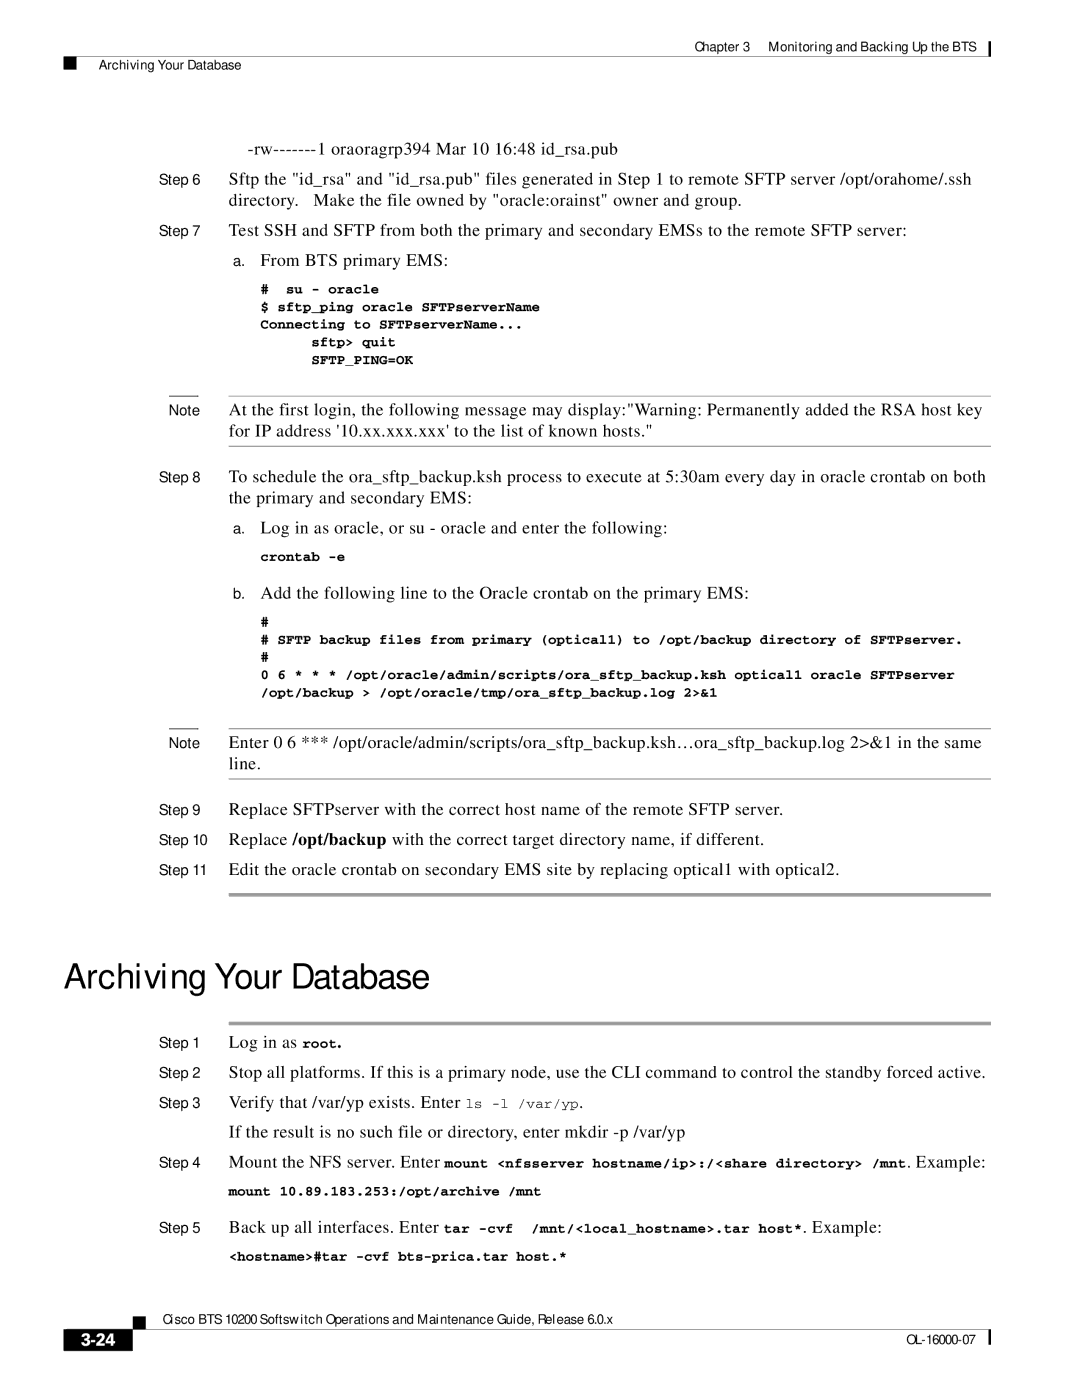
Oracleorainst1675 Mar 10 1542 idrsa
# su oracle # /opt/BTSossh/bin/ssh-keygen -t rsa
Monitoring and Backing Up the BTS Exporting Provisioned Data
Archiving Your Database
Oraoragrp394 Mar 10 1648 idrsa.pub
Crontab -e
Mount 10.89.183.253/opt/archive /mnt
Examining Heap Usage
Checking the DNS Server
Unmount the NFS server. Enter umount /mnt
To check the DNS server, do this for all nodes
Log Archive Facility LAF
Secure Transfer of Files
Log in as root on the active CA Enter more /etc/resolv.conf
Enter nslookup
Enabling LAF Process
Other Capabilities
Provisioning LAF
Setup Non-Interactive SSH Login to External Archive Server
Execute cd /opt/BTSossh/bin Execute ssh-keygen -t rsa
After editing, close the file, and run S96StaticRoutes
LAF Alarm Information
Moving Core Files
Parameter Condition
Operating the BTS
Managing Subscribers
Vmwi
Changing Delete the changed-number entry Subscribers
Announcements
Table is not updated with the changed number information
Use the show subscriber command to verify the new DN
Changing Change the subscriber DN to the new DN Subscribers
DNs
Report call-trace-summary
Viewing Calls
Query call-trace subscriberDN/FQDN/NPA-NXX-****/aaln/*@
Using Status and Control Commands
Viewing BTS system
Status Viewing component
Use status application for more detailed information
EMS, BDMS, CA Activestandby Standbyactive
OOS
Using Show and Change Commmands
Using Erac Commands
Subscriber-related
Usage statistics
Tasks Descriptions Examples
Viewing speed This command returns a list of all speed dial
Dial settings by Telephone numbers by the specified DN or
Distance Command the subscriber ID field or the new
Subscriber or This command the subscriber id field or
Managing Transactions
ACTIVETARGET=Y STATUS=PENDING
Scheduling Commands
FTP, Corba
Viewing scheduled
Commands Changing scheduled
Commands
Managing External Resources
Viewing BTS System-Wide Status
Fsain
Fsptc
EMS
Bdms
Managing Trunk Groups and Trunks
Reset trunk-termination tgn-id=13 cic=1-6
Control trunk-termination tgn-id=17 cic=1-23
Target-state=ins mode=forced
Equip trunk-termination tgn-id=13 cic=all
Diag ss7-trunk-termination test=TAB
Diag ss7-trunk-termination test=RETURN
Diag isdn-trunk-termination test=TAB
Diag isdn-trunk-termination test=RETURN
State/Token
Uneqp ANY Ueqp Idle Manually OOS Lblk Manually Main Maint
Specific to the command
Command Entered Response Possible Conditions
Status
Control
Command Entered Response Possible Conditions
Command Entered Response Possible Conditions
OL-16000-07
Command Entered Response Possible Conditions
Status in detail
Managing Subscriber Terminations
Checking subscriber
INS-In-service
OOS-Out of service
MNT-Maintenance mode
Forces Maint state, do this before testing
Graceful mode only, this appears when a command is executed
Operation is INS going OSS or INS going Maint
Subscriber is down, the subscriber cannot be added
An assigned resource is not valid supported. For example, a
Command Entered Response Possible Conditions
Managing Gateways
Testing media gateways
Changing media gateways
Viewing media gateway test
Menus
Graceful mode only. Appears when a command is executed
Managing Other External Resources
Status sip-reg-contact
Aor-id=4695551885@SYS44CA146.boston3.com
Shows all Cmts Aggr-ID
Viewing subsystems
Viewing subsystems status
Changing subsystem status
Yyyymmdd-hhmmss-sequence-number-S
Learning External Resource Dependencies
CLIshow billing-acct-addr
State Definition
Active
Unknown
Unreachable
Faulty
Mtrans
Ctrans
Reserved
Source Token
SL = Ueqp Pins SL
TRK = OOS TGP = OOS
OL-16000-07
Prerequisites
GigE Support
Provisioning the GigE Interface
Shut No shut
Ca102 dladm show-dev
OL-16000-07
Using BTS Measurements
Using Measurements
Learning the Measurement Types
Isdn Measurements
Siptotalsuccessincomingmsg
Isdnalertingrx
Isdnocsetuprejected
Isdncallproceedrx
Isdncallproceedtx
Isdncongcntltx
Isdnsetupackrx
Isdnsetupacktx
Isdnsetuprx
Isdnsetuptx
Call Processing Measurements
CALLPH323TERMATTMP
CALLPH323TERMFAIL
Callpinterlaaband
Callpinterlaattmp
Callplnpsndmisrouted
Ported Callplnpsndmisrouted
Ported Callplnpunallocnum N
Ogap
Callpmodemmediasetup
Fail Callpmodemmediasetup
Succ Callpnasadminreboot
Callpnasadminreset
Callpohddialtonetimeo
Callpolm Accept
Callpolm ACCEPTMCL0
Callpolm ACCEPTMCL1
Callpsiporigcallnota
Callpsiporigendusrbu
Callpsiporigfail
Callpsiporigsucc
CALLPT38FAXMEDIASETUP
Succ Callptddmediasetupfai
Callptddmediasetupsu
CALLPSS7TERMATTMP
Mgcp Adapter Measurements
DQoS Measurements
SIP Measurements
Siscancelrx
Siscanceltx
Sisackrx
Sisacktx
SIST1TIMEREXPIRED
SIST2TIMERREACHED
Sisupdaterx
Sisupdatetx
Service Interaction Manager Measurements
Pots Local FS Measurements
Potsccwlength
Potsccwrejectbyccw
Potsccwrejectnorsrc
Potscfbactattmp
Potscfuactanswered
Potscfuactattmp
Potscfuactrefused
Potscfuactsecond
Potscwattmp
Potscwnotanswered
Potscwrejectnorsrc
Potscwrejecteinteract
Potsocbinvalidpassword
Potsextcnamquery
Potsextcnamquerysucc
Potsmdcattmp
Potsracfpinrejectnorsrc
Potsracfpinunchange
Potsracfrefuse
Potsracfrejectnorsrc
Pots Application Server Measurements
Pots Miscellaneous FS Measurements
Potsvmaccess
Potshotvattmp
Potshotvdeactsucc
Potshotvinterrogsucc
Pots Class of Service FS Measurements
Pots Screen List Editing FS Measurements
Pots Customer Originated Trace FS Measurements
Potsacdelayedproc
Potsacactattmp
Potsacdeactattmp
Potsacdeactbysystem
Potsardelayedproc
Potsarimmediateproc
Potsarinterlataattmp
Potsaroverflow
Pots Call Forwarding Combination Measurements
AIN Services FS Measurements
AINSVCLOC8XXANIBLOCK
AINSVCLOC8XXDNISSUCC
AINSVCLOC8XXFAILAPP
AINSVCLOC8XXIIBLOCK
Sccp Protocol Measurements
Sccptotallocalmsg
Sccptotallongudatarx
Sccptotallongudatasvcrx
Sccptotallongudatasvctx
Tcap Protocol Measurements
Tcapdialogconfirmrx
Tcapdupinvokeidrx
Tcapdupinvokeidtx
Tcapendmsgrx
Tcapopenconfirmrx
Tcapopenindrx
Tcapoperationconfirmrx
Tcapoperationindrx
Tcapunexpectlink
Operrx Tcapunexpectlinkopertx
Rsprx Tcapunexpectlink
Rsptx Tcapunexpectrerx
SUA Measurements
Suasincelastresetassoc
Suaprotocolerr
Suaroutingcontexterr
Suasconrx
M3UA Protocol Measurements
M3UASINCELASTRESETASSOC
M3UAROUTINGCONTEXTERR
M3UASCONRX
M3UASCONTX
Sctp Measurements
Sctpinvalidparamerrrx
Sctpinvalidstream
Sctpinvalidstreamerrrx
Sctpinvalidveriftag
Sctpunrecogchunkerrrx
Sctpunrecogparamerrrx
Sctpunresolvaddrerrrx
SCTPV6ADDRPARAMRX
IUA Measurements
Measurement Description
Iuamsgothererr
Iuamsgtypeerr
Iuanomemoryerr
Iuanotifyrx
Isup MeasurementsI
Isupcottx
Isupcpgrx
Isupcpgtx
Isupcqmrx
Isupiamrx
Isupiamtx
Isupidrrx
Isupidrtx
Hong
China
Kong Chile Australia Israel ETSIv2 Hungary
Poland
Message Measurements Applicable to Isup Variants
UBL Ucic
Isup Ansi Measurements
Sgacvrtx
Sgacvtrx
Sgacvttx
Sgaexmrx
Sgaubarx
Sgaubatx
Sgaublrx
Sgaubltx
Isup ITU-China Measurements
Isup France Measurements
Isup Poland Measurements
Sgaconrx
Sgacontx
Sgaoprrx
Sgaoprtx
Description
Isup ITU-Mexico Measurements
Sgagrarx
Isup ITU-HongKong Measurements
NRM messages sent on the reporting trunk group
Sganrmrx
Sganrmtx
Audit Measurements
SIP Interface Adapter Measurements
Siatotalsesstimerfail
Siamwinotifyrx
Siamwinotifytx
Siamwinotifytxfail
Call Detail Block Measurements
Billingtotalop
Billingtotalopassist
Billingtotalpcs
Billingtotalpolice
Event Messaging Measurements
Dynamic QoS Measurements
Pcmm Measurements
Snmp Protocol Measurements
Trunk Group Usage Measurements
Trkgrpoutboundfail
Trkgrpoutboundsucc
Trkgrpoutgattmp
Trkgrpoutgbusytrk
Trkgrptotalinstrk
Trkgrptotaloostrk
Trkgrpueqptrkusage
Trkgrptotaloverflow
Announcement Measurements
Protocol Measurements
H323ALERTTX
H323ALERTFAIL
H323INPROGRESSRX
H323INPROGRESSTX
H323NOTIFYTX
H323NOTIFYFAIL
H323PASSTHROURX
H323PASSTHROUTX
H323OCSETUPREJECTED
H323UCFTX
H323URJRX
H323URJTX
PCT Tools Measurements
Call Tools Measurements
AIN Tools Measurements
CPU Usage Measurements
Memory Usage Measurements
Network I/O Usage Measurements
Disk Usage Measurements
Diskusagetotalavailable
Blocks on file system
Diskusagetotalused
Used blocks
System Load Usage Measurements
Disk I/O Usage Measurements
Diameter Message Counters
Single Number Reach Counters
Counter Label Counter Context
Managing User Access to the Snmp Agent
Viewing Snmp Trap Reports
Task Operation
Debug Info Minor Major Critical
Viewing and Managing BTS Components
GET/GETNEXT
MGW
SGP
SET
IPCELL-TC
Querying the Snmp Agent
Enabling NMS to Query/Poll Solaris Snmp Agent
Output appears as given below
Snmpwalk -c public -p 13230 prica07 system
OL-16000-07
Tones per Feature
Feature Tone Conditions That Initiate Tone1
CW Tone
Cidcw
CW Type
Stutter Tone
CFU-ACT Stutter Tone
CFU-DEACT Confirmation Tone
CFNA-ACT
CFNA-DEACT
Cndb Dial Tone
Cnab
Cidb Cids COS Confirmation Tone
COS Confirmation Tone
DPU Stutter Tone
Drcw Alerting Pattern
MDN Alerting Pattern
MWI MWI Tone
Tone Frequencies and Cadences
SC1D-ACT Stutter Tone
SC2D-ACT
Vmwi Stutter Tone
Tone Frequency Hz Description
OL-16000-07
Understanding the Configurable FIM/XML Feature
FIM/XML
Tool Requirements
Advantages of the FIM/XML Tool
Elements in the External FIM/XML File
Defining Features
Writing an External FIM/XML File
Define Element
Precedence-Exception Element
Lists the attributes in the Define Element
Required Description
Response Profile Element
Inhibit Others Element
Inhibit Me Element
Error
Installing the FIM/XML File Using the Offline FIM/XML Tool
Fcp-features feature name=E911 inhibition-allowed=false
Install fimxml filename=absolutepath
Run the following Java application
Java -jar fimxml.jar param1 param2 param3 param4
Opt/OptiCall/etc/fimxml/FSPTC235/FIMXMLRules.xml
Features Defined in FIM/XML and Shared iFC
FIM/XML File and Shared iFC File
Parameters
Shared iFC
Defining a New feature as the Originating Feature
Feature Configuration
Provisioning iFC
Defining a VSC
Feature Restrictions and Limitations
Service-Id
Subscriber-Service-Profile
Subscriber-Sip-Trigger-Profile
OL-16000-07