Chapter 4 Installing the Cisco ADE 2130 and 2140 Series Appliance Hardware Options
Installing a Hard Drive Tray into the Appliance
To install a hard drive into the appliance:
Step 1 Inspect the new drive for any signs of damage.
Step 2 Review the information in the “Safety Warnings” section on page x and the “Safety Guidelines” section on page
Step 3 Power down the appliance and all external devices. Disconnect the AC power cord or DC power source and all external cables.
Step 4 Attach the antistatic wrist strap to your wrist and connect its cord to the ESD socket on the top,
Step 5 Select the drive bay where you want to install the drive.
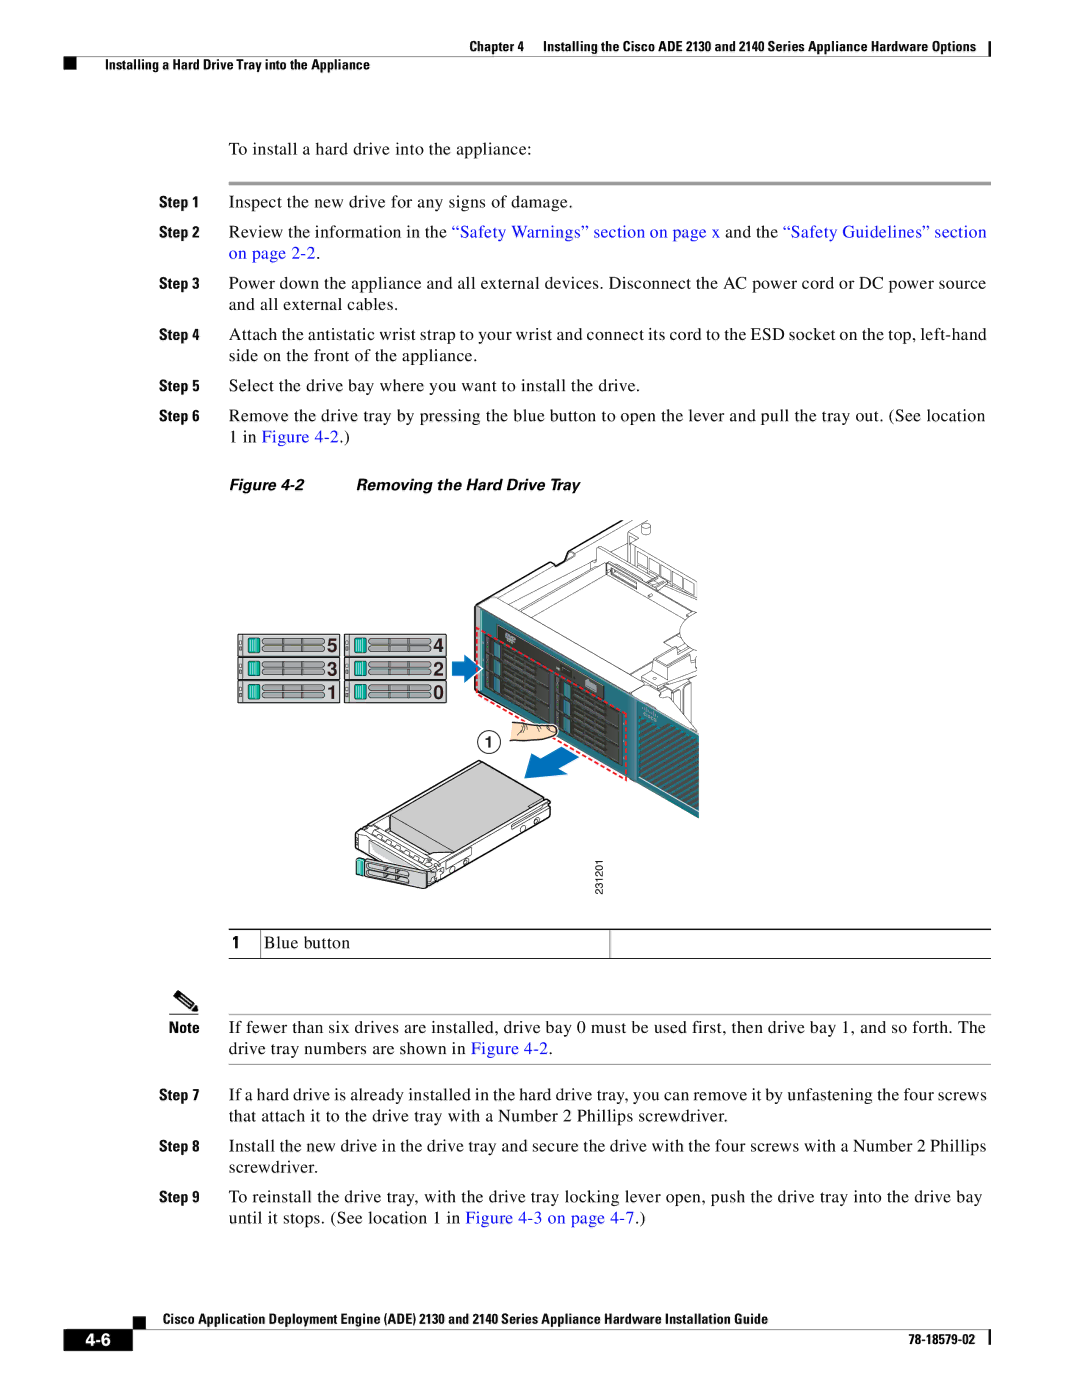
Step 6 Remove the drive tray by pressing the blue button to open the lever and pull the tray out. (See location 1 in Figure
Figure 4-2 Removing the Hard Drive Tray
![]()
![]()
![]()
![]() 5
5 ![]()
![]()
![]()
![]() 4
4
![]()
![]()
![]()
![]() 3
3 ![]()
![]()
![]()
![]() 2
2
![]()
![]()
![]()
![]() 1
1 ![]()
![]()
![]()
![]() 0
0
A1
231201
1
Blue button
Note If fewer than six drives are installed, drive bay 0 must be used first, then drive bay 1, and so forth. The drive tray numbers are shown in Figure
Step 7 If a hard drive is already installed in the hard drive tray, you can remove it by unfastening the four screws that attach it to the drive tray with a Number 2 Phillips screwdriver.
Step 8 Install the new drive in the drive tray and secure the drive with the four screws with a Number 2 Phillips screwdriver.
Step 9 To reinstall the drive tray, with the drive tray locking lever open, push the drive tray into the drive bay until it stops. (See location 1 in Figure
Cisco Application Deployment Engine (ADE) 2130 and 2140 Series Appliance Hardware Installation Guide
| ||
|