Chapter 4 Installing the Cisco ADE 2130 and 2140 Series Appliance Hardware Options
Removing and Installing the Processor Air Duct
To remove the processor air duct:
Step 1 Review the information in the “Safety Warnings” section on page x and the “Safety Guidelines” section on page
Step 2 Power down the appliance and all external devices. Disconnect the AC power cord or DC power source and all external cables.
Step 3 Attach the antistatic wrist strap to your wrist and connect its cord to the ESD socket on the top,
Step 4 Remove the appliance cover. For instructions, see the “Removing the Cover” section on page
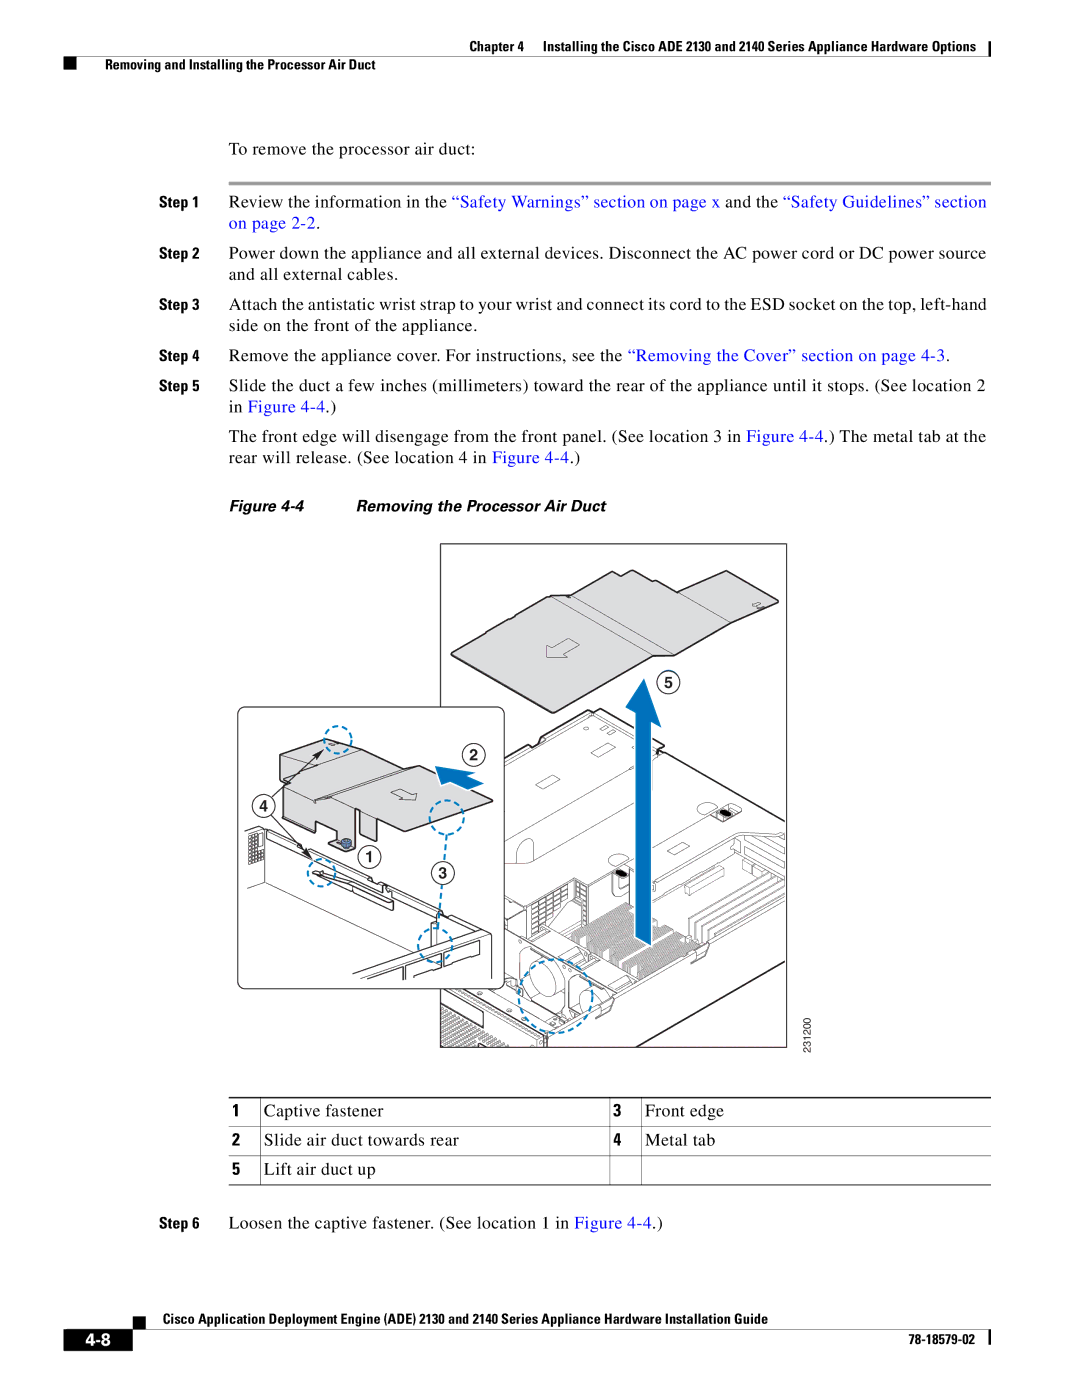
Step 5 Slide the duct a few inches (millimeters) toward the rear of the appliance until it stops. (See location 2 in Figure
The front edge will disengage from the front panel. (See location 3 in Figure
Figure 4-4 Removing the Processor Air Duct
E5 |
2 |
B |
4 |
D |
A1 |
3 |
C |
231200 |
1 | Captive fastener | 3 | Front edge |
2 | Slide air duct towards rear | 4 | Metal tab |
5 | Lift air duct up |
|
|
Step 6 Loosen the captive fastener. (See location 1 in Figure
Cisco Application Deployment Engine (ADE) 2130 and 2140 Series Appliance Hardware Installation Guide
| ||
|