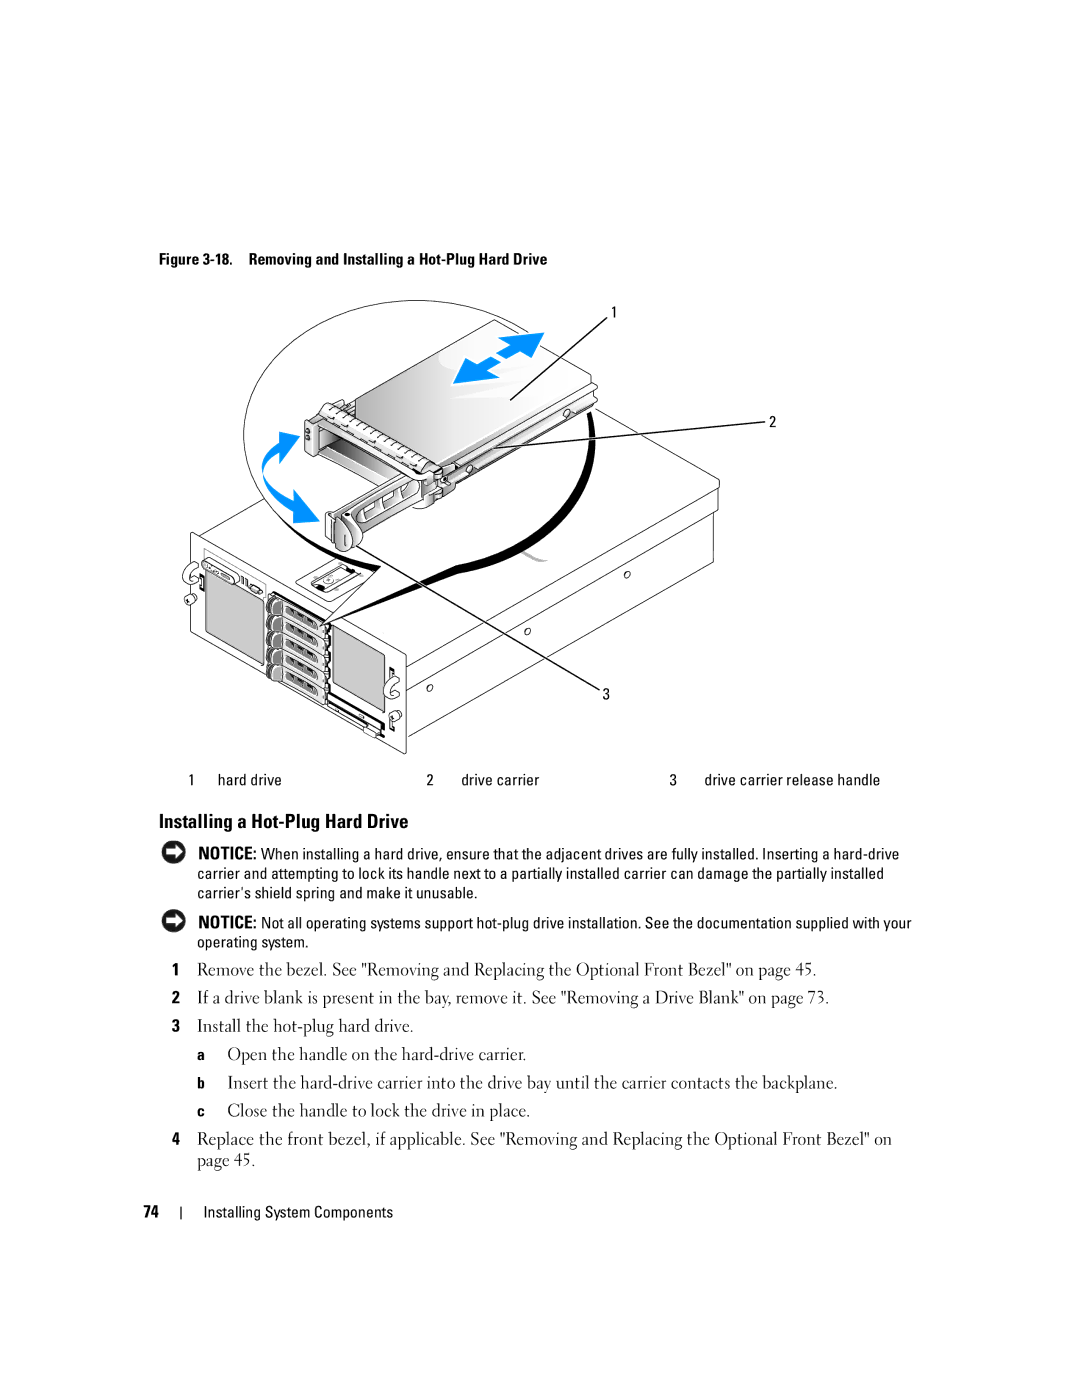
Figure 3-18. Removing and Installing a Hot-Plug Hard Drive
1
2
![]() 3
3
1 | hard drive | 2 | drive carrier | 3 | drive carrier release handle |
Installing a Hot-Plug Hard Drive
NOTICE: When installing a hard drive, ensure that the adjacent drives are fully installed. Inserting a
NOTICE: Not all operating systems support
1Remove the bezel. See "Removing and Replacing the Optional Front Bezel" on page 45.
2If a drive blank is present in the bay, remove it. See "Removing a Drive Blank" on page 73.
3Install the
a Open the handle on the
b Insert the
4Replace the front bezel, if applicable. See "Removing and Replacing the Optional Front Bezel" on page 45.
74