HP 100 Router manual RIP screen

Models: 100 Router

1 130
Download 130 pages 40.72 Kb
Page 84
Image 84

84CHAPTER 5: ROUTER CONFIGURATION

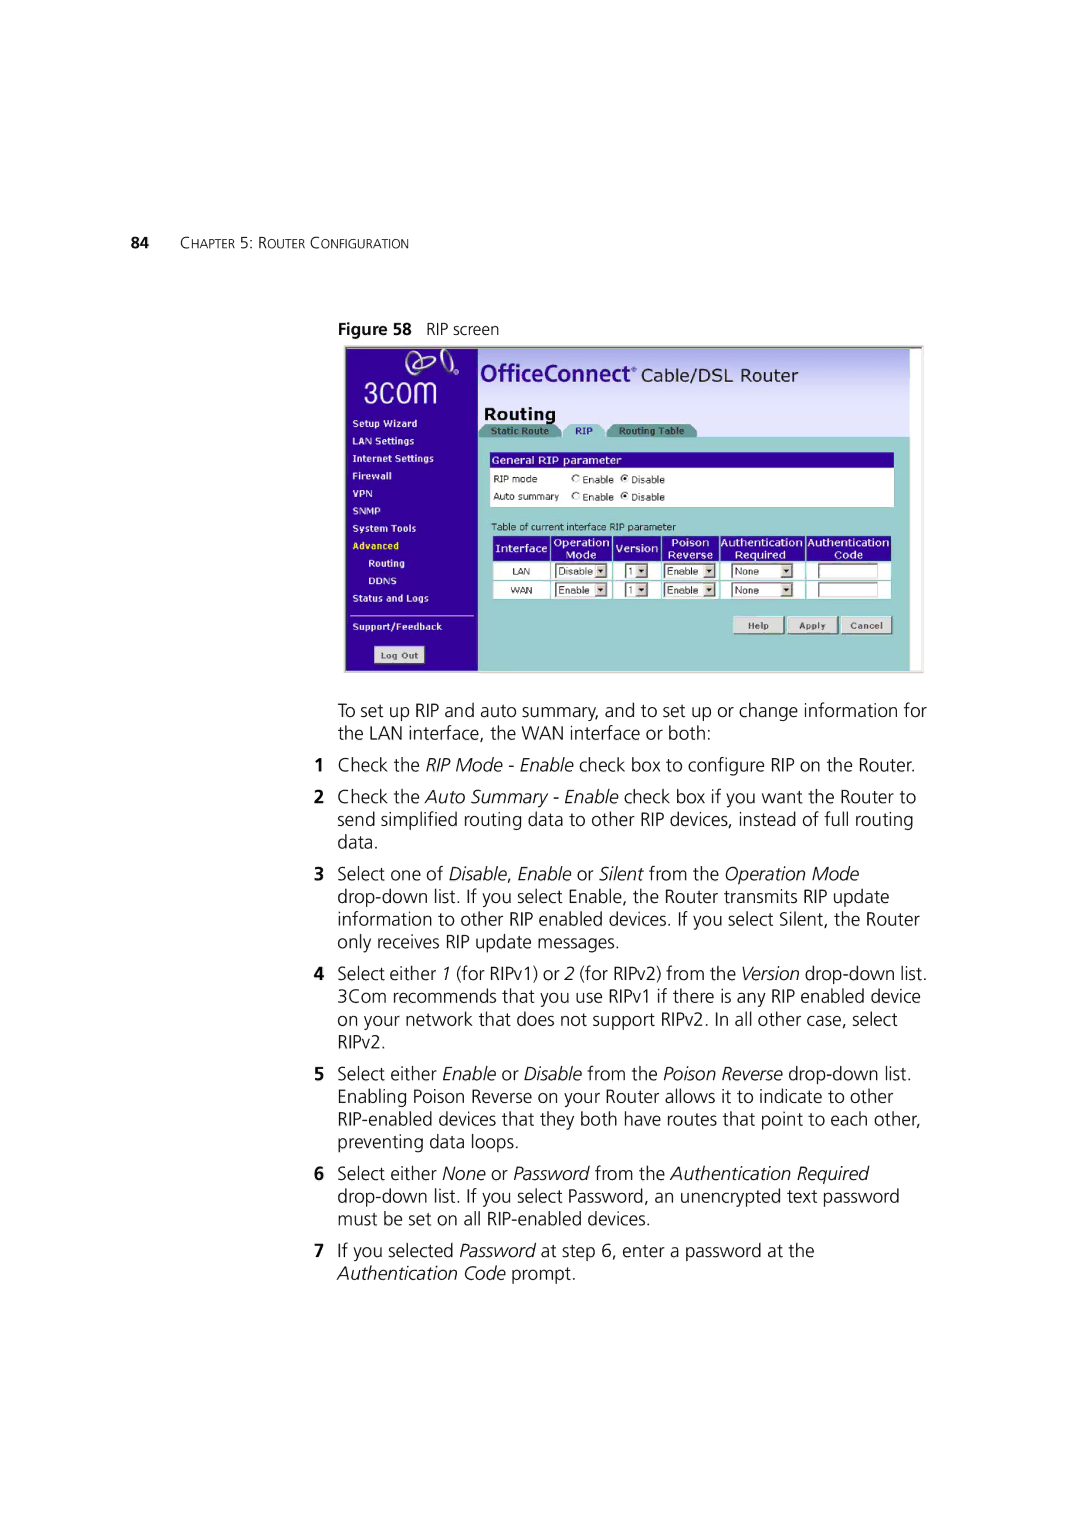
Figure 58 RIP screen

To set up RIP and auto summary, and to set up or change information for the LAN interface, the WAN interface or both:

1Check the RIP Mode - Enable check box to configure RIP on the Router.

2Check the Auto Summary - Enable check box if you want the Router to send simplified routing data to other RIP devices, instead of full routing data.

3Select one of Disable, Enable or Silent from the Operation Mode drop-down list. If you select Enable, the Router transmits RIP update information to other RIP enabled devices. If you select Silent, the Router only receives RIP update messages.

4Select either 1 (for RIPv1) or 2 (for RIPv2) from the Version drop-down list. 3Com recommends that you use RIPv1 if there is any RIP enabled device on your network that does not support RIPv2. In all other case, select RIPv2.

5Select either Enable or Disable from the Poison Reverse drop-down list. Enabling Poison Reverse on your Router allows it to indicate to other RIP-enabled devices that they both have routes that point to each other, preventing data loops.

6Select either None or Password from the Authentication Required drop-down list. If you select Password, an unencrypted text password must be set on all RIP-enabled devices.

7If you selected Password at step 6, enter a password at the Authentication Code prompt.

Page 84
Image 84
HP 100 Router manual RIP screen