40CHAPTER 5: ROUTER CONFIGURATION
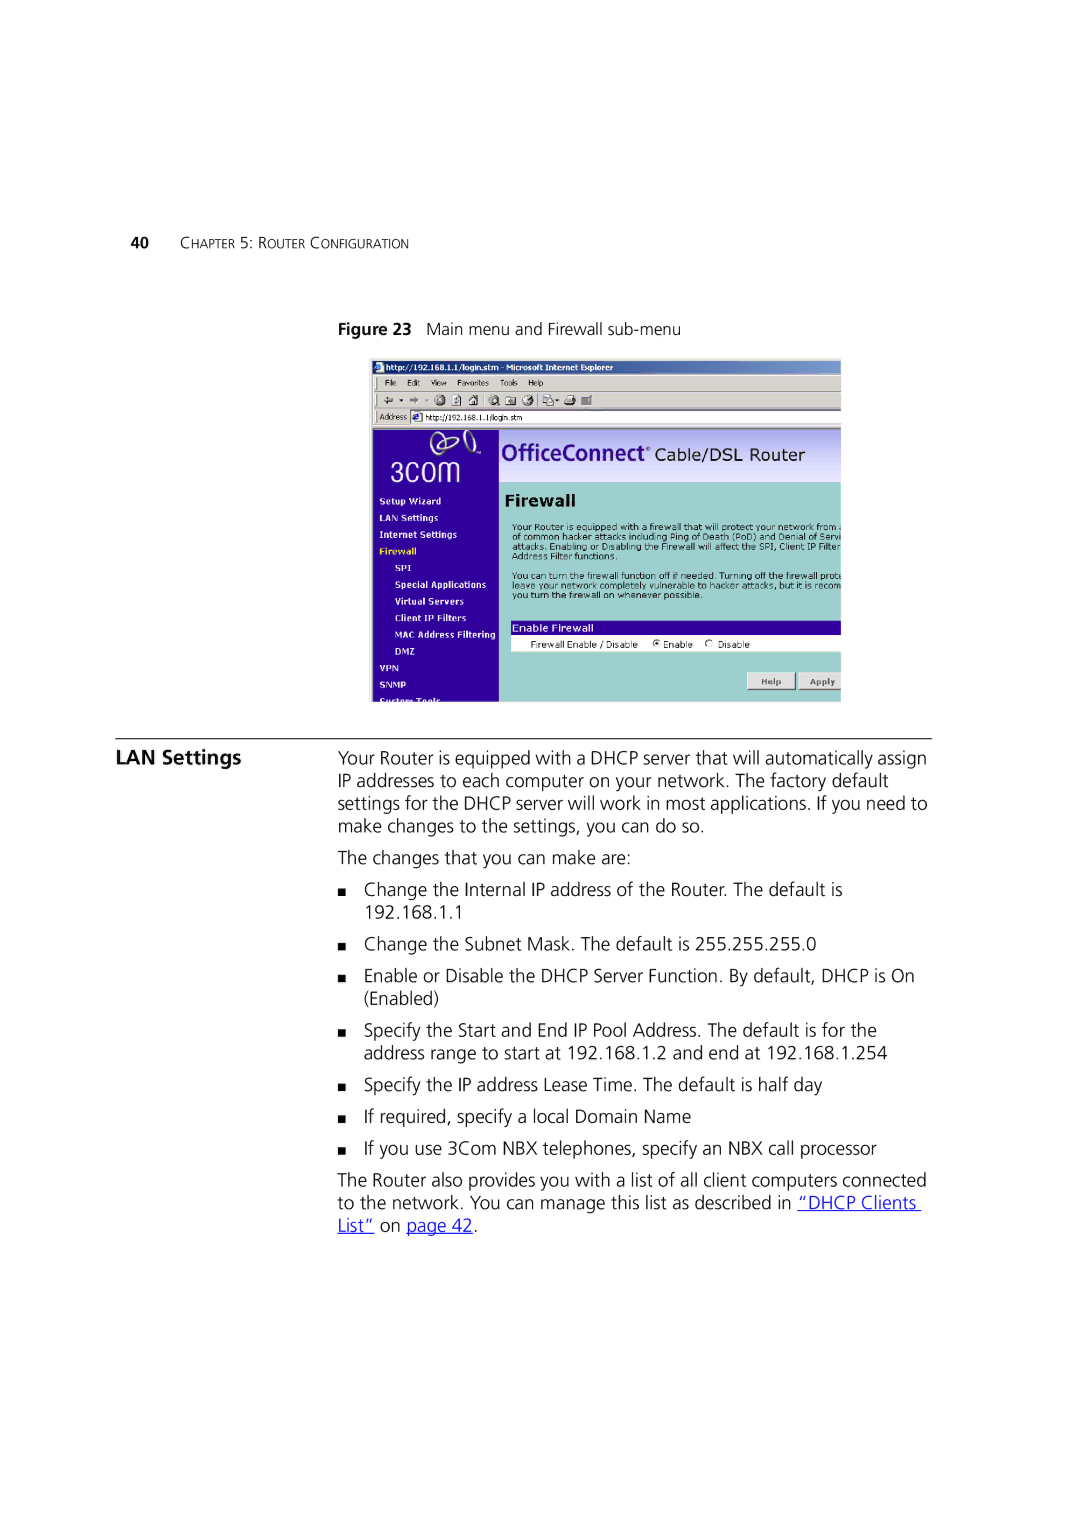
Figure 23 Main menu and Firewall sub-menu
LAN Settings | Your Router is equipped with a DHCP server that will automatically assign |
| IP addresses to each computer on your network. The factory default |
| settings for the DHCP server will work in most applications. If you need to |
| make changes to the settings, you can do so. |
| The changes that you can make are: |
| ■ Change the Internal IP address of the Router. The default is |
| 192.168.1.1 |
| ■ Change the Subnet Mask. The default is 255.255.255.0 |
| ■ Enable or Disable the DHCP Server Function. By default, DHCP is On |
| (Enabled) |
| ■ Specify the Start and End IP Pool Address. The default is for the |
| address range to start at 192.168.1.2 and end at 192.168.1.254 |
| ■ Specify the IP address Lease Time. The default is half day |
| ■ If required, specify a local Domain Name |
| ■ If you use 3Com NBX telephones, specify an NBX call processor |
| The Router also provides you with a list of all client computers connected |
| to the network. You can manage this list as described in “DHCP Clients |
| List” on page 42. |