J5788, J5740, J5780, J5750 specifications
The HP J5780 is a versatile all-in-one inkjet printer that combines printing, scanning, copying, and faxing capabilities in a single device. Ideal for home and small office environments, this printer is designed to cater to a wide range of document-related needs. Its compact form factor allows it to fit easily into tight spaces without sacrificing functionality.One of the standout features of the HP J5780 is its print quality. With a maximum resolution of up to 4800 x 1200 optimized dpi, it delivers sharp text and vibrant images, making it suitable for printing everything from documents to photos. The printer uses HP's patented Thermal Inkjet Technology, which ensures precise ink placement and excellent color accuracy.
In terms of print speed, the HP J5780 is efficient, capable of printing up to 30 pages per minute for black and white documents and around 23 pages per minute for color prints. This speed makes it particularly effective in busy office environments where time is of the essence. The device has a 100-sheet paper tray that accommodates various paper sizes and types, including envelopes, glossy photo paper, and legal-sized documents.
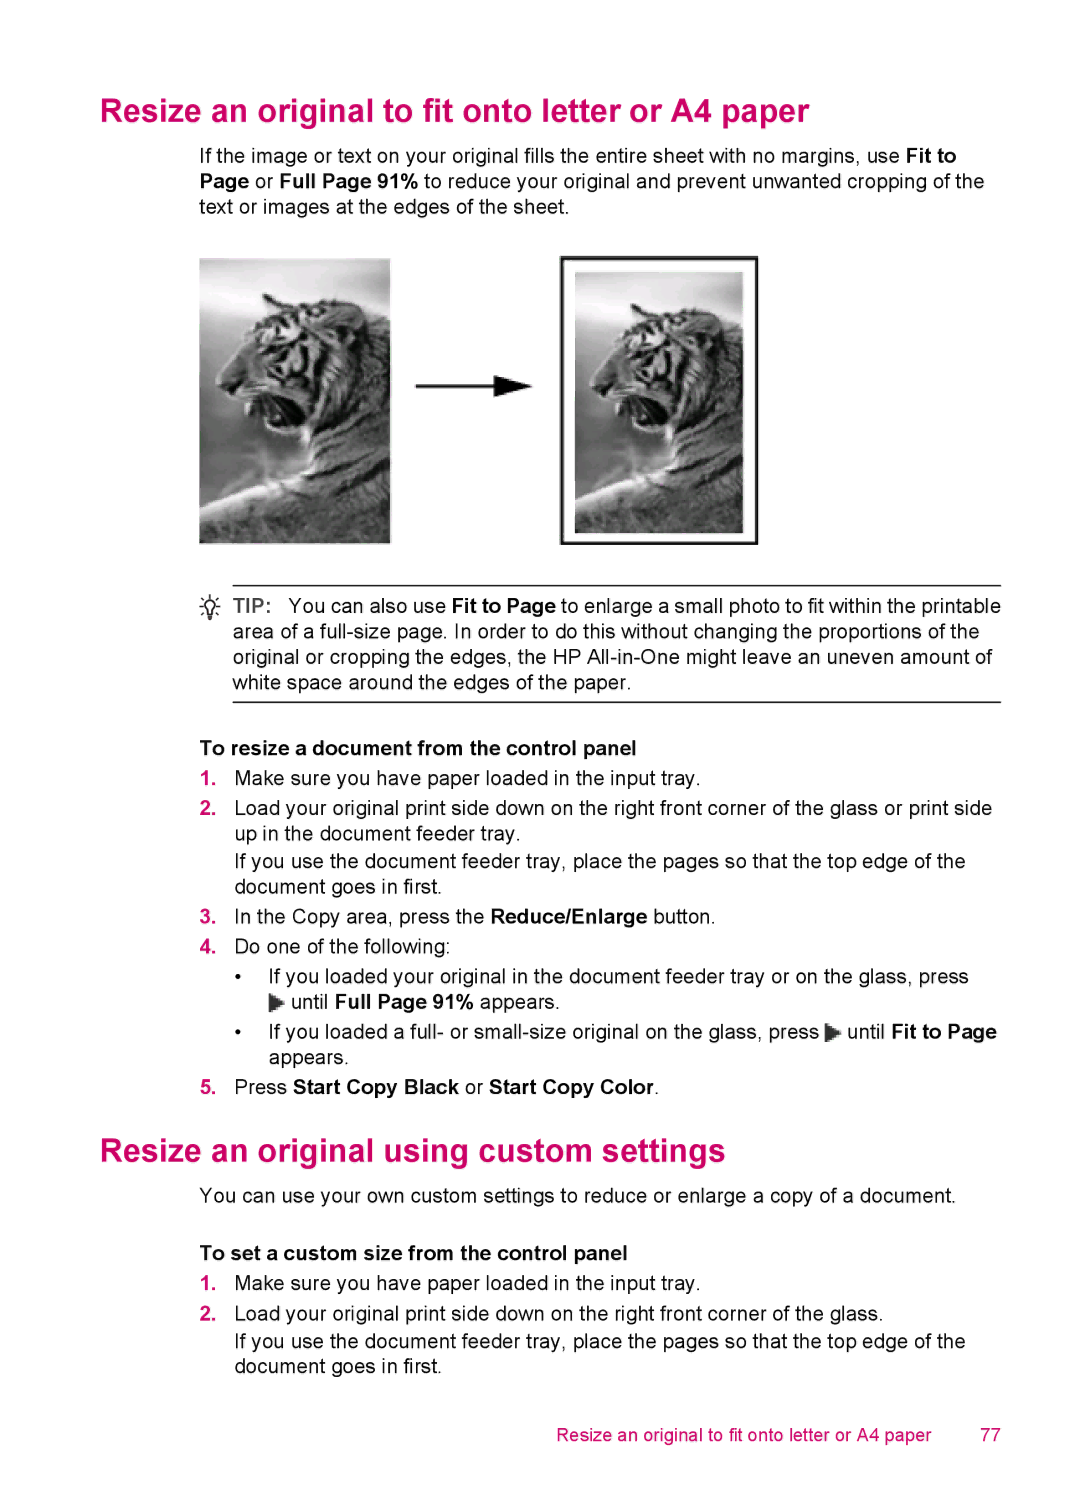
The scanner function offers a flatbed design with a 1200 x 2400 dpi optical resolution, enabling users to digitize documents and photos with exceptional clarity. Additionally, the HP J5780 comes with a built-in copier that allows for quick duplication of documents without needing a computer. Users can efficiently make multiple copies, adjust copy sizes, and utilize features like resizing and reduction.
Another important aspect of the HP J5780 is its faxing capability. Featuring a 33.6 Kbps modem, the printer enables quick transmission of documents and comes with a 20-page automatic document feeder (ADF), simplifying the process of sending multi-page faxes.
Connectivity options on the HP J5780 are user-friendly, offering both USB and Ethernet interfaces. This allows for easy connection to computers and networks, enabling users to share the printer within a group. Furthermore, the device is compatible with various operating systems, ensuring seamless integration into different computing environments.
In summary, the HP J5780 is a comprehensive all-in-one solution that emphasizes productivity without compromising quality. Its combination of printing, scanning, copying, and faxing functionalities, along with its user-friendly features, makes it a reliable choice for those seeking efficiency and versatility in their document management tasks. Whether for home use or small office settings, the HP J5780 delivers dependable performance and a range of technologies designed to meet diverse printing needs.

