Fan and Air Duct (Model 39H Only)
Removal
1.Set the power switches of the attached devices to Off.
2.Set the power switch of the system unit to Off.
3.Remove the top cover by loosening the two thumbscrews located on the back of the system unit. Slide the cover to the rear of the system unit and lift it straight up.
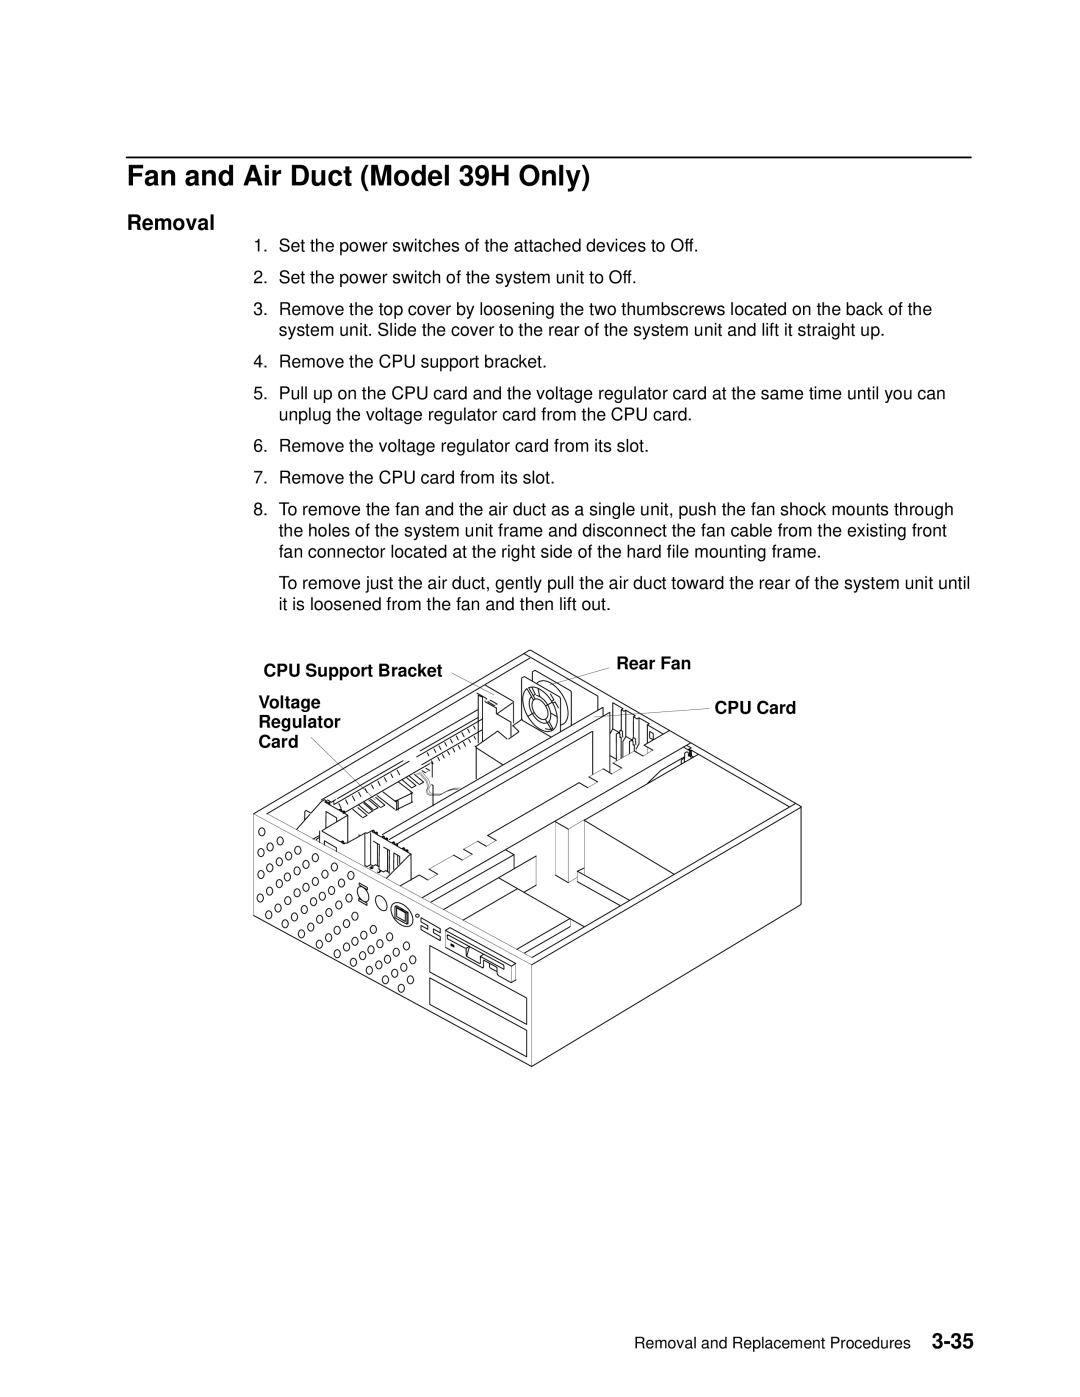
4.Remove the CPU support bracket.
5.Pull up on the CPU card and the voltage regulator card at the same time until you can unplug the voltage regulator card from the CPU card.
6.Remove the voltage regulator card from its slot.
7.Remove the CPU card from its slot.
8.To remove the fan and the air duct as a single unit, push the fan shock mounts through the holes of the system unit frame and disconnect the fan cable from the existing front fan connector located at the right side of the hard file mounting frame.
To remove just the air duct, gently pull the air duct toward the rear of the system unit until it is loosened from the fan and then lift out.
CPU Support Bracket | Rear Fan | |
| ||
Voltage | CPU Card | |
Regulator | ||
| ||
Card |
|
Removal and Replacement Procedures