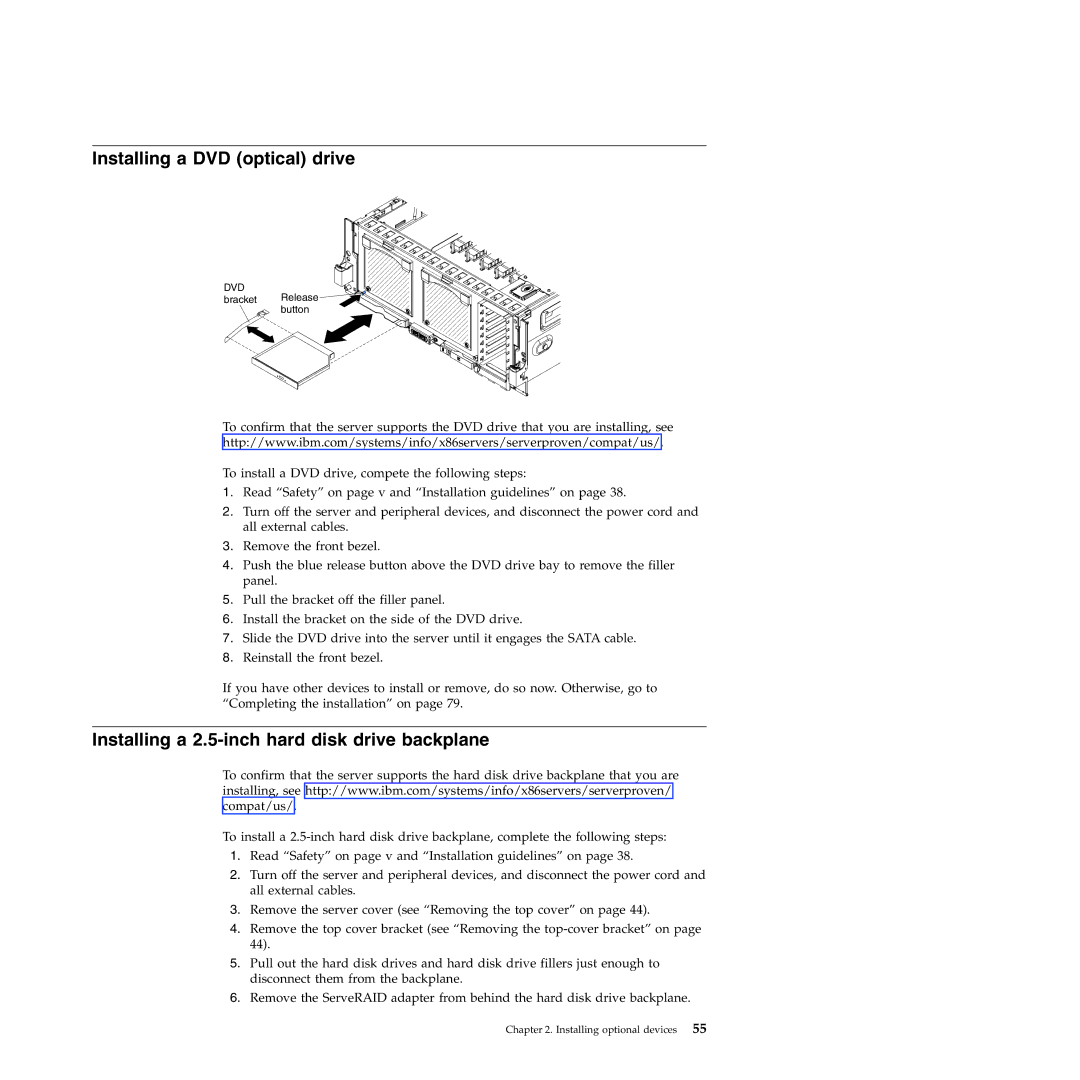
Installing a DVD (optical) drive
DVD | Release |
bracket | |
| button |
To confirm that the server supports the DVD drive that you are installing, see
http://www.ibm.com/systems/info/x86servers/serverproven/compat/us/.
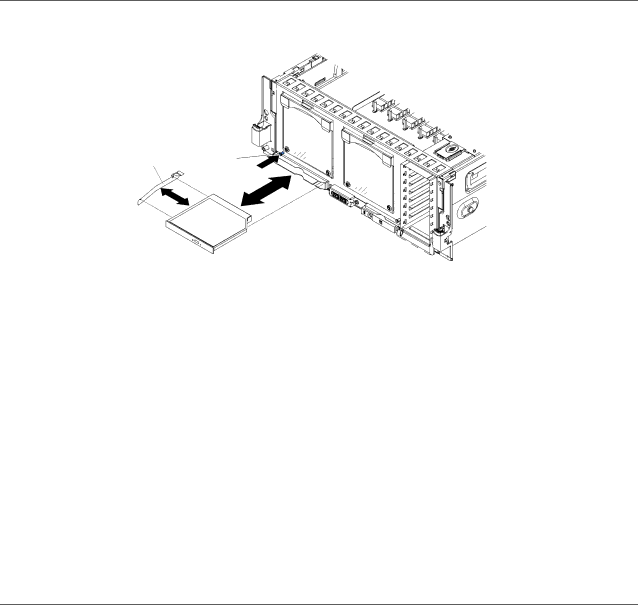
To install a DVD drive, compete the following steps:
1.Read “Safety” on page v and “Installation guidelines” on page 38.
2.Turn off the server and peripheral devices, and disconnect the power cord and all external cables.
3.Remove the front bezel.
4.Push the blue release button above the DVD drive bay to remove the filler panel.
5.Pull the bracket off the filler panel.
6.Install the bracket on the side of the DVD drive.
7.Slide the DVD drive into the server until it engages the SATA cable.
8.Reinstall the front bezel.
If you have other devices to install or remove, do so now. Otherwise, go to “Completing the installation” on page 79.
Installing a 2.5-inch hard disk drive backplane
To confirm that the server supports the hard disk drive backplane that you are installing, see http://www.ibm.com/systems/info/x86servers/serverproven/ compat/us/.
To install a
1.Read “Safety” on page v and “Installation guidelines” on page 38.
2.Turn off the server and peripheral devices, and disconnect the power cord and all external cables.
3.Remove the server cover (see “Removing the top cover” on page 44).
4.Remove the top cover bracket (see “Removing the
5.Pull out the hard disk drives and hard disk drive fillers just enough to disconnect them from the backplane.
6.Remove the ServeRAID adapter from behind the hard disk drive backplane.