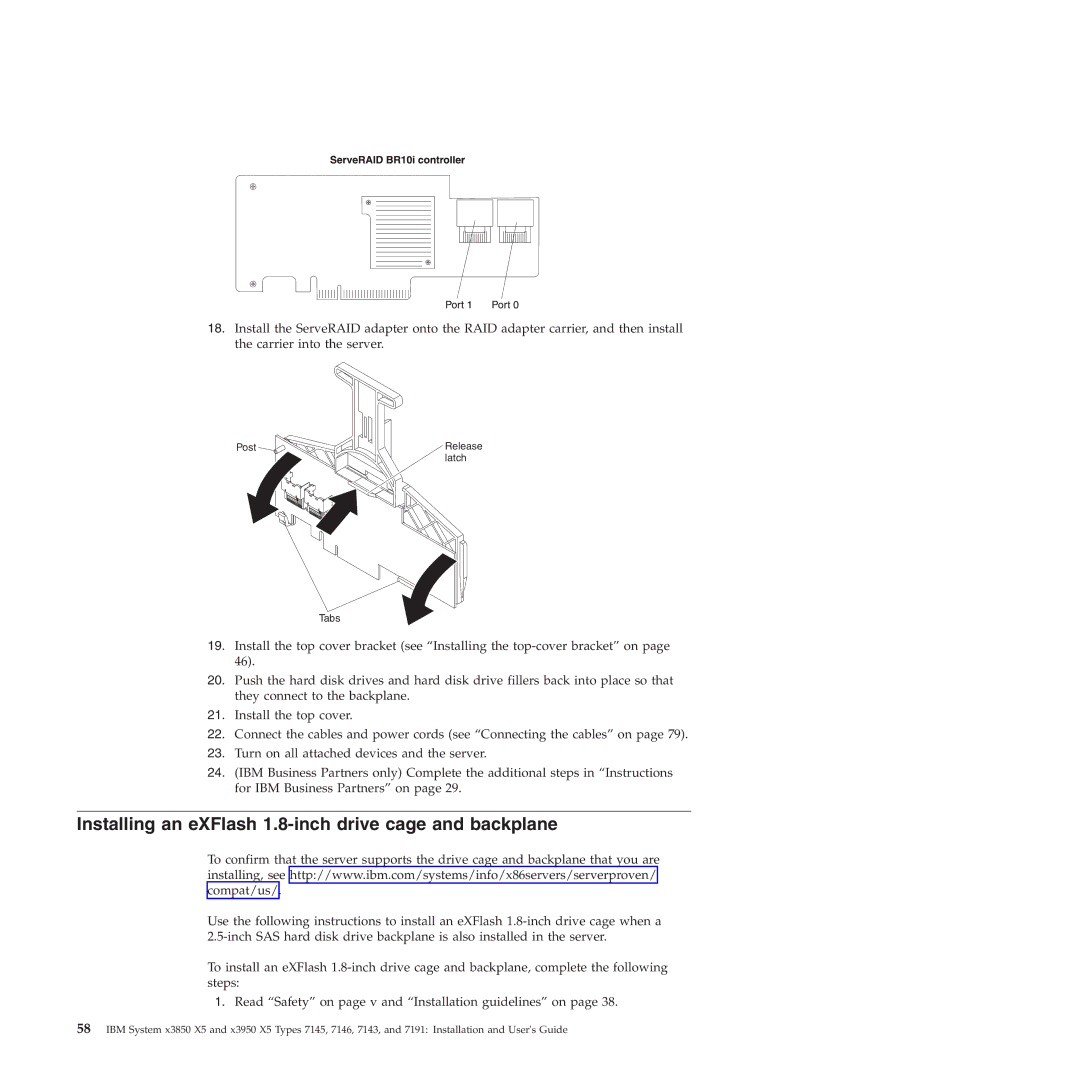
18.Install the ServeRAID adapter onto the RAID adapter carrier, and then install the carrier into the server.
Post | Release |
| latch |
Tabs
19.Install the top cover bracket (see “Installing the
20.Push the hard disk drives and hard disk drive fillers back into place so that they connect to the backplane.
21.Install the top cover.
22.Connect the cables and power cords (see “Connecting the cables” on page 79).
23.Turn on all attached devices and the server.
24.(IBM Business Partners only) Complete the additional steps in “Instructions for IBM Business Partners” on page 29.
Installing an eXFlash 1.8-inch drive cage and backplane
To confirm that the server supports the drive cage and backplane that you are installing, see http://www.ibm.com/systems/info/x86servers/serverproven/ compat/us/.
Use the following instructions to install an eXFlash
To install an eXFlash
1.Read “Safety” on page v and “Installation guidelines” on page 38.
58IBM System x3850 X5 and x3950 X5 Types 7145, 7146, 7143, and 7191: Installation and User's Guide