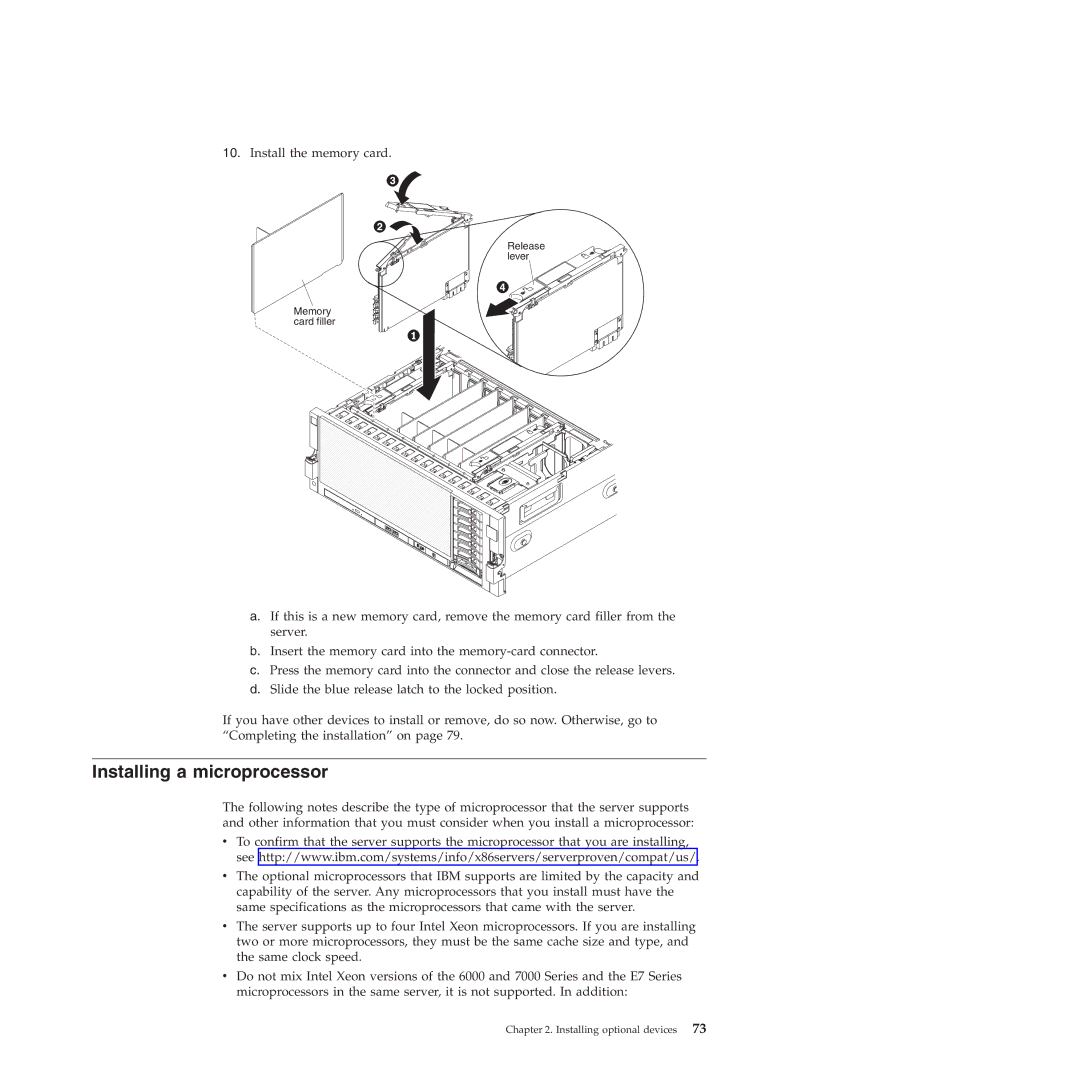
10.Install the memory card.
Release lever
Memory card filler
a.If this is a new memory card, remove the memory card filler from the server.
b.Insert the memory card into the
c.Press the memory card into the connector and close the release levers.
d.Slide the blue release latch to the locked position.
If you have other devices to install or remove, do so now. Otherwise, go to “Completing the installation” on page 79.
Installing a microprocessor
The following notes describe the type of microprocessor that the server supports and other information that you must consider when you install a microprocessor:
vTo confirm that the server supports the microprocessor that you are installing, see http://www.ibm.com/systems/info/x86servers/serverproven/compat/us/.
vThe optional microprocessors that IBM supports are limited by the capacity and capability of the server. Any microprocessors that you install must have the same specifications as the microprocessors that came with the server.
vThe server supports up to four Intel Xeon microprocessors. If you are installing two or more microprocessors, they must be the same cache size and type, and the same clock speed.
vDo not mix Intel Xeon versions of the 6000 and 7000 Series and the E7 Series microprocessors in the same server, it is not supported. In addition: