Recording
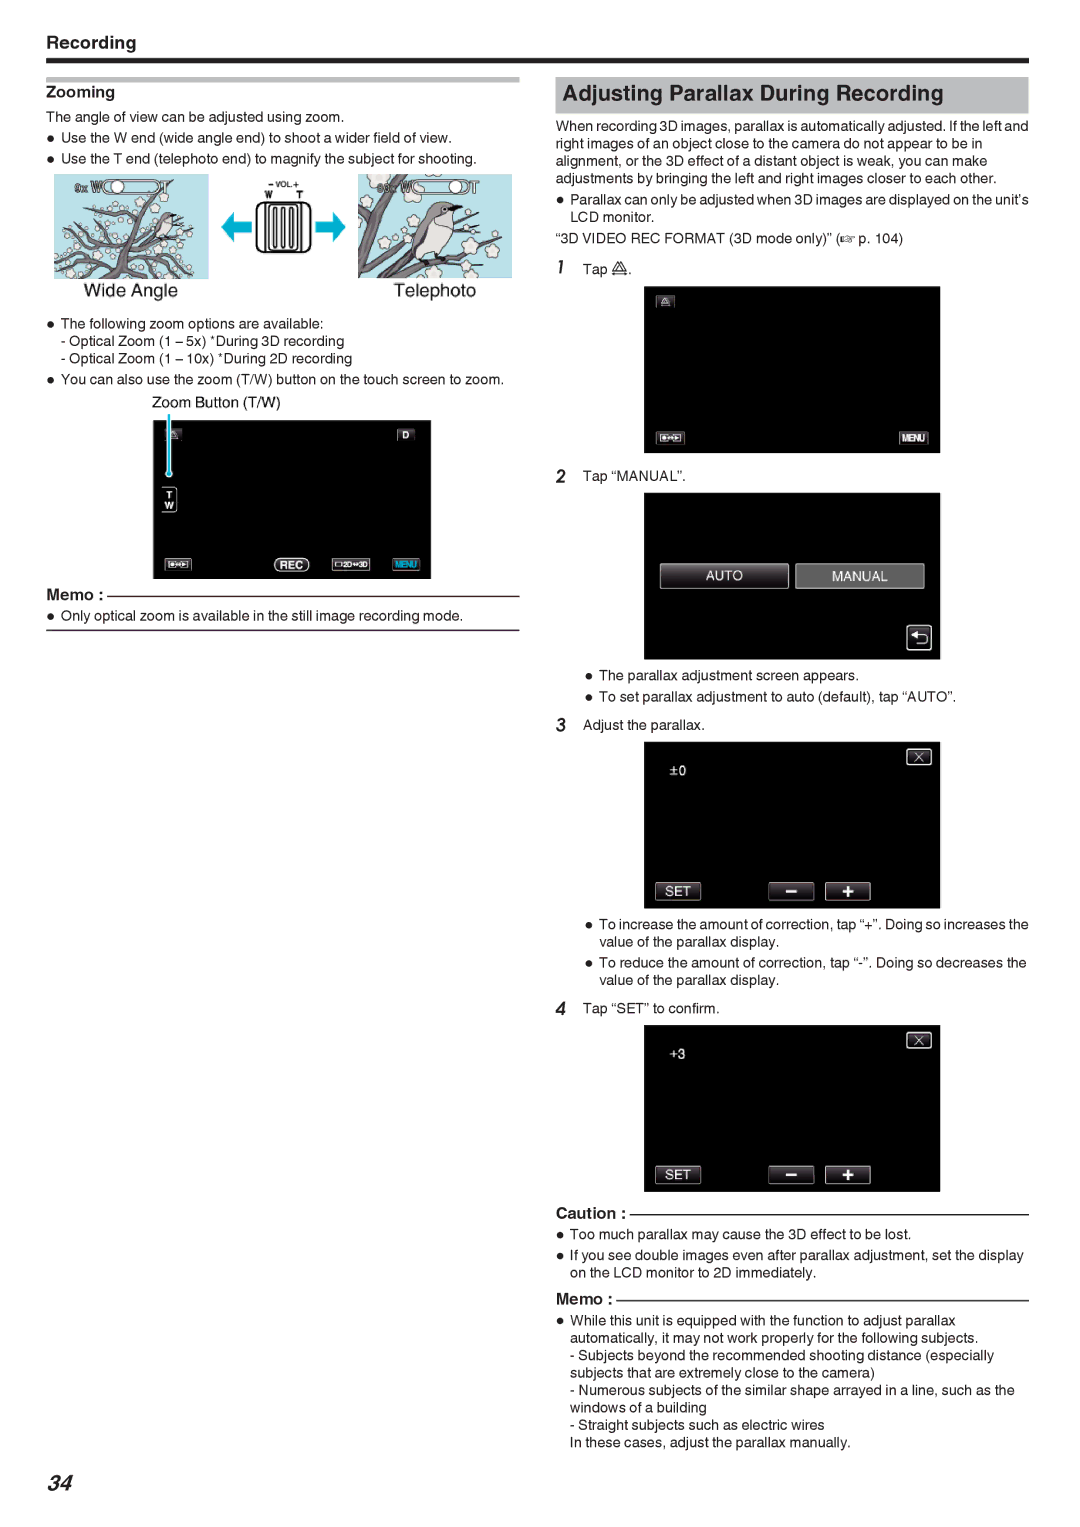
Zooming
The angle of view can be adjusted using zoom.
0Use the W end (wide angle end) to shoot a wider field of view.
0Use the T end (telephoto end) to magnify the subject for shooting.
0The following zoom options are available:
-Optical Zoom (1 – 5x) *During 3D recording
-Optical Zoom (1 – 10x) *During 2D recording
0You can also use the zoom (T/W) button on the touch screen to zoom.
Adjusting Parallax During Recording
When recording 3D images, parallax is automatically adjusted. If the left and right images of an object close to the camera do not appear to be in alignment, or the 3D effect of a distant object is weak, you can make adjustments by bringing the left and right images closer to each other.
0Parallax can only be adjusted when 3D images are displayed on the unit’s LCD monitor.
“3D VIDEO REC FORMAT (3D mode only)” (A p. 104)
1Tap k.
Memo :
0Only optical zoom is available in the still image recording mode.
2Tap “MANUAL”.
0The parallax adjustment screen appears.
0To set parallax adjustment to auto (default), tap “AUTO”.
3Adjust the parallax.
0To increase the amount of correction, tap “+”. Doing so increases the value of the parallax display.
0To reduce the amount of correction, tap
4Tap “SET” to confirm.
Caution :
0Too much parallax may cause the 3D effect to be lost.
0If you see double images even after parallax adjustment, set the display on the LCD monitor to 2D immediately.
Memo :
0While this unit is equipped with the function to adjust parallax automatically, it may not work properly for the following subjects.
-Subjects beyond the recommended shooting distance (especially subjects that are extremely close to the camera)
-Numerous subjects of the similar shape arrayed in a line, such as the windows of a building
-Straight subjects such as electric wires
In these cases, adjust the parallax manually.
34