Recording
Manual Recording Menu
The following items can be set.
Name |
| Description |
|
|
|
SCENE SELECT | 0 | Recordings that suit the shooting conditions |
|
| can be performed easily. |
| “Scene Selection” (A p. 36) | |
|
|
|
FOCUS | 0 | Use manual focus if the subject is not |
|
| focused automatically. |
| “Adjusting Focus Manually” (A p. 37) | |
|
|
|
FOCUS ASSIST | 0 | Focused subject is outlined in color for more |
|
| precise focus. |
| “Using Focus Assist” (A p. 38) | |
|
|
|
FOCUS ASSIST | 0 | Sets the color of the outline of a focused |
COLOR |
| object when Focus Assist is used. |
| “FOCUS ASSIST COLOR” (A p. 112) | |
|
|
|
BRIGHTNESS | 0 | Overall brightness on the screen can be |
ADJUST |
| adjusted. |
| 0 | Use this when recording in a dark or bright |
|
| location. |
| “Adjusting Brightness” (A p. 38) | |
|
| |
SHUTTER SPEED | 0 Shutter speed can be adjusted. | |
| 0 | Use this when shooting a |
|
| subject or to emphasize the subject's |
|
| movement. |
| “Setting Shutter Speed” (A p. 39) | |
|
|
|
APERTURE PRIORITY | 0 | You can adjust the aperture to capture an |
|
| image with only the subject in focus while |
|
| blurring the surroundings. |
| “Setting Aperture” (A p. 39) | |
|
| |
WHITE BALANCE | 0 Overall color on the screen can be adjusted. | |
| 0 | Use this when the color on the screen |
|
| appears differently from the actual color. |
| “Setting White Balance” (A p. 40) | |
|
|
|
BACKLIGHT COMP. | 0 | Corrects the image when the subject |
|
| appears dark due to backlight. |
| 0 | Use this when shooting against the light. |
| “Setting Backlight Compensation” (A p. 41) | |
TELE MACRO | 0 | Use this to take |
|
| subject. |
| “Taking | |
| *Displayed only in the 2D recording mode. | |
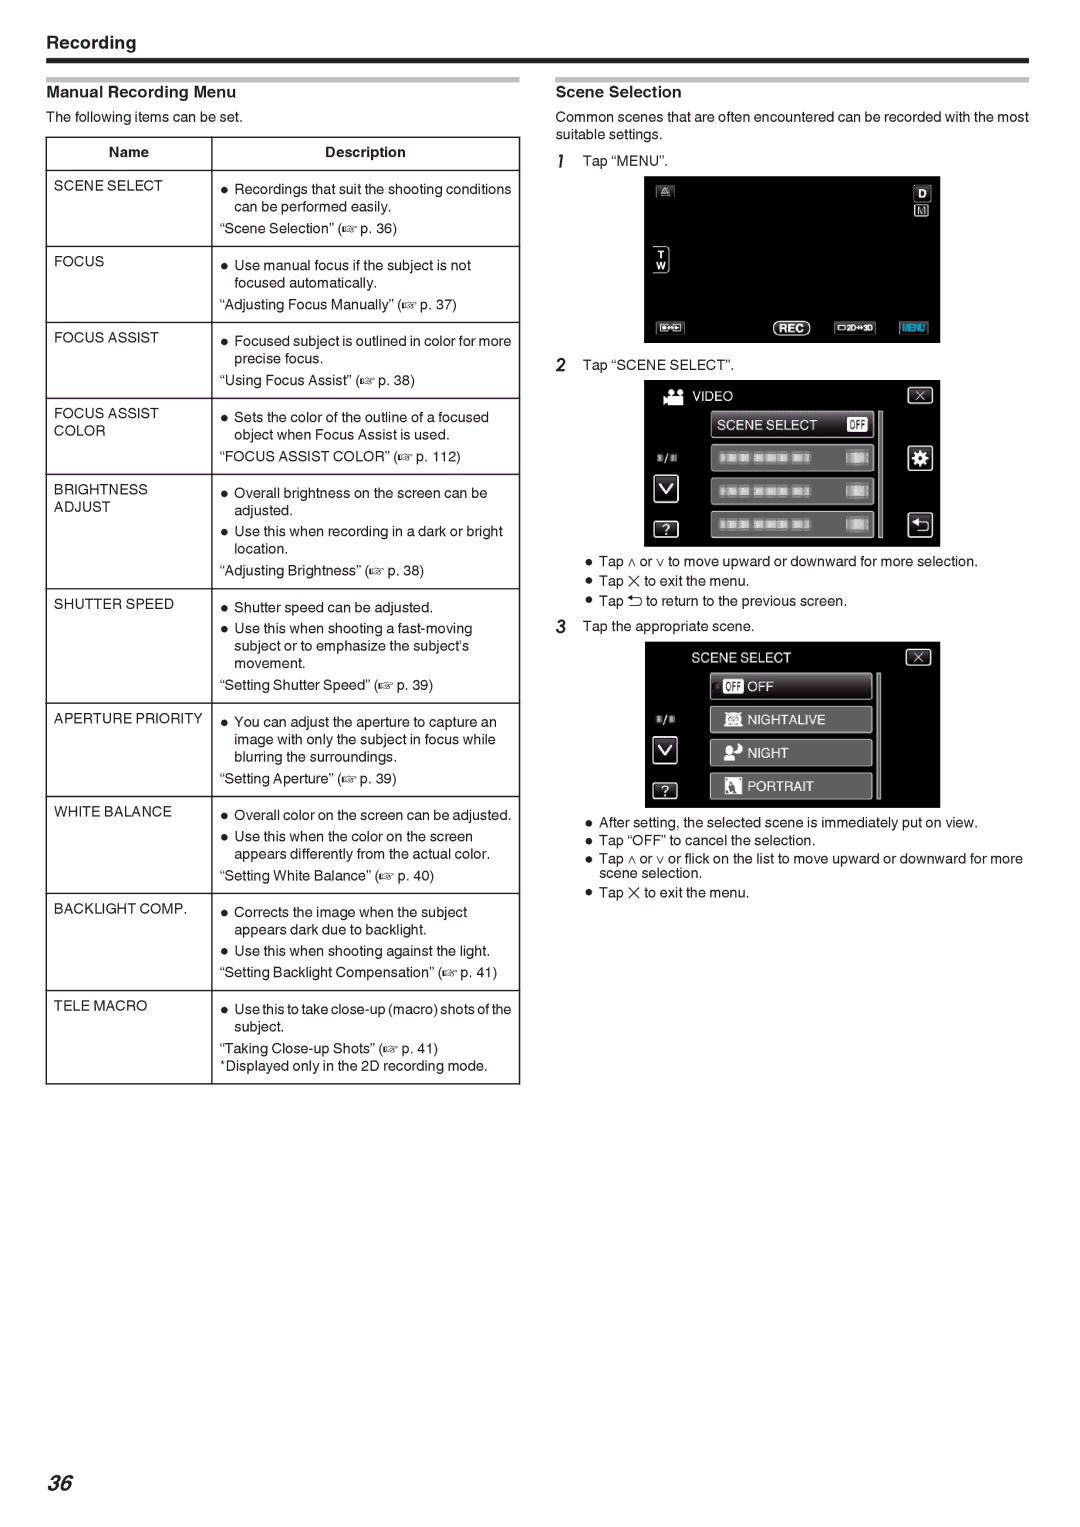
Scene Selection
Common scenes that are often encountered can be recorded with the most suitable settings.
1Tap “MENU”.
2Tap “SCENE SELECT”.
0Tap ∧ or ∨ to move upward or downward for more selection.
0Tap L to exit the menu.
0Tap J to return to the previous screen.
3Tap the appropriate scene.
0After setting, the selected scene is immediately put on view.
0Tap “OFF” to cancel the selection.
0Tap ∧ or ∨ or flick on the list to move upward or downward for more scene selection.
0Tap L to exit the menu.
36