Applications/Applications

Mixing (segueing) different tracks


Mixage de différentes plages

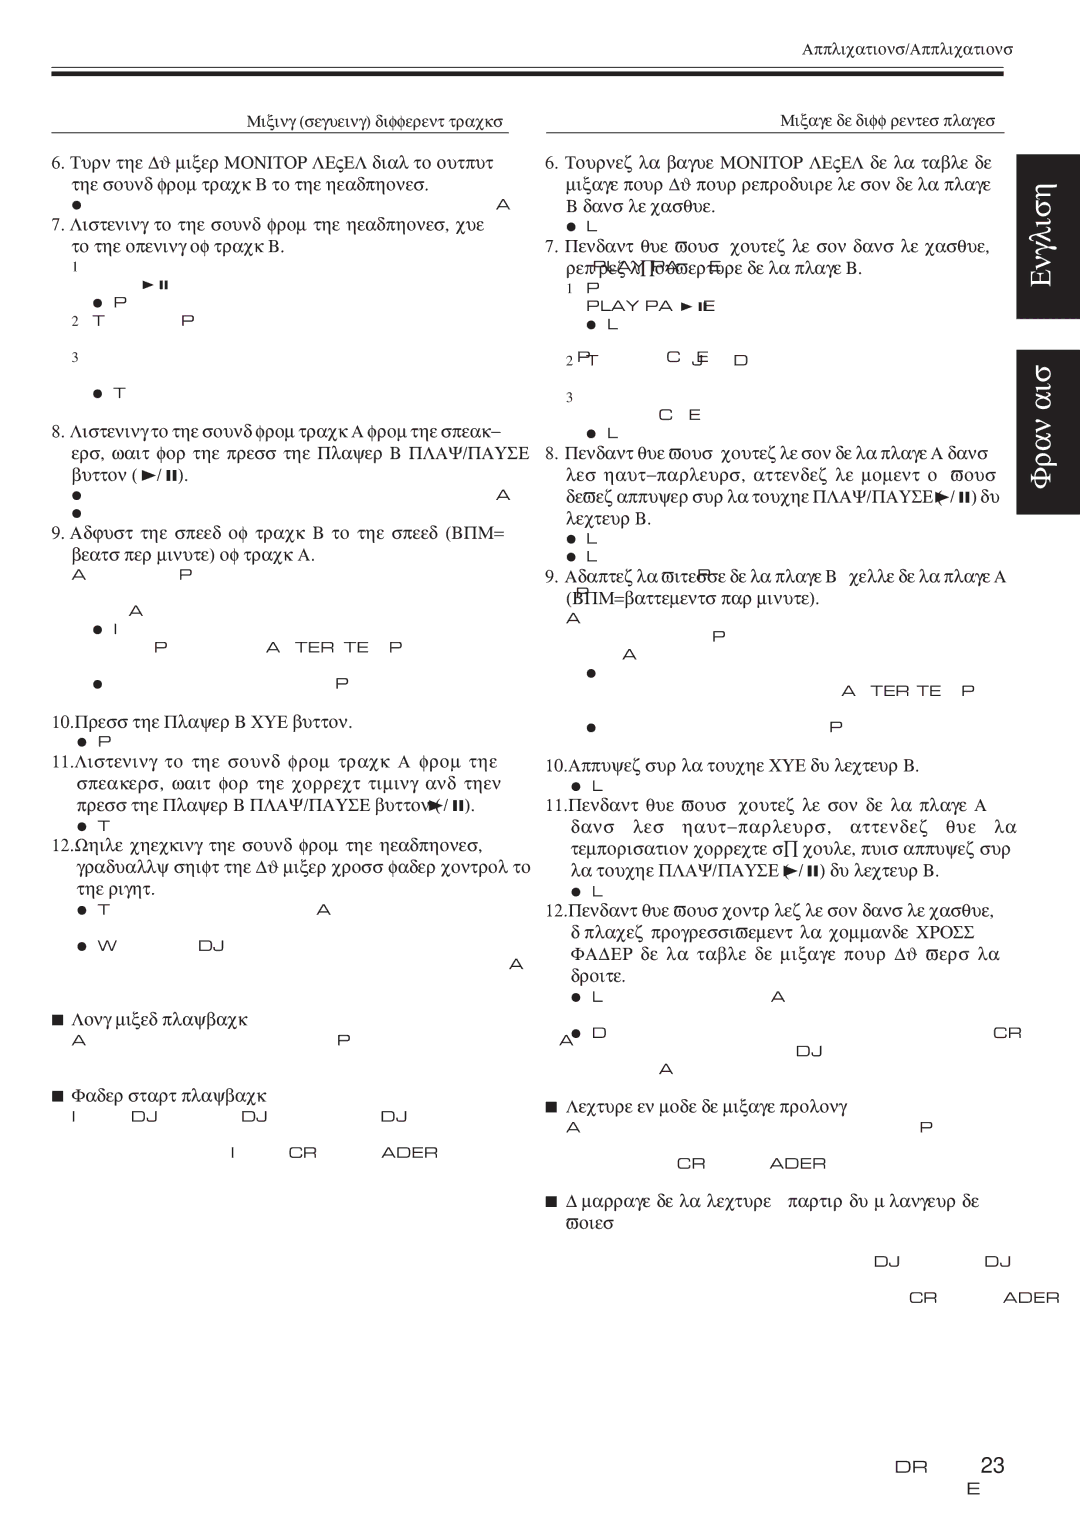
6.Turn the DJ mixer MONITOR LEVEL dial to output the sound from track B to the headphones.

¦ Speaker output will come only from track A.

7.Listening to the sound from the headphones, cue

to the opening of track B.

1Get player B ready for playback and then press the PLAY/PAUSE button (3/8) near the desired cueing point.

¦ Player B will enter cueing pause mode.

2Turn the Player B jog dial to find the cueing point (i.e., the opening bar).

3Once the cueing point has been found, press the Player B CUE button.

¦The sound will be muted and cueing will have been completed.

8.Listening to the sound from track A from the speak- ers, wait for the press the Player B PLAY/PAUSE button (3/8).

¦Speaker output will come only from track A.

¦Sound from track B will be output to the headphones.

9.Adjust the speed of track B to the speed (BPM= beats per minute) of track A.

Adjust the Player B tempo control slide so that the number of BPM displayed for track B is the same as the number of BPM displayed for track A.

¦If you do not wish to change the pitch or key of track B, press the Player B MASTER TEMPO button before adjusting the tempo control slide.

¦Once the number of BPM displayed for both tracks are the same, the tempo adjustment will have been finished.

10.Press the Player B CUE button.

¦Player B will then enter standby mode at the cueing point.

6.Tournez la bague MONITOR LEVEL de la table de mixage pour DJ pour reproduire le son de la plage B dans le casque.

¦ La sortie des haut-parleurs ne provient que de la plage A.

7.Pendant que vous écoutez le son dans le casque,

repérez l’ouverture de la plage B.

1Préparez le lecteur B pour la lecture, puis appuyez sur la touche PLAY/PAUSE (3/8) à proximité du point de repérage souhaité.

¦Le lecteur B passe en mode d’interruption momentanée du repérage.

2Tournez le Jog Dial du lecteur B pour trouver le point de repérage (par exemple, la barre d’ouverture).

3Une fois que vous avez trouvé le point de repérage, appuyez sur la touche CUE du lecteur B.

¦ Le son est coupé et le repérage est terminé.

8.Pendant que vous écoutez le son de la plage A dans les haut-parleurs, attendez le moment où vous devez appuyer sur la touche PLAY/PAUSE (3/8) du lecteur B.

¦La sortie des haut-parleurs ne provient que de la plage A.

¦Le son de la plage B est reproduit dans le casque.

9.Adaptez la vitesse de la plage B à celle de la plage A (BPM=battements par minute).

Ajustez le curseur à glissière du tempo du lecteur B de façon à ce que le nombre de BPM affiché pour la plage B soit identique à celui de la plage A.

¦Si vous ne souhaitez pas modifier le pas ou la clé de la plage B, appuyez sur la touche MASTER TEMPO du lecteur B avant de régler le curseur à glissière du tempo.

¦Quand le nombre de BPM affiché pour les deux plages est identique, le réglage du tempo est terminé.

English

Français

11.Listening to the sound from track A from the speakers, wait for the correct timing and then press the Player B PLAY/PAUSE button (3/8).

¦Track B will then begin to play.

12.While checking the sound from the headphones, gradually shift the DJ mixer cross fader control to the right.

¦The sound from track A coming from the speakers will become mixed with the sound from track B.

¦When the DJ mixer cross fader control has been shifted all the way to the right, the segueing from track A to track B will have been completed.

7Long mixed playback

As long as the number of BPM is the same, track A and track B may be cleanly mixed even with the cross fader control set in the middle.

10.Appuyez sur la touche CUE du lecteur B.

¦Le lecteur B passe en mode de veille au point de repérage.

11.Pendant que vous écoutez le son de la plage A dans les haut-parleurs, attendez que la temporisation correcte s’écoule, puis appuyez sur la touche PLAY/PAUSE (3/8) du lecteur B.

¦La lecture de la plage B commence.

12.Pendant que vous contrôlez le son dans le casque, déplacez progressivement la commande CROSS FADER de la table de mixage pour DJ vers la droite.

¦Le son de la plage A qui est reproduit dans les haut-parleurs est mixé à celui de la plage B.

¦Dès que vous avez déplacé la commande CROSS FADER de la table de mixage pour DJ à fond vers la droite, le mixage entre les plages A et B est terminé.

7Fader start playback

If the DJM-300, DJM-500, or DJM-600 cross fader start feature is used, step 11 above may be omitted, thus making it even easier to perform mixing. If the CROSS FADER control is also returned to its original position, it will cause the player to return to the state described in step 10, thus making it possible to perform cueing repeatedly.

7Lecture en mode de mixage prolongé

Aussi longtemps que le nombre de BPM est identique, les plages A et B peuvent être mixées clairement, même en laissant la commande CROSS FADER en position centrale.

7Démarrage de la lecture à partir du mélangeur de

voies

Quand vous utilisez la fonction de démarrage à partir du mélangeur de voies de la table de mixage DJM-300, DJM-500 ou DJM-600, vous pouvez passer l’étape 11 ci-dessus, ce qui facilite davantage encore le mixage. Si la commande CROSS FADER est également ramenée sur sa position d’origine, le lecteur revient à l’état décrit à l’étape 10 ci-dessus et vous pouvez répéter le repérage à plusieurs reprises.

<DRB1255> 23 En/Fr

Page 23
Image 23
Pioneer CMX-5000 manual Press the Player B CUE button, Long mixed playback, Appuyez sur la touche CUE du lecteur B

CMX-5000 specifications

The Pioneer CMX-5000 is a robust professional CD player designed for DJs and audio professionals who demand high-quality sound and user-friendly features. Known for its reliability and versatility, the CMX-5000 provides a wide array of tools that enhance any DJ's performance.

At the heart of the CMX-5000 are its dual CD drives, which allow DJs to effortlessly mix tracks from two different sources. This dual-drive capability ensures smooth transitions between tracks, enabling seamless mixing and creating dynamic sets. The player supports a variety of audio formats, including standard audio CDs and CD-Rs, offering flexibility in music selection.

One of the standout features of the CMX-5000 is its intuitive interface. The large, backlit LCD display provides clear visibility of track information, making it easy for DJs to navigate through their music libraries. The player also includes a jog dial for precise control over track selection and cueing, allowing for quick adjustments during live performances.

In terms of effects, the CMX-5000 offers multiple onboard features that enhance sound manipulation. It includes the ability to set loop points and create seamless loop samples, giving DJs the freedom to extend particular sections of a track. The player is also equipped with a range of pitch control options, enabling precise adjustments to the tempo of tracks, which is crucial for harmonic mixing.

Another notable technology integrated into the CMX-5000 is its anti-shock system, which utilizes a large memory buffer to prevent skips and interruptions during playback. This feature is essential for live environments where any disruption in sound can impact the overall experience for the audience.

Connectivity is another strong suit of the CMX-5000. It offers multiple output options, including balanced XLR outputs, RCA outputs, and digital outputs, ensuring compatibility with various sound systems. This adaptability makes the player suitable for different venues, whether in clubs, festivals, or private events.

In summary, the Pioneer CMX-5000 is a feature-rich CD player that merges cutting-edge technology with user-friendly design. Its dual CD drives, intuitive interface, comprehensive effects, and robust connectivity options make it a powerful tool for any DJ looking to elevate their performance and deliver an unforgettable musical experience. With its reliable build quality and professional capabilities, the CMX-5000 remains a favored choice among industry experts.