Chapter 3 | Printing |
3.10Printing a Label (Cont.)
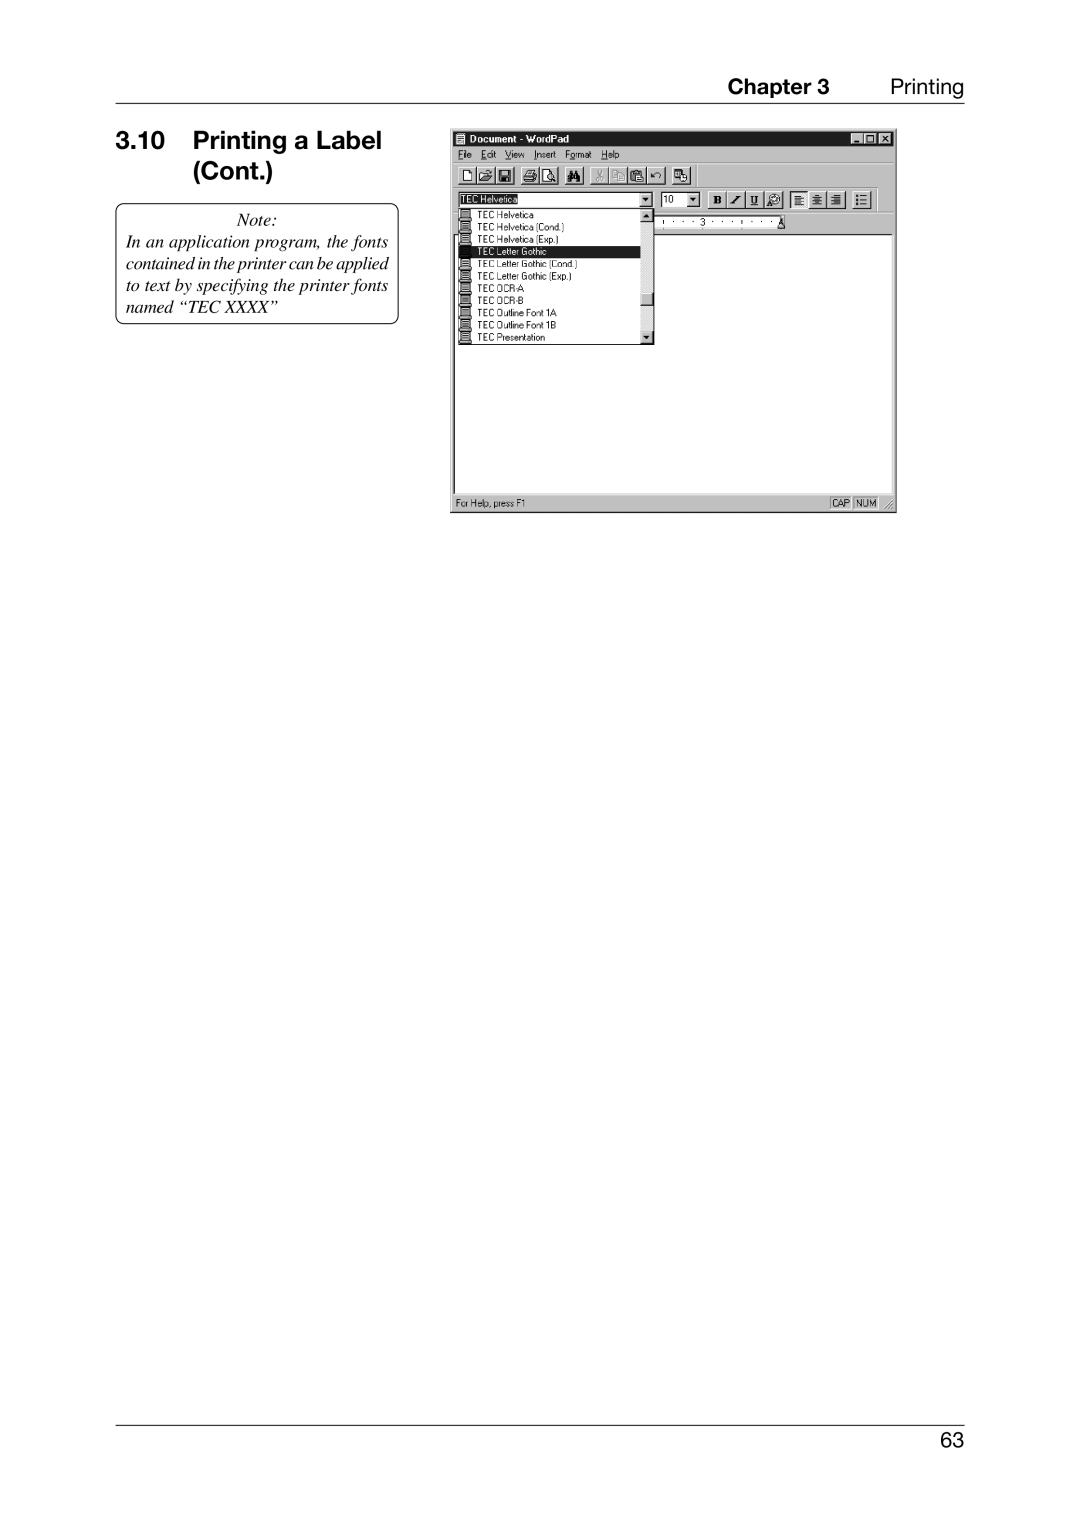
Note:
In an application program, the fonts contained in the printer can be applied to text by specifying the printer fonts named “TEC XXXX”
63
Chapter 3 | Printing |
Note:
In an application program, the fonts contained in the printer can be applied to text by specifying the printer fonts named “TEC XXXX”
63