32VISIONEER 9750 SCANNER USER’S GUIDE
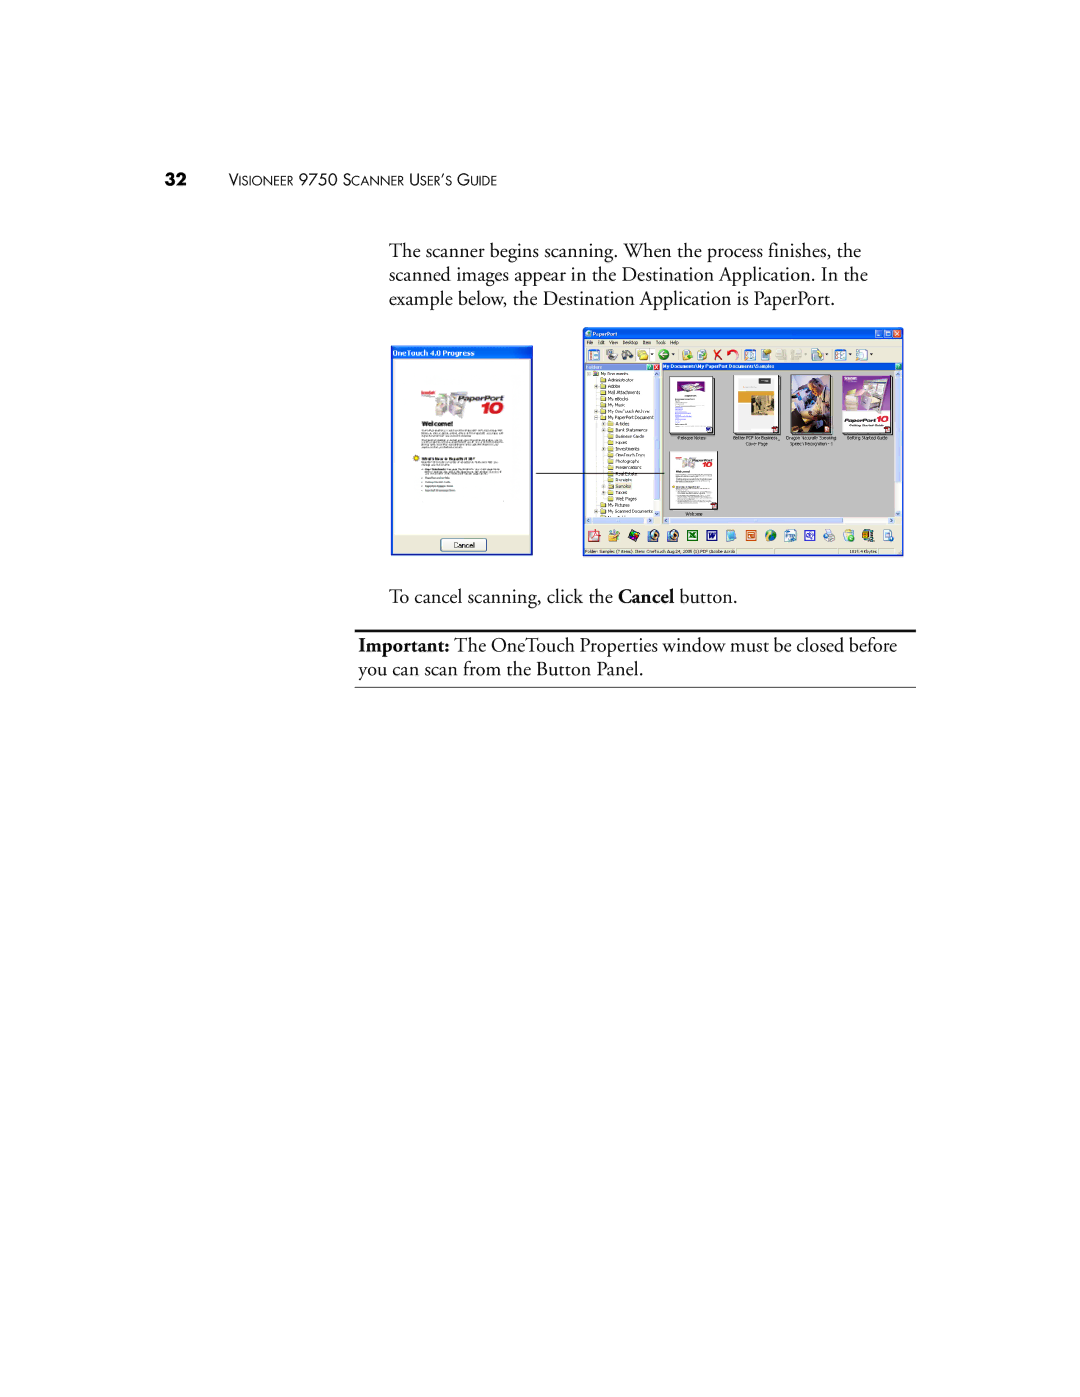
The scanner begins scanning. When the process finishes, the scanned images appear in the Destination Application. In the example below, the Destination Application is PaperPort.
To cancel scanning, click the Cancel button.
Important: The OneTouch Properties window must be closed before you can scan from the Button Panel.