SCANNING FROM THE BASIC INTERFACE OR ADVANCED INTERFACE | 99 |
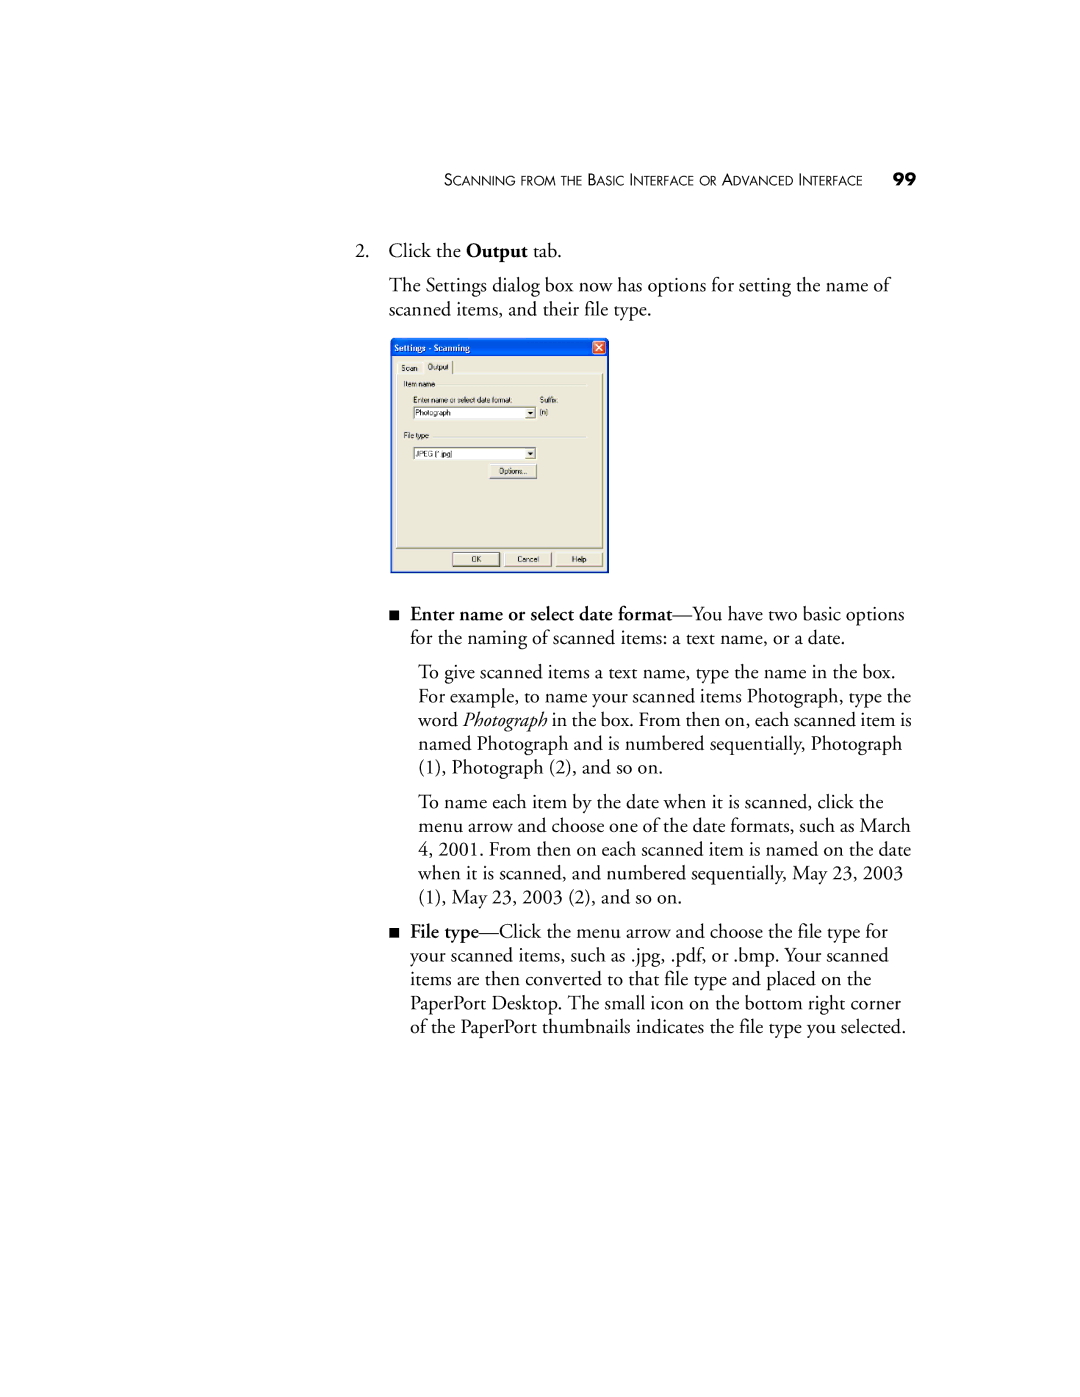
2.Click the Output tab.
The Settings dialog box now has options for setting the name of scanned items, and their file type.
■Enter name or select date
To give scanned items a text name, type the name in the box. For example, to name your scanned items Photograph, type the word Photograph in the box. From then on, each scanned item is named Photograph and is numbered sequentially, Photograph (1), Photograph (2), and so on.
To name each item by the date when it is scanned, click the menu arrow and choose one of the date formats, such as March 4, 2001. From then on each scanned item is named on the date when it is scanned, and numbered sequentially, May 23, 2003 (1), May 23, 2003 (2), and so on.
■File