80VISIONEER STROBE XP 470 SCANNER USER’S GUIDE
Note: Not all Destination Applications have the sPDF and nPDF options. Microsoft Word, for example, does not have them as scanning options.
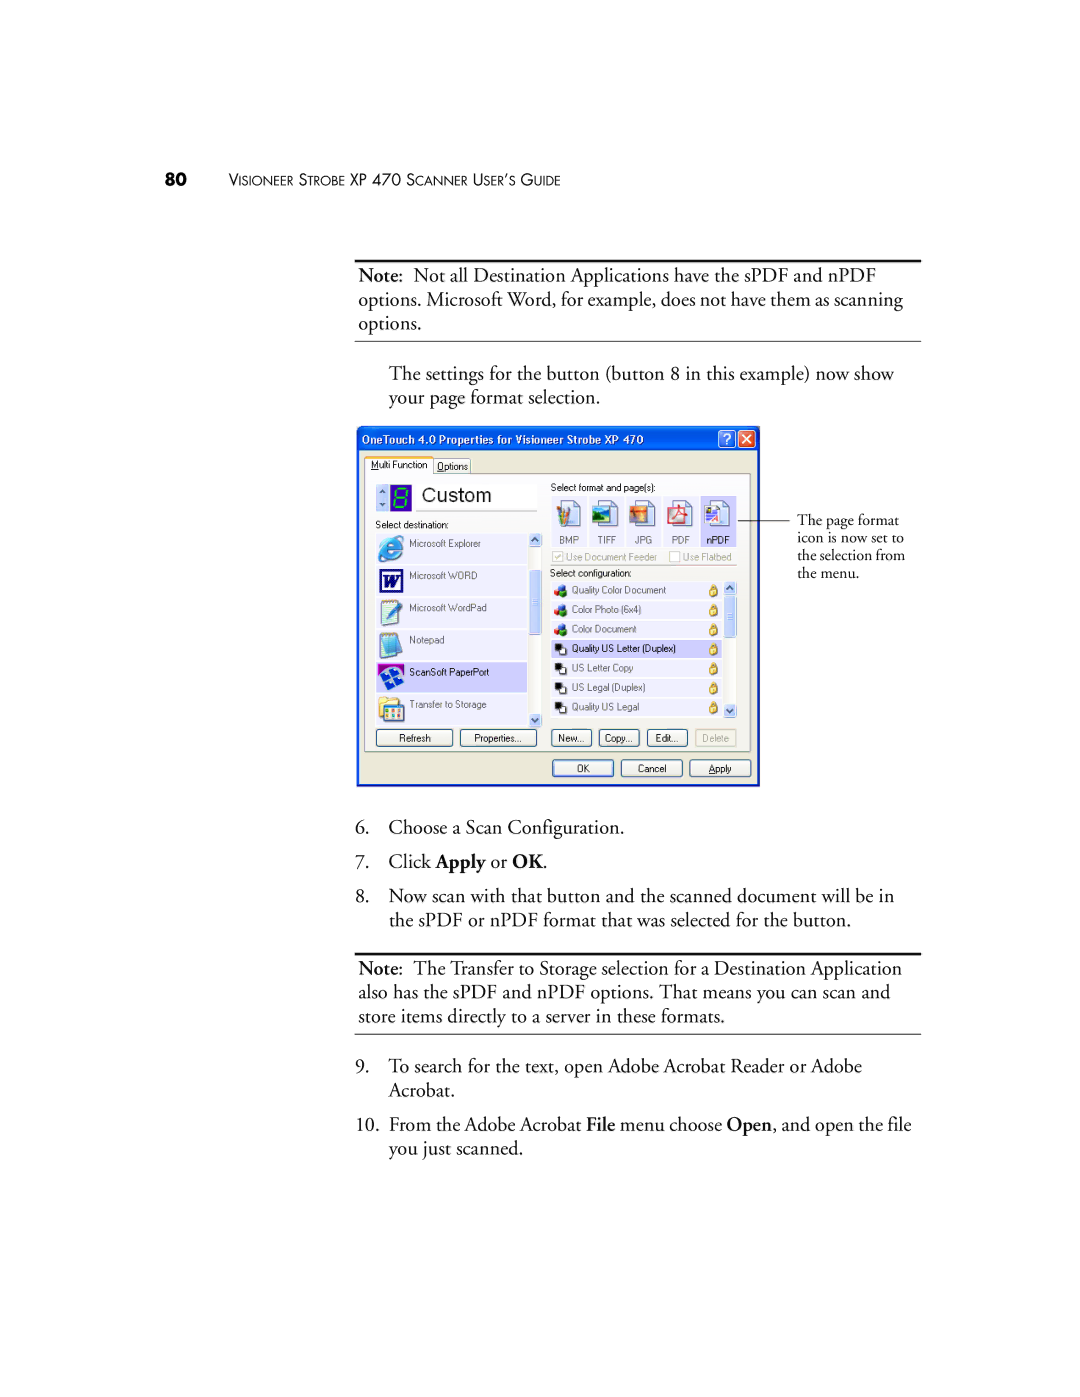
The settings for the button (button 8 in this example) now show your page format selection.
The page format icon is now set to the selection from the menu.
6.Choose a Scan Configuration.
7.Click Apply or OK.
8.Now scan with that button and the scanned document will be in the sPDF or nPDF format that was selected for the button.
Note: The Transfer to Storage selection for a Destination Application also has the sPDF and nPDF options. That means you can scan and store items directly to a server in these formats.
9.To search for the text, open Adobe Acrobat Reader or Adobe Acrobat.
10.From the Adobe Acrobat File menu choose Open, and open the file you just scanned.