HomePortal 3801HGV Gateway User Guide | Installing the HomePortal 3801HGV Gateway |
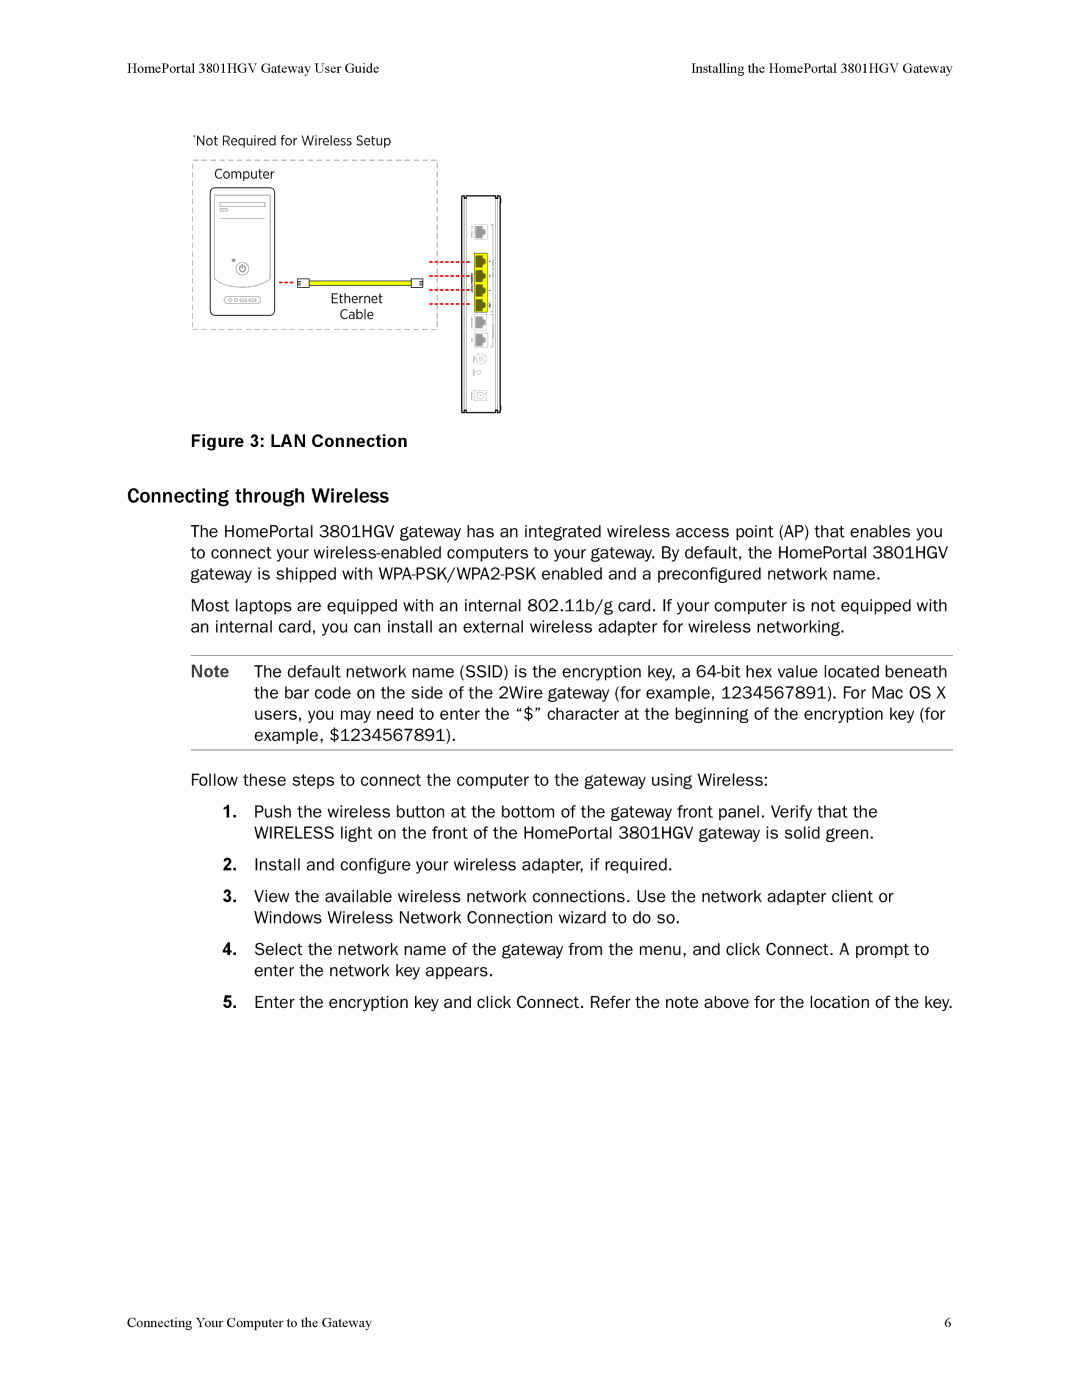
Figure 3: LAN Connection
Connecting through Wireless
The HomePortal 3801HGV gateway has an integrated wireless access point (AP) that enables you to connect your
Most laptops are equipped with an internal 802.11b/g card. If your computer is not equipped with an internal card, you can install an external wireless adapter for wireless networking.
Note The default network name (SSID) is the encryption key, a
Follow these steps to connect the computer to the gateway using Wireless:
1.Push the wireless button at the bottom of the gateway front panel. Verify that the WIRELESS light on the front of the HomePortal 3801HGV gateway is solid green.
2.Install and configure your wireless adapter, if required.
3.View the available wireless network connections. Use the network adapter client or Windows Wireless Network Connection wizard to do so.
4.Select the network name of the gateway from the menu, and click Connect. A prompt to enter the network key appears.
5.Enter the encryption key and click Connect. Refer the note above for the location of the key.
Connecting Your Computer to the Gateway | 6 |