53
2Power down the server and unplug all peripheral devices and the AC power cable.
3Remove the chassis cover. For instructions, see “Removing the Chassis Cover.”
4Remove the front bezel if it is installed. For instructions, see “Removing and Installing the Front Bezel.”
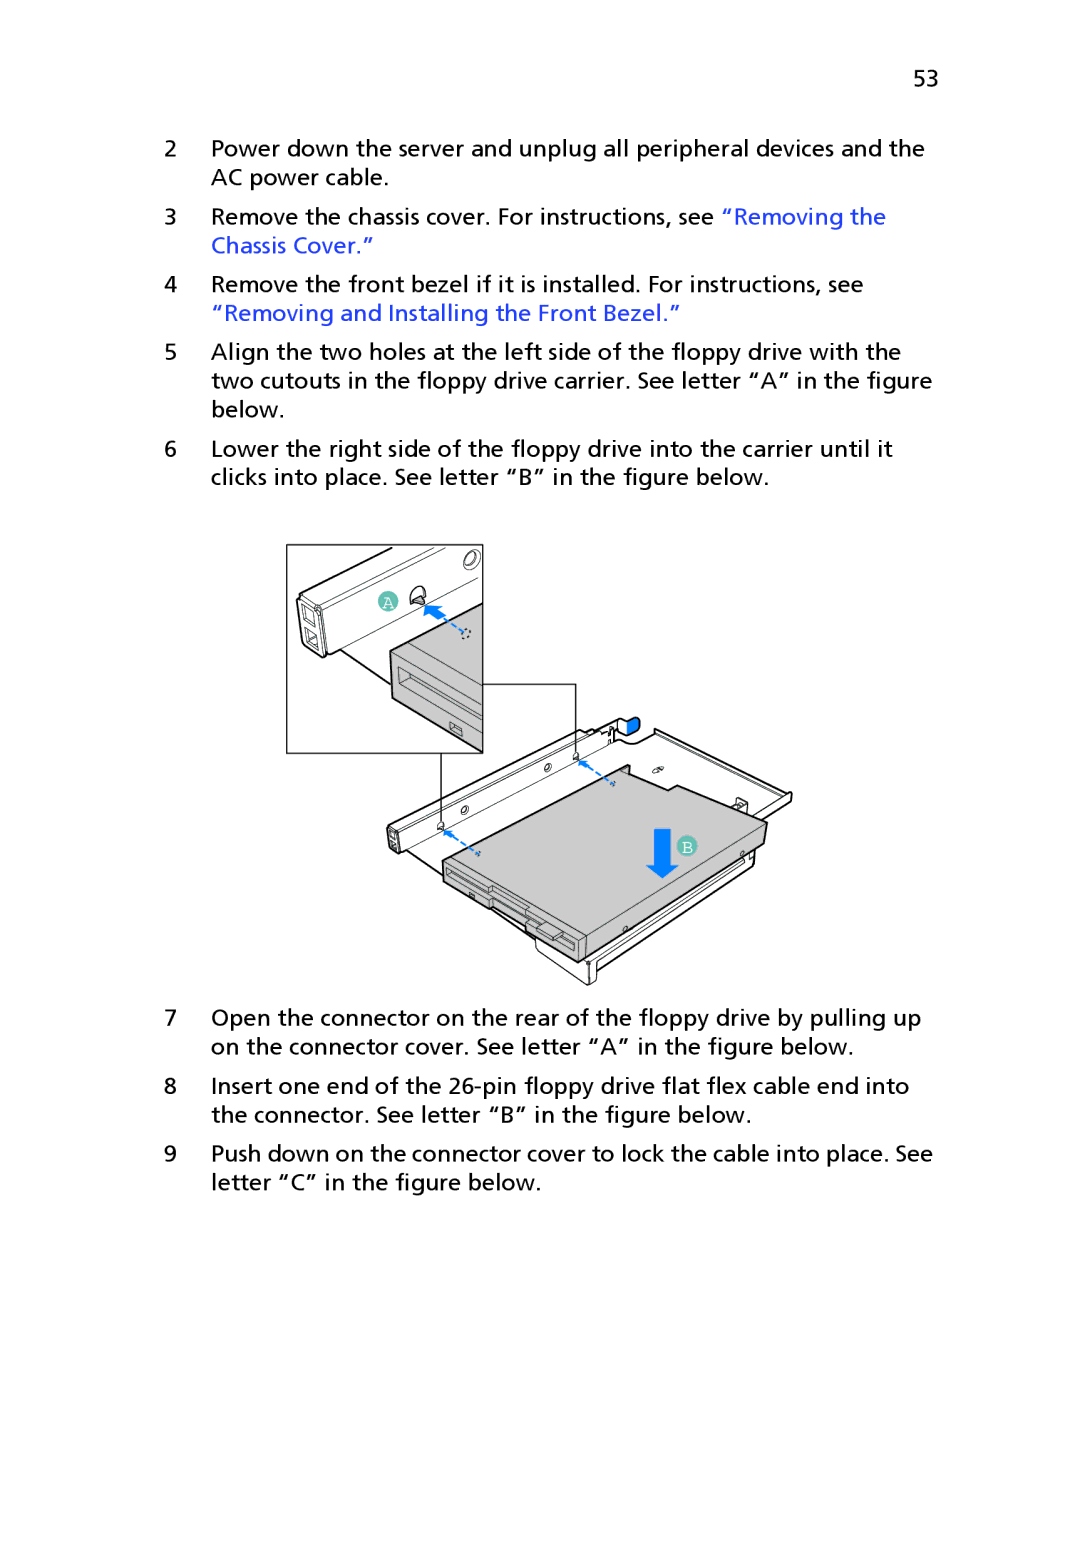
5Align the two holes at the left side of the floppy drive with the two cutouts in the floppy drive carrier. See letter “A” in the figure below.
6Lower the right side of the floppy drive into the carrier until it clicks into place. See letter “B” in the figure below.
A |
B
7Open the connector on the rear of the floppy drive by pulling up on the connector cover. See letter “A” in the figure below.
8Insert one end of the
9Push down on the connector cover to lock the cable into place. See letter “C” in the figure below.