Main components and their functions
This section provides the name and location of main components of this machine, and also describes their functions.
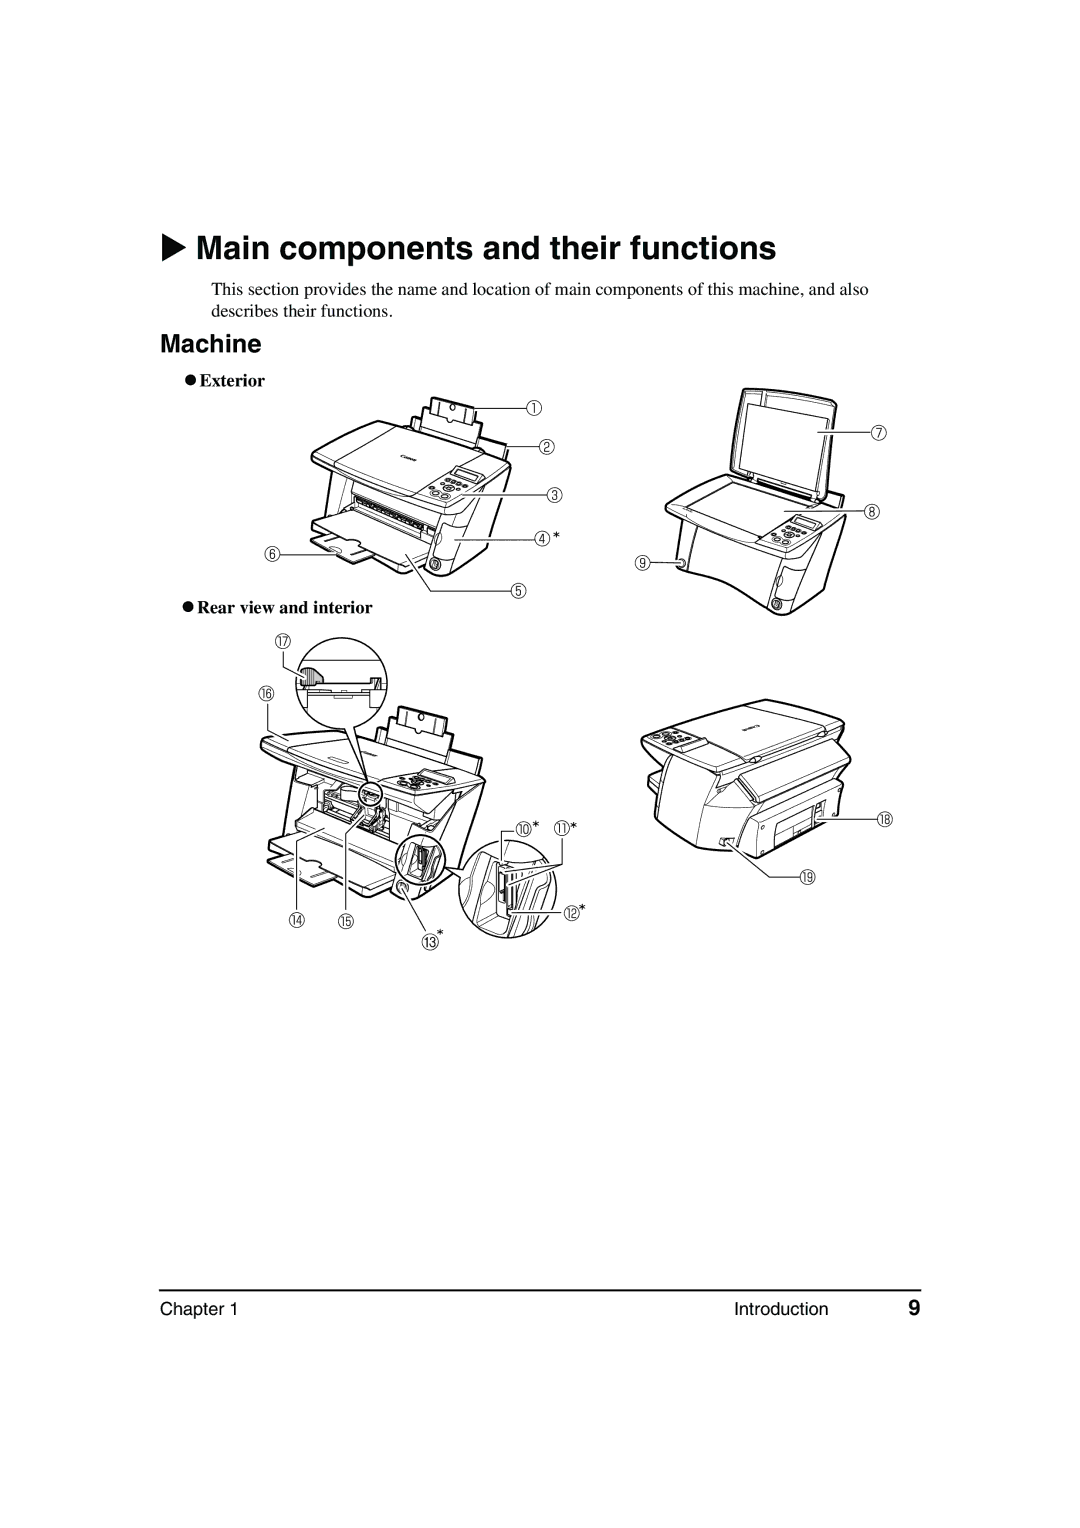
Machine
zExterior
zRear view and interior
Chapter 1 | Introduction | 9 |
This section provides the name and location of main components of this machine, and also describes their functions.
Chapter 1 | Introduction | 9 |