Determining the Installation Position
Placing in Front of the Screen
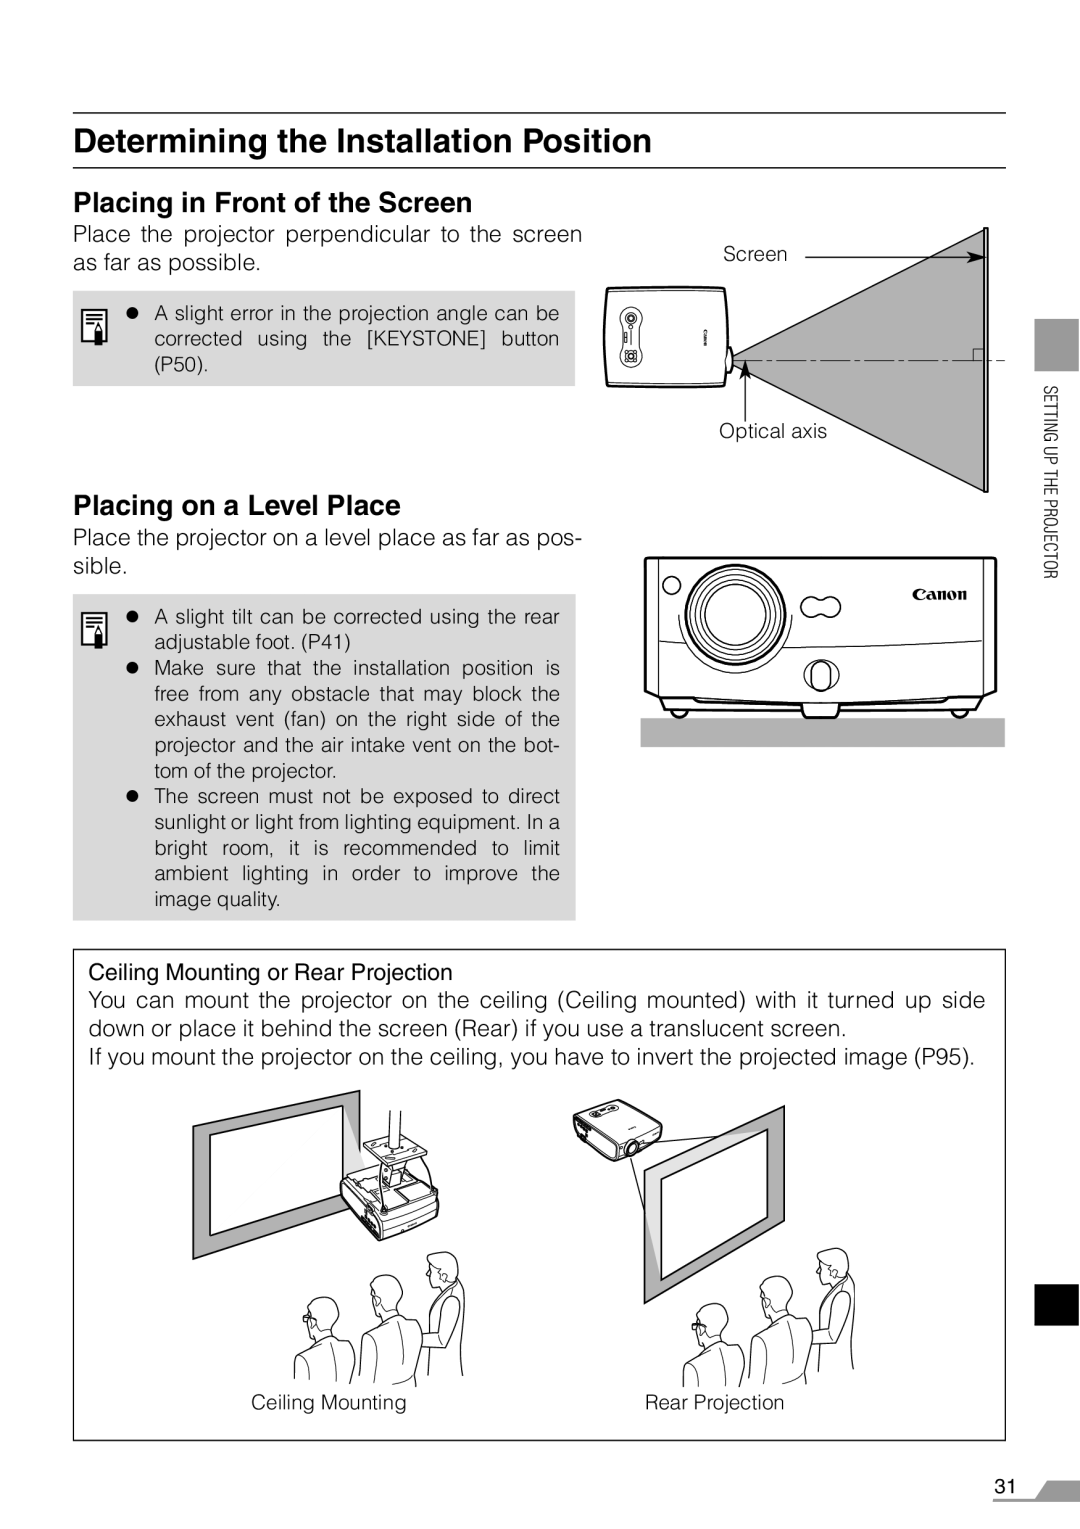
Place the projector perpendicular to the screen
as far as possible. | Screen |
| |
z A slight error in the projection angle can be |
|
corrected using the [KEYSTONE] button |
|
(P50). |
|
| Optical axis |
Placing on a Level Place
Place the projector on a level place as far as pos- sible.
z A slight tilt can be corrected using the rear adjustable foot. (P41)
zMake sure that the installation position is
free from any obstacle that may block the exhaust vent (fan) on the right side of the projector and the air intake vent on the bot- tom of the projector.
zThe screen must not be exposed to direct sunlight or light from lighting equipment. In a bright room, it is recommended to limit ambient lighting in order to improve the image quality.
Ceiling Mounting or Rear Projection
You can mount the projector on the ceiling (Ceiling mounted) with it turned up side down or place it behind the screen (Rear) if you use a translucent screen.
If you mount the projector on the ceiling, you have to invert the projected image (P95).
SETTING UP THE PROJECTOR
Ceiling Mounting | Rear Projection |
31