Turning On/Off the LED Illumination
[LED illumination]
|
|
|
|
|
|
|
|
|
|
|
|
|
| DIGITAL PC | ANALOG PC |
|
|
|
|
|
|
|
|
|
|
|
|
|
|
|
| DIGITAL VIDEO | COMP./SCART | ||
|
|
|
|
|
|
|
|
|
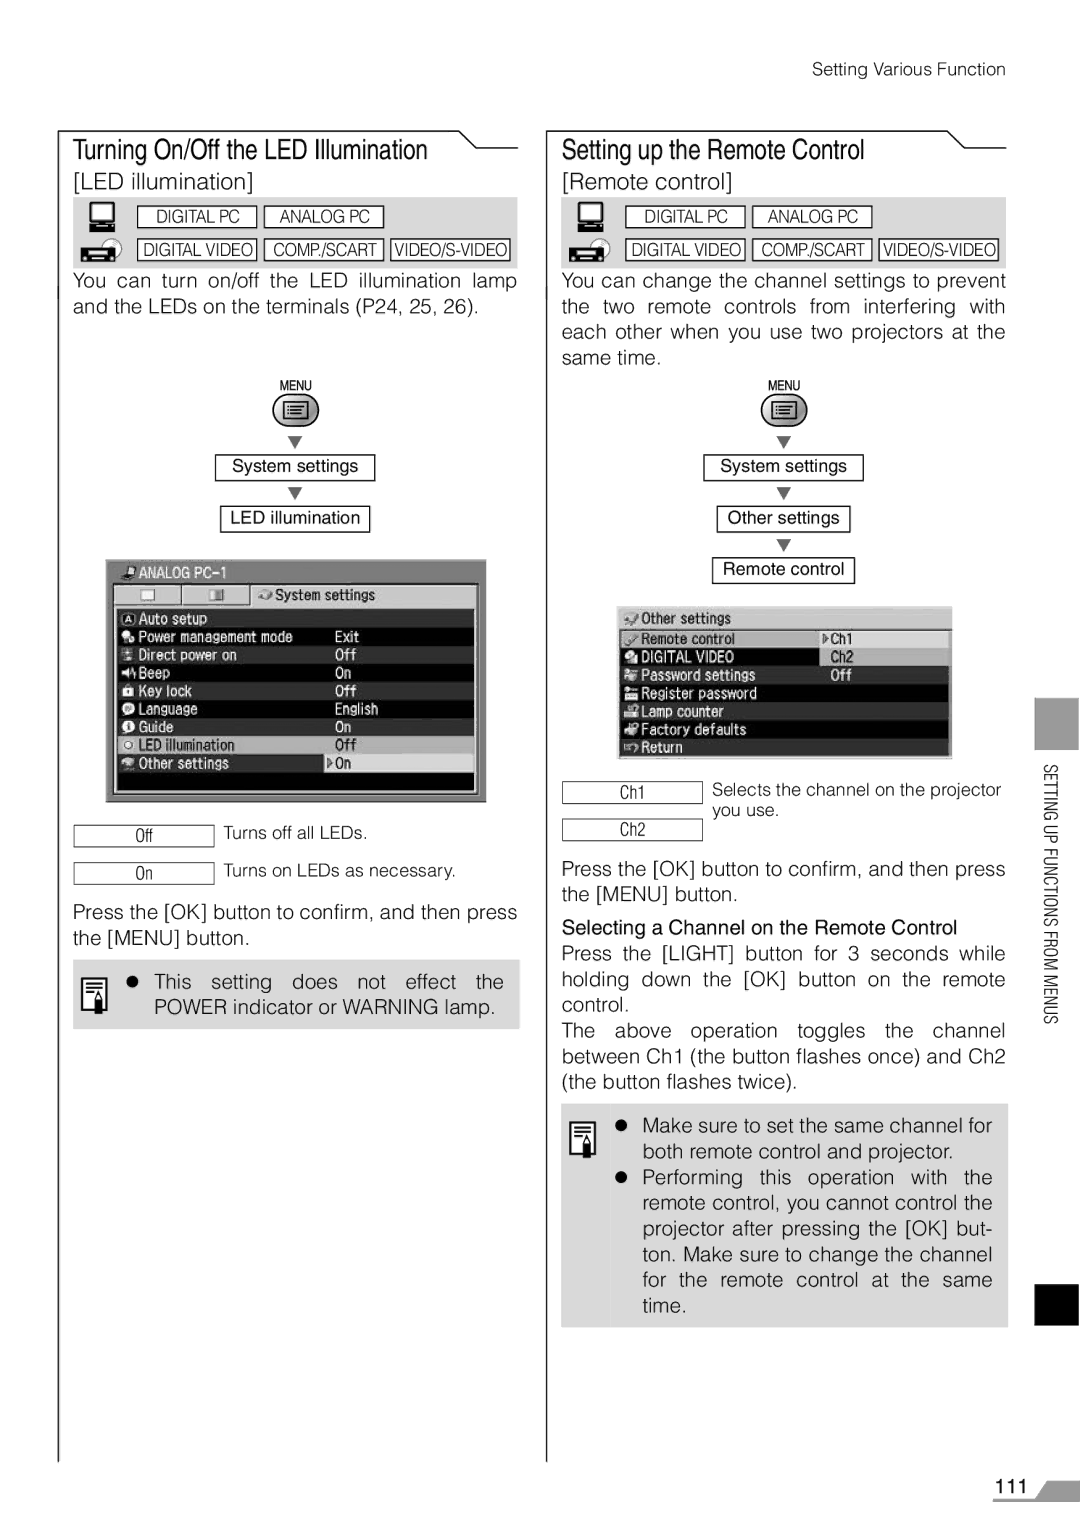
You can turn on/off the LED illumination lamp and the LEDs on the terminals (P24, 25, 26).
T
System settings
T
LED illumination
Off | Turns off all LEDs. |
| Turns on LEDs as necessary. |
On |
Press the [OK] button to confirm, and then press the [MENU] button.
z This setting does not effect the POWER indicator or WARNING lamp.
Setting Various Function
Setting up the Remote Control
[Remote control]
|
|
|
|
|
|
|
|
|
|
|
|
|
| DIGITAL PC | ANALOG PC |
|
|
|
|
|
|
|
|
|
|
|
|
|
|
|
| DIGITAL VIDEO | COMP./SCART | ||
|
|
|
|
| ||||
|
|
|
|
|
|
|
|
|
You can change the channel settings to prevent the two remote controls from interfering with each other when you use two projectors at the same time.
T
System settings
T
Other settings
T
Remote control
Ch1 | Selects the channel on the projector |
| you use. |
| |
Ch2 |
|
Press the [OK] button to confirm, and then press the [MENU] button.
Selecting a Channel on the Remote Control Press the [LIGHT] button for 3 seconds while holding down the [OK] button on the remote control.
The above operation toggles the channel between Ch1 (the button flashes once) and Ch2 (the button flashes twice).
z Make sure to set the same channel for both remote control and projector.
zPerforming this operation with the remote control, you cannot control the projector after pressing the [OK] but- ton. Make sure to change the channel for the remote control at the same time.
SETTING UP FUNCTIONS FROM MENUS
111