PROJECTING AN IMAGE FROM AV EQUIPMENT
Performing the Auto Setup
With the auto setup function, a series of screen adjustment and settings, such as Auto focus and Auto keystone is performed automatically when projecting a video image from an AV equipment. You can start the projection only with this operation if the input signal has been appropriately selected.
Refer to page 44 for detailed information on items adjusted by performing the auto setup.
1 Select [DIGITAL VIDEO].
Perform the steps shown in the "Selecting DIGITAL VIDEO" section on page 68 before performing the auto setup if you want to project a digital content video image.
Skip this step if [DIGITAL VIDEO] has been selected at the previous projection.
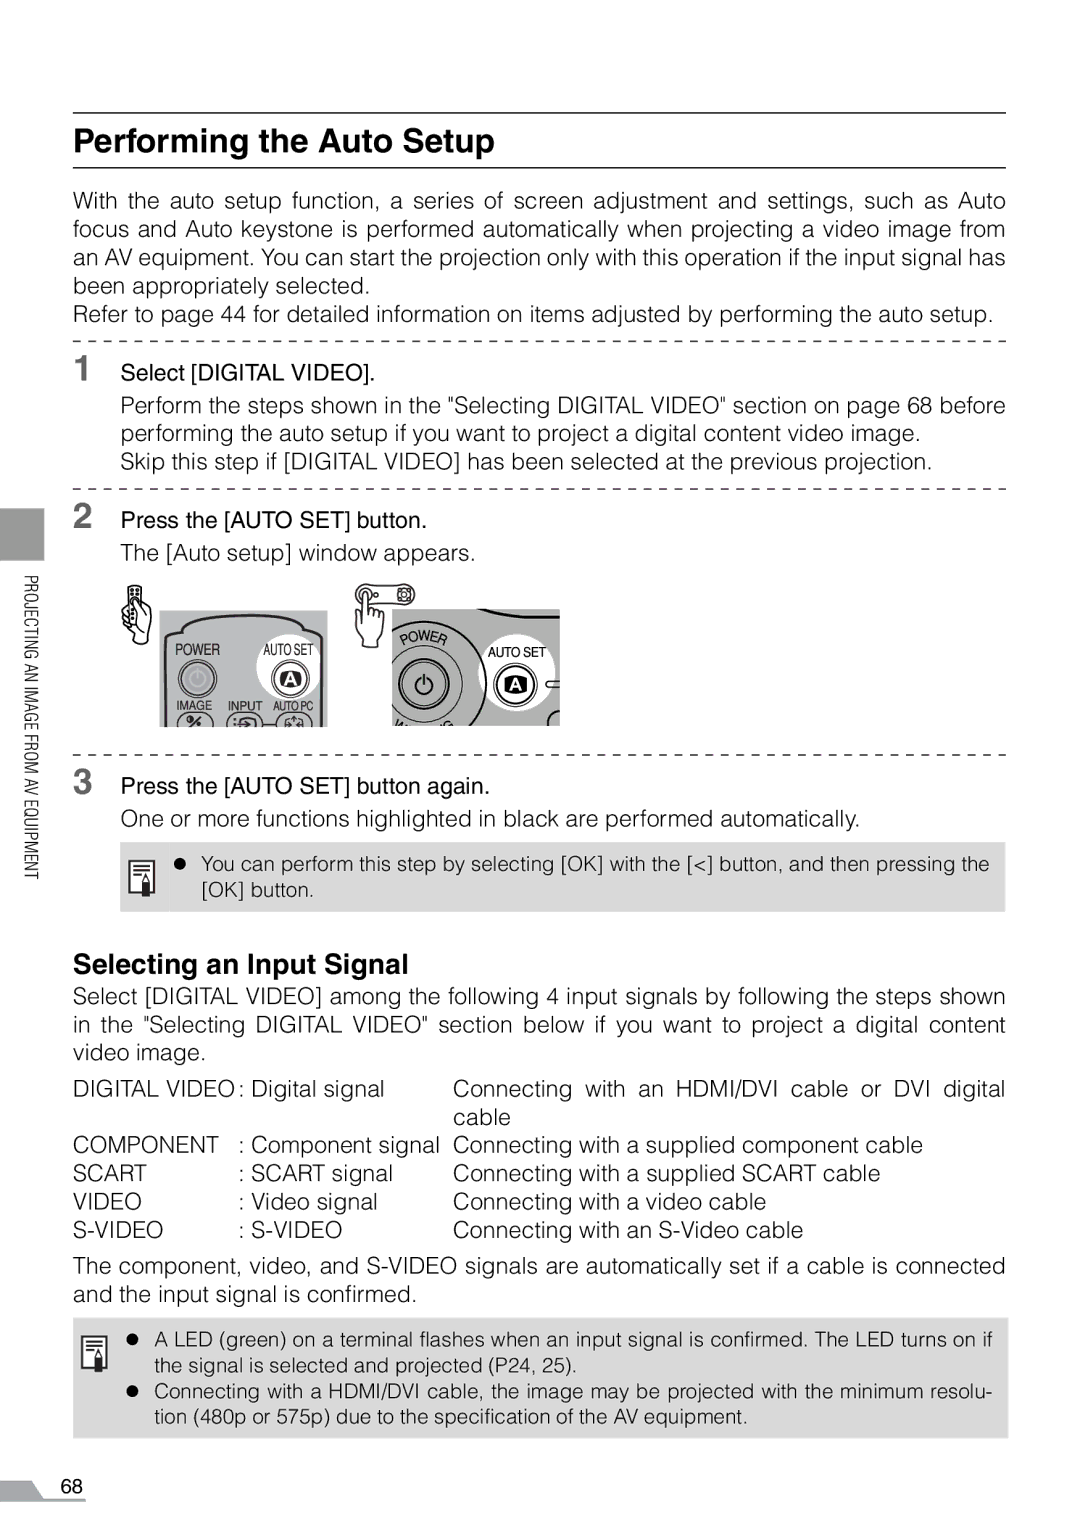
2 Press the [AUTO SET] button.
The [Auto setup] window appears.
3 Press the [AUTO SET] button again.
One or more functions highlighted in black are performed automatically.
z You can perform this step by selecting [OK] with the [<] button, and then pressing the [OK] button.
Selecting an Input Signal
Select [DIGITAL VIDEO] among the following 4 input signals by following the steps shown in the "Selecting DIGITAL VIDEO" section below if you want to project a digital content video image.
DIGITAL VIDEO : Digital signal | Connecting with an HDMI/DVI cable or DVI digital | |
|
| cable |
COMPONENT | : Component signal Connecting with a supplied component cable | |
SCART | : SCART signal | Connecting with a supplied SCART cable |
VIDEO | : Video signal | Connecting with a video cable |
: | Connecting with an | |
The component, video, and
z A LED (green) on a terminal flashes when an input signal is confirmed. The LED turns on if the signal is selected and projected (P24, 25).
zConnecting with a HDMI/DVI cable, the image may be projected with the minimum resolu- tion (480p or 575p) due to the specification of the AV equipment.
68
