6-4. Power On/Off
6-4.1. POWER ON On the rear panel:
Turn on the POWER switch on the rear panel (See
By Stand-by Power Mode Button
Press this button on the front panel (See
6-4.2. STAND-BY POWER MODE BUTTON
In order to extend the lifetime of the LCD screen and the backlights inside the monitor, press the POWER button located on the front panel (See [Fig.
6-4.3. POWER OFF
By pressing the Stand-by Power Mode Button:
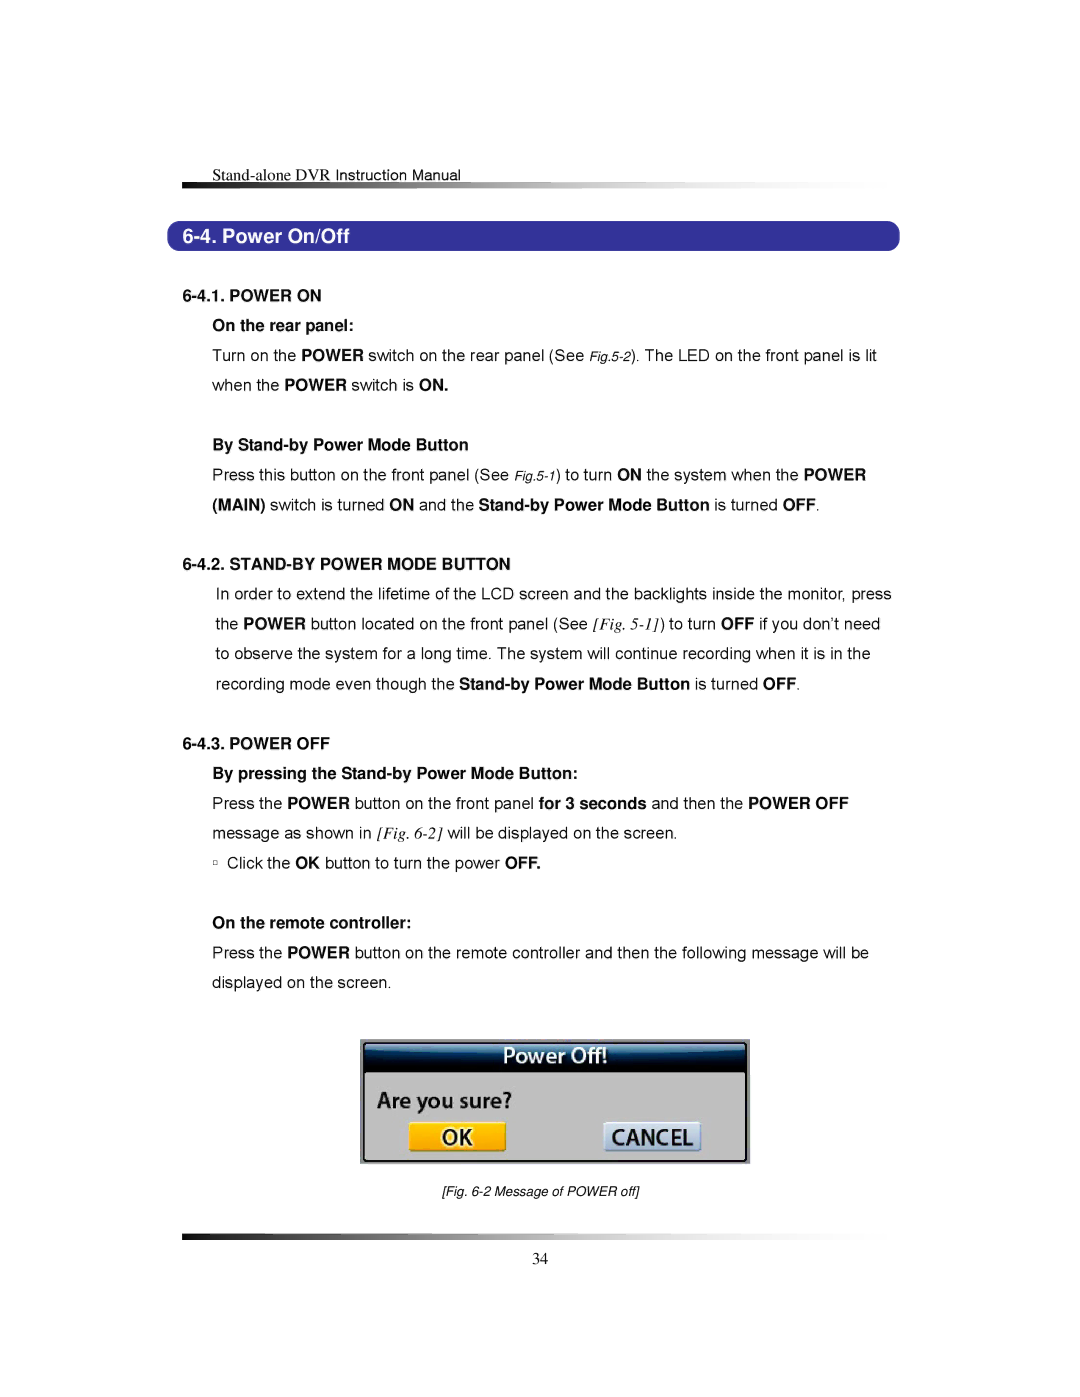
Press the POWER button on the front panel for 3 seconds and then the POWER OFF message as shown in [Fig.
▫Click the OK button to turn the power OFF.
On the remote controller:
Press the POWER button on the remote controller and then the following message will be displayed on the screen.
[Fig. 6-2 Message of POWER off]
34
