2.Rotate the power supply out of the way according to the instructions in “Rotating the Power Supply Away From the System Board” in Chapter 5.
3.See Figure
4.Press in on the heat sink clips that secure the car- tridge/heat sink assembly to the metal standoffs on the system board (see Figure
5.Remove the current SEC cartridge/heat sink assembly from its connector.
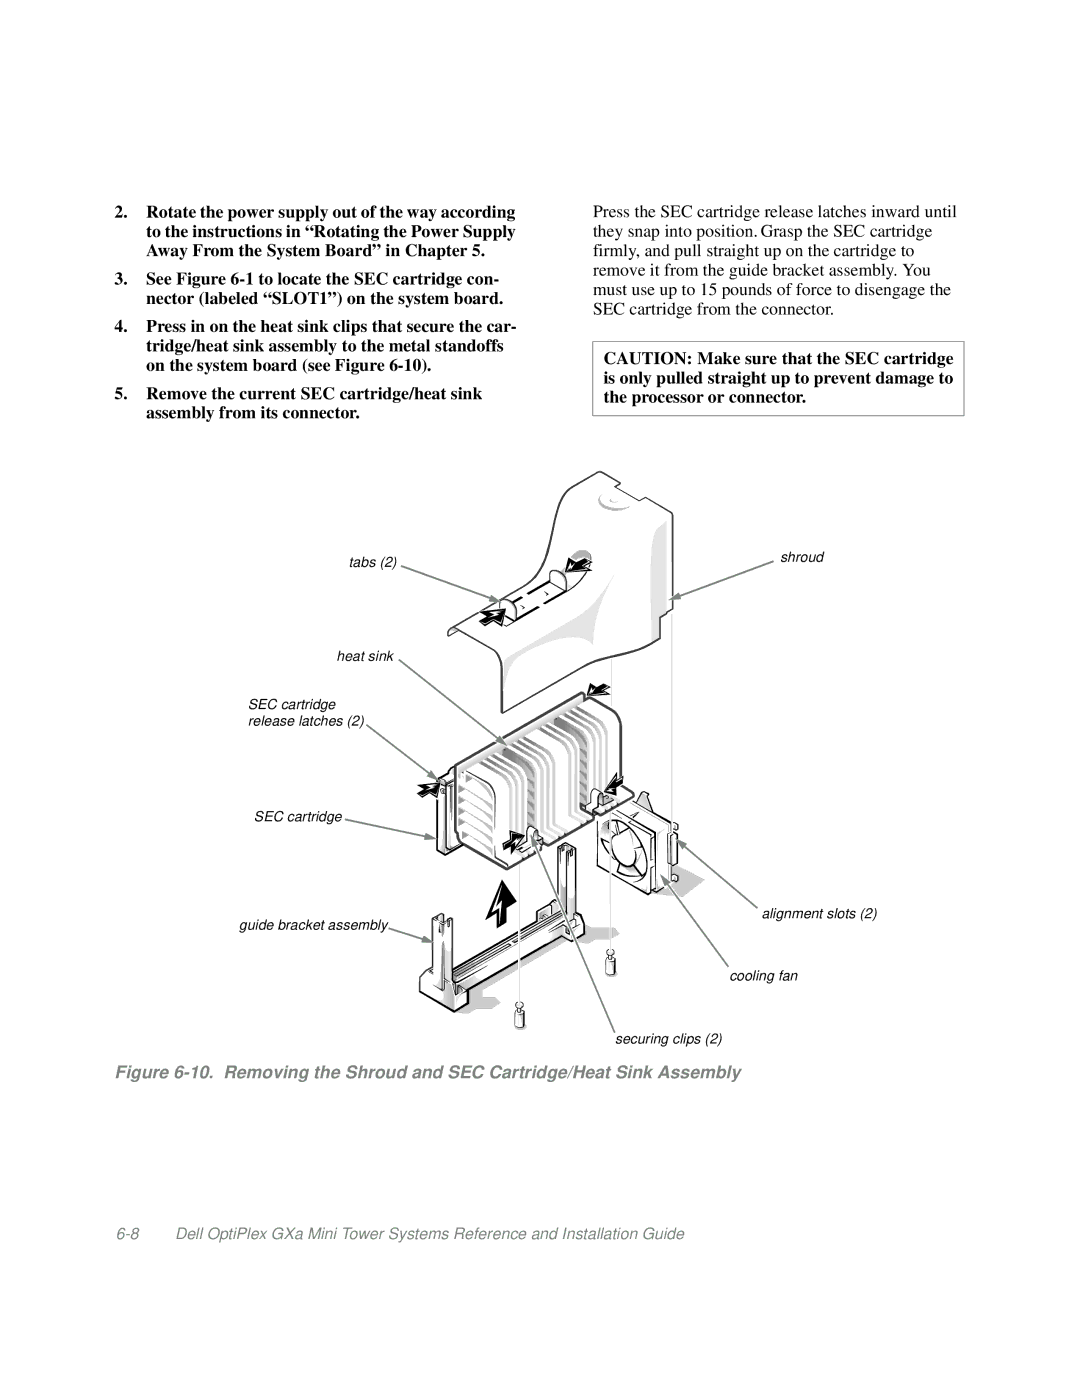
Press the SEC cartridge release latches inward until they snap into position. Grasp the SEC cartridge firmly, and pull straight up on the cartridge to remove it from the guide bracket assembly. You must use up to 15 pounds of force to disengage the SEC cartridge from the connector.
CAUTION: Make sure that the SEC cartridge is only pulled straight up to prevent damage to the processor or connector.
tabs (2)
heat sink
SEC cartridge release latches (2)
SEC cartridge
guide bracket assembly
shroud
alignment slots (2)
cooling fan
securing clips (2)