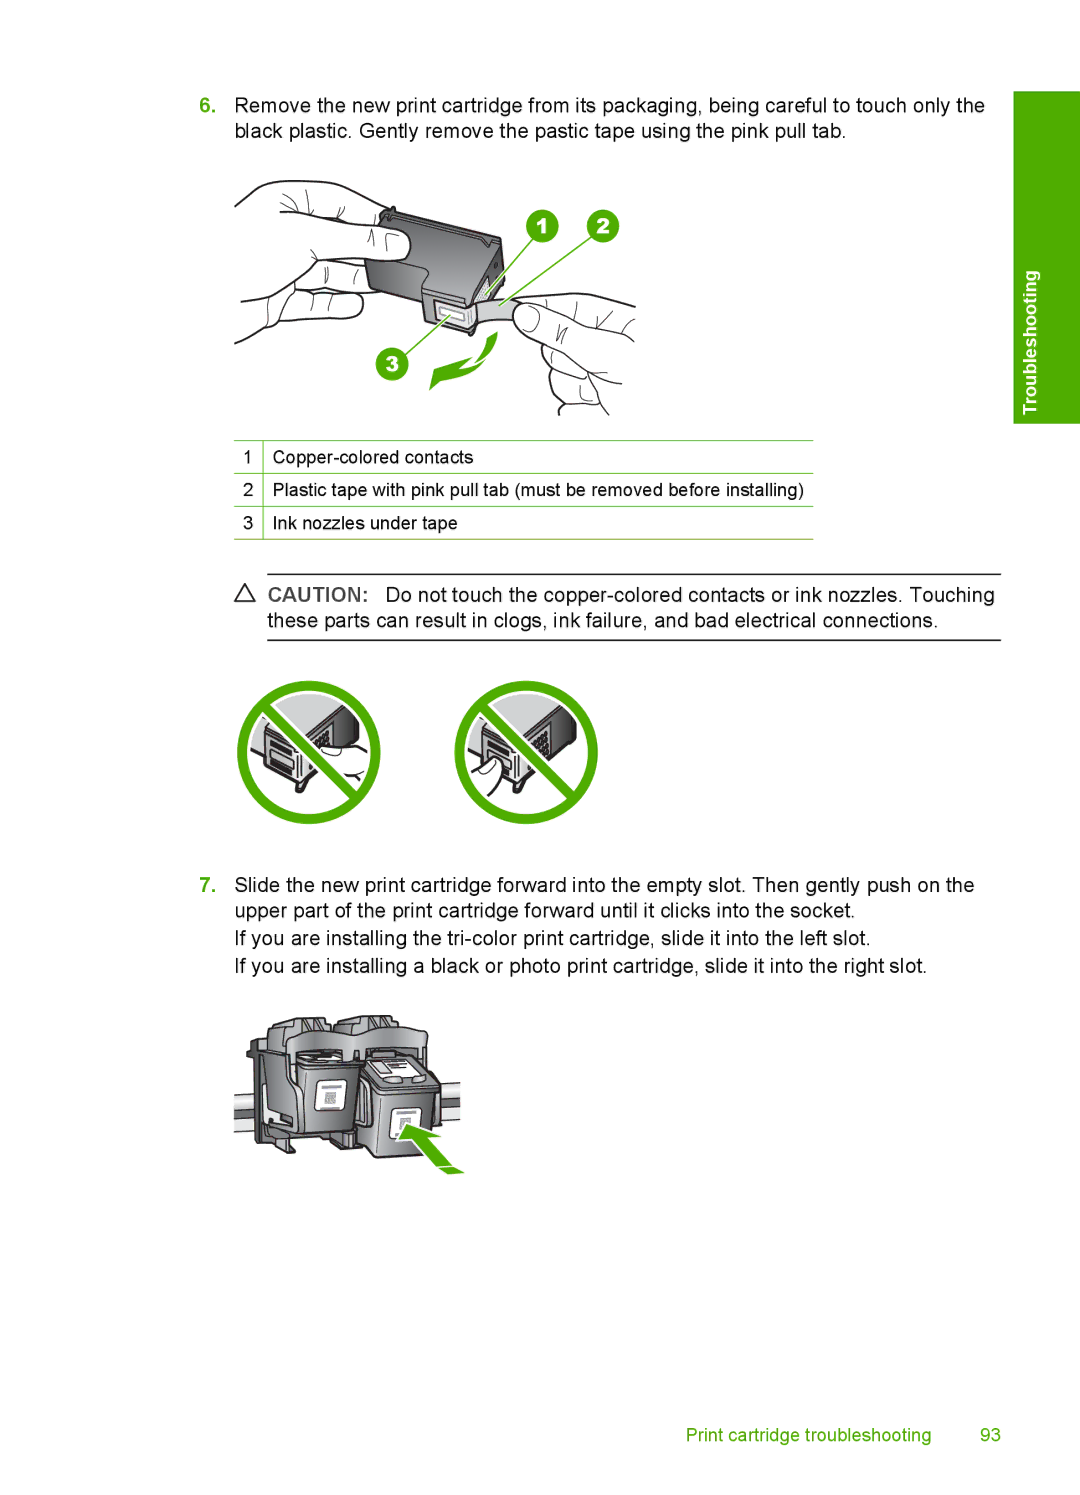
6.Remove the new print cartridge from its packaging, being careful to touch only the black plastic. Gently remove the pastic tape using the pink pull tab.
Troubleshooting
1
2Plastic tape with pink pull tab (must be removed before installing)
3Ink nozzles under tape
![]() CAUTION: Do not touch the
CAUTION: Do not touch the
7.Slide the new print cartridge forward into the empty slot. Then gently push on the upper part of the print cartridge forward until it clicks into the socket.
If you are installing the
If you are installing a black or photo print cartridge, slide it into the right slot.
Print cartridge troubleshooting | 93 |