Hard Disk Mirroring
Mirroring refers to recording the same data in the 2
|
| 1. |
|
|
CANCEL | SEARCH | MENU | HDD | OPERATE |
| ||||
|
| REV | FWD |
|
TIMER |
|
|
| LOCK |
⬛Mirroring Setting
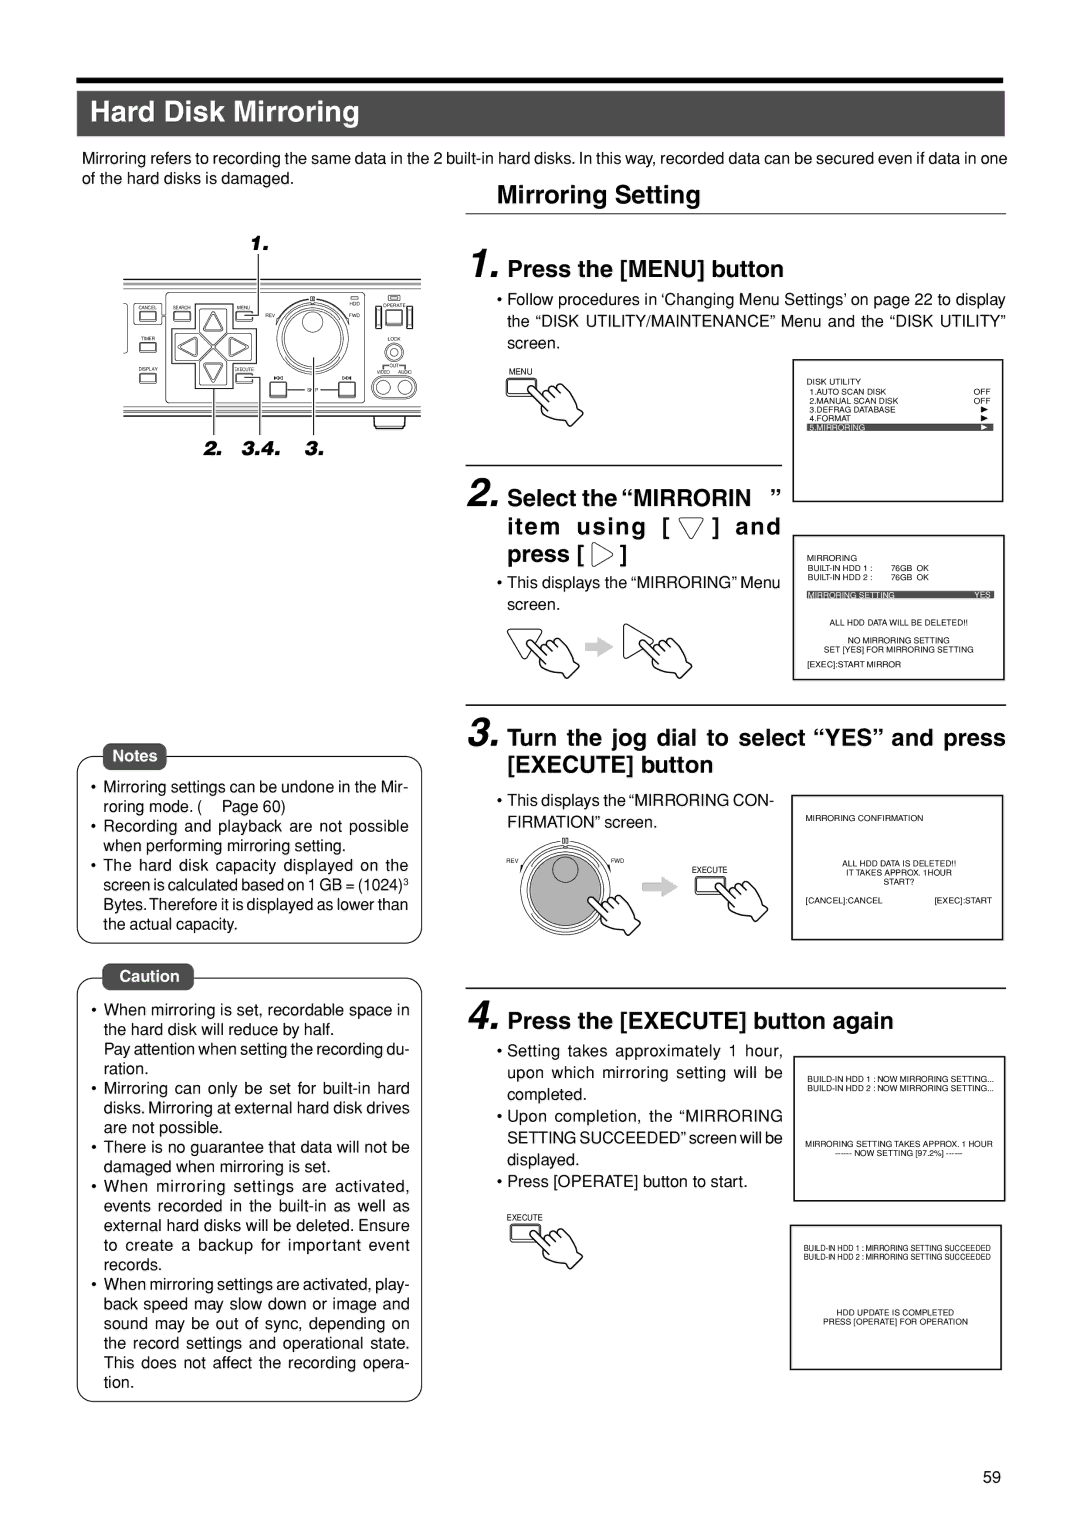
1. Press the [MENU] button
•Follow procedures in ‘Changing Menu Settings’ on page 22 to display the “DISK UTILITY/MAINTENANCE” Menu and the “DISK UTILITY” screen.
DISPLAY | EXECUTE | OUT | |
VIDEO AUDIO | |||
|
| ||
|
| SKIP |
2. 3.4. 3.
MENU
2. Select the “MIRRORING” item using [  ] and press [
  ]
]
•This displays the “MIRRORING” Menu screen.
DISK UTILITY |
|
1.AUTO SCAN DISK | OFF |
2.MANUAL SCAN DISK | OFF |
3.DEFRAG DATABASE |
|
4.FORMAT |
|
5.MIRRORING |
|
MIRRORING |
|
|
76GB OK |
| |
76GB OK |
| |
|
| |
MIRRORING SETTING | YES | |
ALL HDD DATA WILL BE DELETED!!
NO MIRRORING SETTING
SET [YES] FOR MIRRORING SETTING [EXEC]:START MIRROR
Notes
•Mirroring settings can be undone in the Mir- roring mode. (☞ Page 60)
•Recording and playback are not possible when performing mirroring setting.
•The hard disk capacity displayed on the screen is calculated based on 1 GB = (1024)3 Bytes. Therefore it is displayed as lower than the actual capacity.
Caution
• When mirroring is set, recordable space in |
the hard disk will reduce by half. |
3. Turn the jog dial to select “YES” and press [EXECUTE] button
• This displays the “MIRRORING CON- |
|
| |
FIRMATION” screen. | MIRRORING CONFIRMATION |
| |
|
| ||
REV | FWD | ALL HDD DATA IS DELETED!! | |
| EXECUTE | ||
| IT TAKES APPROX. 1HOUR | ||
|
| ||
|
| START? |
|
|
| [CANCEL]:CANCEL | [EXEC]:START |
4. Press the [EXECUTE] button again
Pay attention when setting the recording du- |
ration. |
• Mirroring can only be set for |
disks. Mirroring at external hard disk drives |
are not possible. |
• There is no guarantee that data will not be |
damaged when mirroring is set. |
• When mirroring settings are activated, |
events recorded in the |
•Setting takes approximately 1 hour, upon which mirroring setting will be completed.
•Upon completion, the “MIRRORING SETTING SUCCEEDED” screen will be displayed.
•Press [OPERATE] button to start.
MIRRORING SETING
MIRRORING SETTING TAKES APPROX. 1 HOUR
external hard disks will be deleted. Ensure |
to create a backup for important event |
records. |
• When mirroring settings are activated, play- |
back speed may slow down or image and |
sound may be out of sync, depending on |
the record settings and operational state. |
This does not affect the recording opera- |
tion. |
EXECUTE
MIRRORING SETING
HDD UPDATE IS COMPLETED
PRESS [OPERATE] FOR OPERATION
59