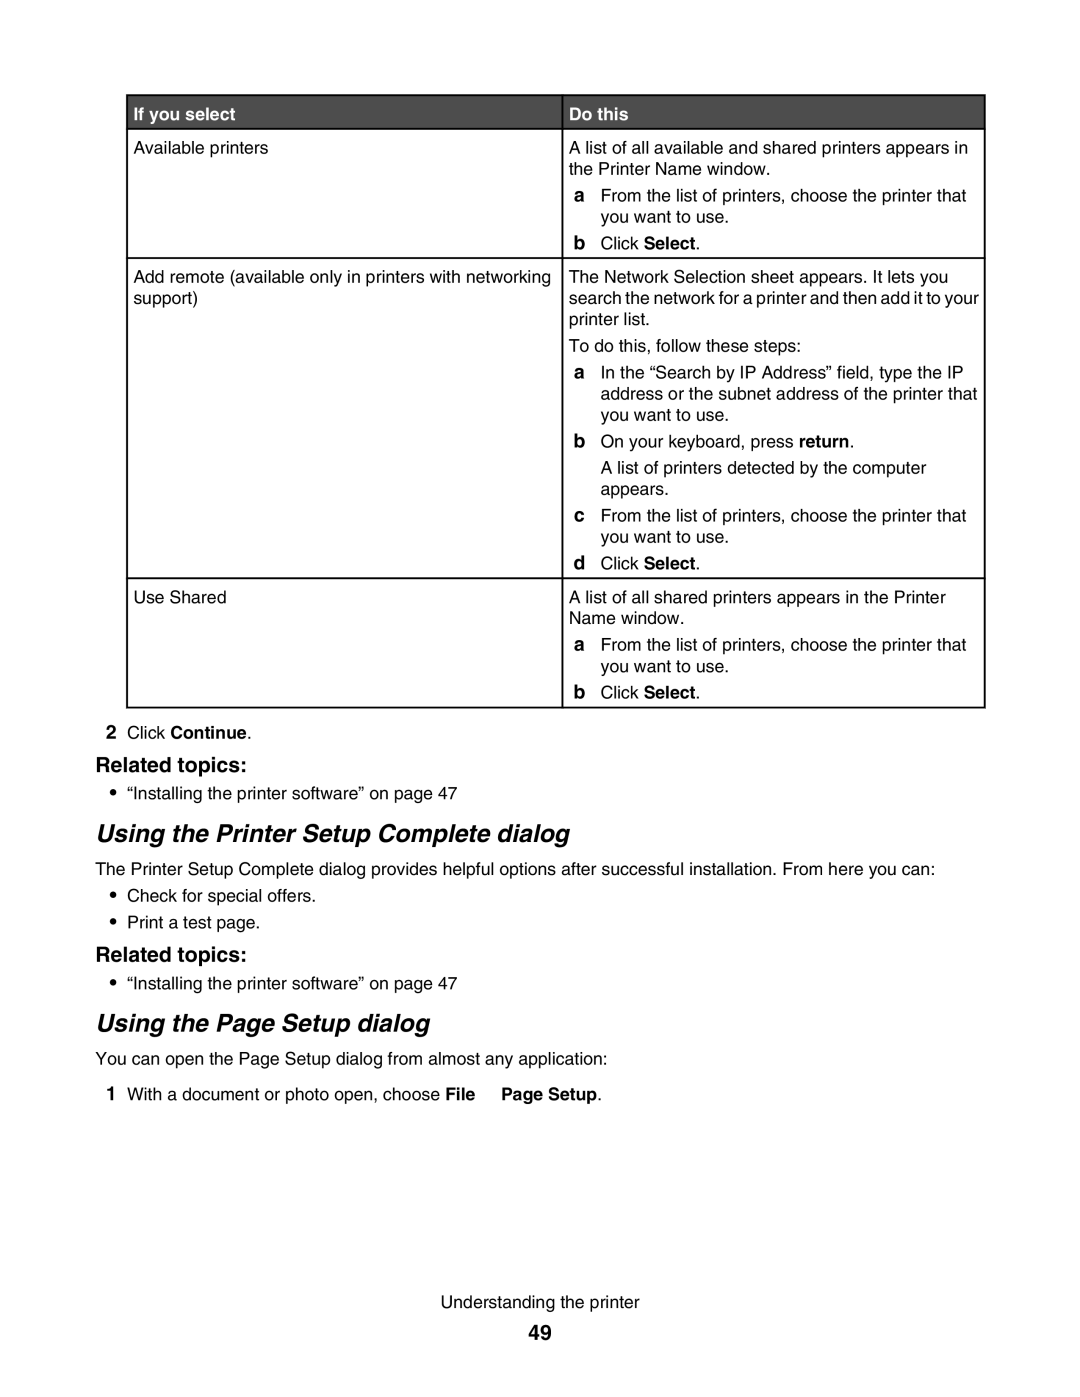
If you select | Do this | ||
Available printers | A list of all available and shared printers appears in |
| |
| the Printer Name window. | ||
| a From the list of printers, choose the printer that | ||
|
| you want to use. | |
| b | Click Select. | |
|
|
|
|
Add remote (available only in printers with networking | The Network Selection sheet appears. It lets you | ||
support) | search the network for a printer and then add it to your | ||
| printer list. | ||
| To do this, follow these steps: | ||
| a In the “Search by IP Address” field, type the IP | ||
|
| address or the subnet address of the printer that | |
|
| you want to use. | |
| b On your keyboard, press return. | ||
|
| A list of printers detected by the computer | |
|
| appears. | |
| c From the list of printers, choose the printer that | ||
|
| you want to use. | |
| d | Click Select. | |
|
|
|
|
Use Shared | A list of all shared printers appears in the Printer | ||
| Name window. | ||
| a From the list of printers, choose the printer that | ||
|
| you want to use. | |
| b | Click Select. | |
|
|
|
|
2 Click Continue.
Related topics:
•“Installing the printer software” on page 47
Using the Printer Setup Complete dialog
The Printer Setup Complete dialog provides helpful options after successful installation. From here you can:
•Check for special offers.
•Print a test page.
Related topics:
•“Installing the printer software” on page 47
Using the Page Setup dialog
You can open the Page Setup dialog from almost any application:
1With a document or photo open, choose File Page Setup.
Understanding the printer
49
