Note: To prevent smudging, remove each
Related topics:
•“Using the Page Setup dialog” on page 49
•“Using the Print dialog” on page 50
Printing transparencies
1Load transparencies.
2Customize the settings as needed in the Page Setup dialog. a With a document open, click File Page Setup.
b From the “Format for”
e Click OK.
3Customize the settings as needed in the Print dialog.
aFrom the software application, click File Print.
bFrom the Printer
cFrom the third
•From the Paper Type
•Select a print quality.
Note: Higher print quality settings result in better quality documents but may take longer to print.
dClick Print.
Note: To prevent smudging, remove each transparency as it exits, and let it dry before stacking. Transparencies may require up to 15 minutes to dry.
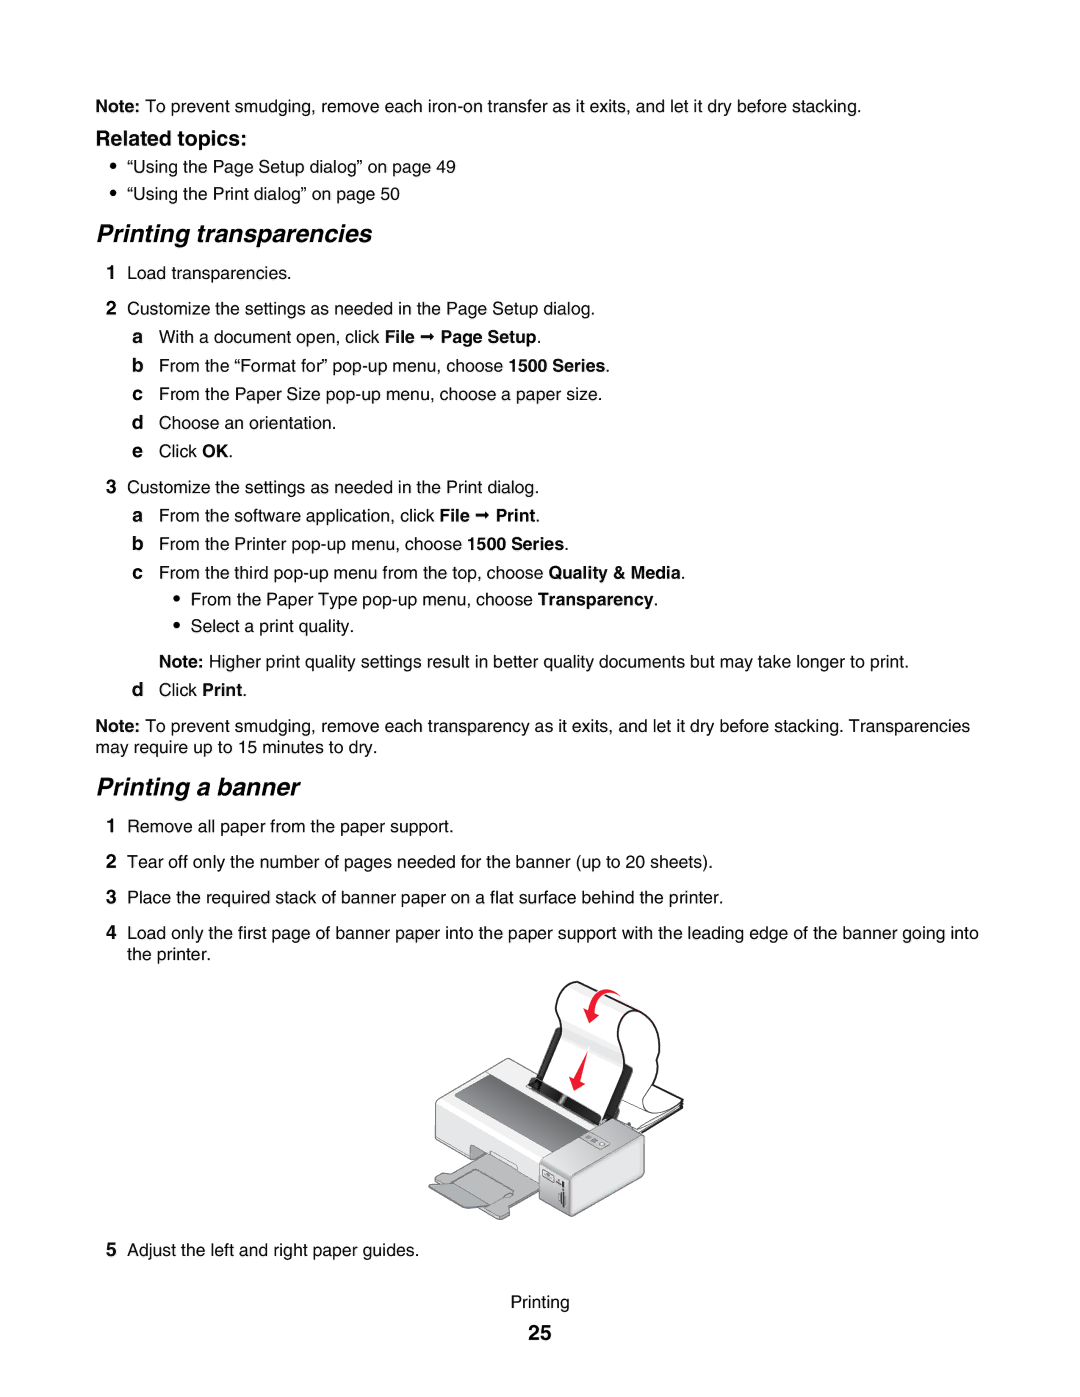
Printing a banner
1Remove all paper from the paper support.
2Tear off only the number of pages needed for the banner (up to 20 sheets).
3Place the required stack of banner paper on a flat surface behind the printer.
4Load only the first page of banner paper into the paper support with the leading edge of the banner going into the printer.
WI
FI
5Adjust the left and right paper guides.
Printing
25