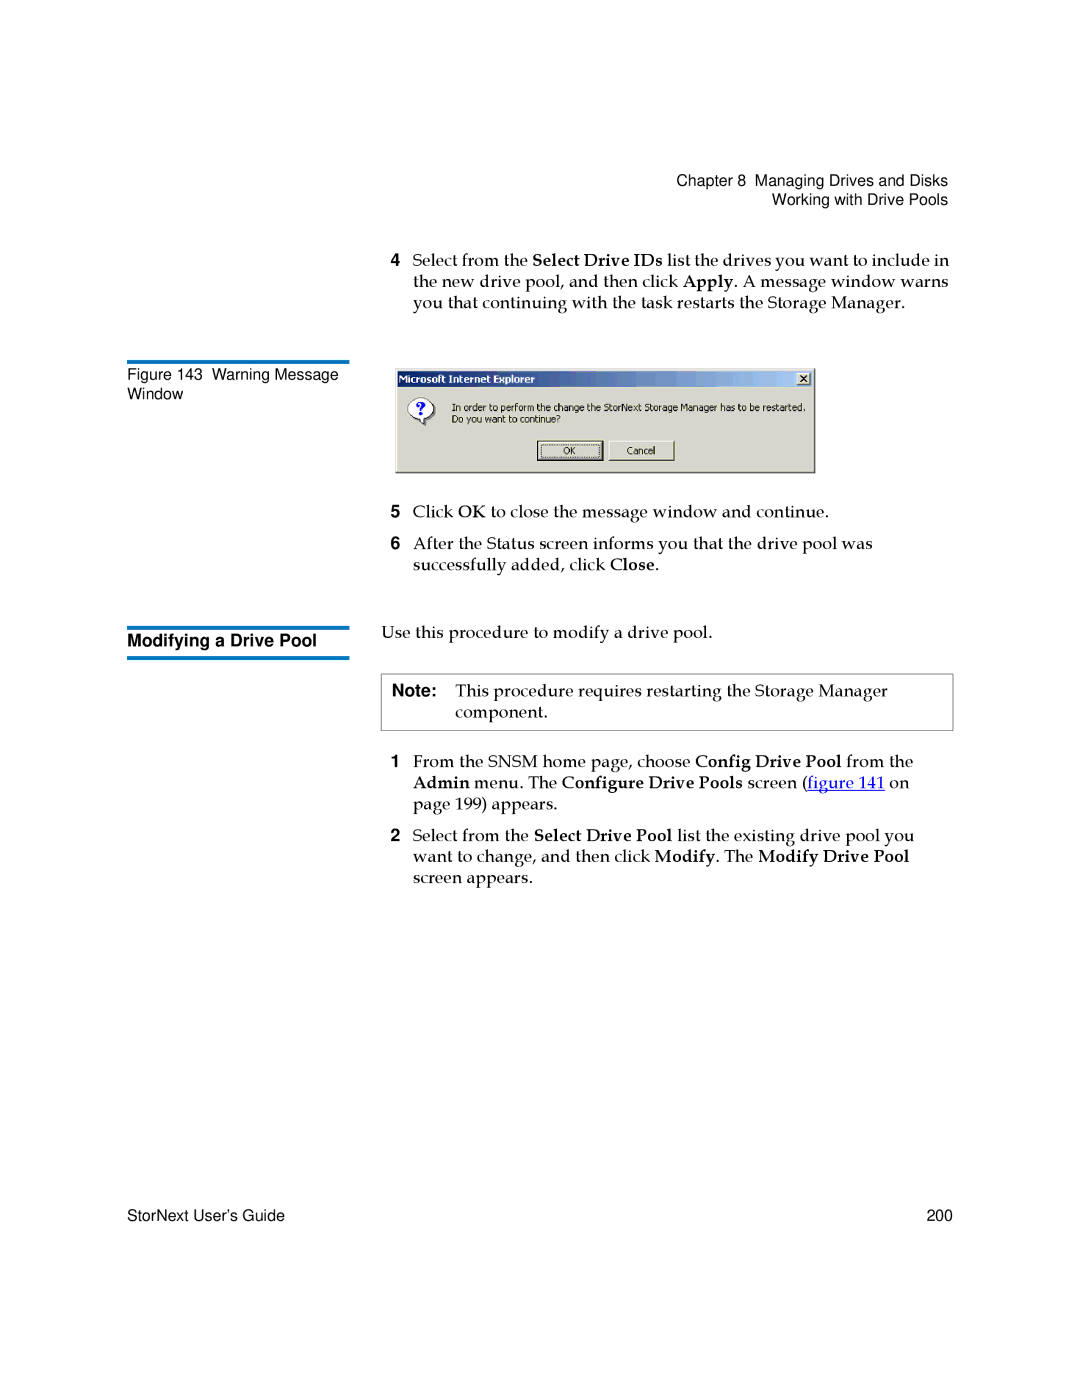
Figure 143 Warning Message Window
Modifying a Drive Pool
Chapter 8 Managing Drives and Disks
Working with Drive Pools
4Select from the Select Drive IDs list the drives you want to include in the new drive pool, and then click Apply. A message window warns you that continuing with the task restarts the Storage Manager.
5Click OK to close the message window and continue.
6After the Status screen informs you that the drive pool was successfully added, click Close.
Use this procedure to modify a drive pool.
Note: This procedure requires restarting the Storage Manager component.
1From the SNSM home page, choose Config Drive Pool from the Admin menu. The Configure Drive Pools screen (figure 141 on page 199) appears.
2Select from the Select Drive Pool list the existing drive pool you want to change, and then click Modify. The Modify Drive Pool screen appears.
StorNext User’s Guide | 200 |