Chapter 7 Managing Libraries
Adding a Library
Adding a DAS Network Library with or without Dual Aisle
Configuration
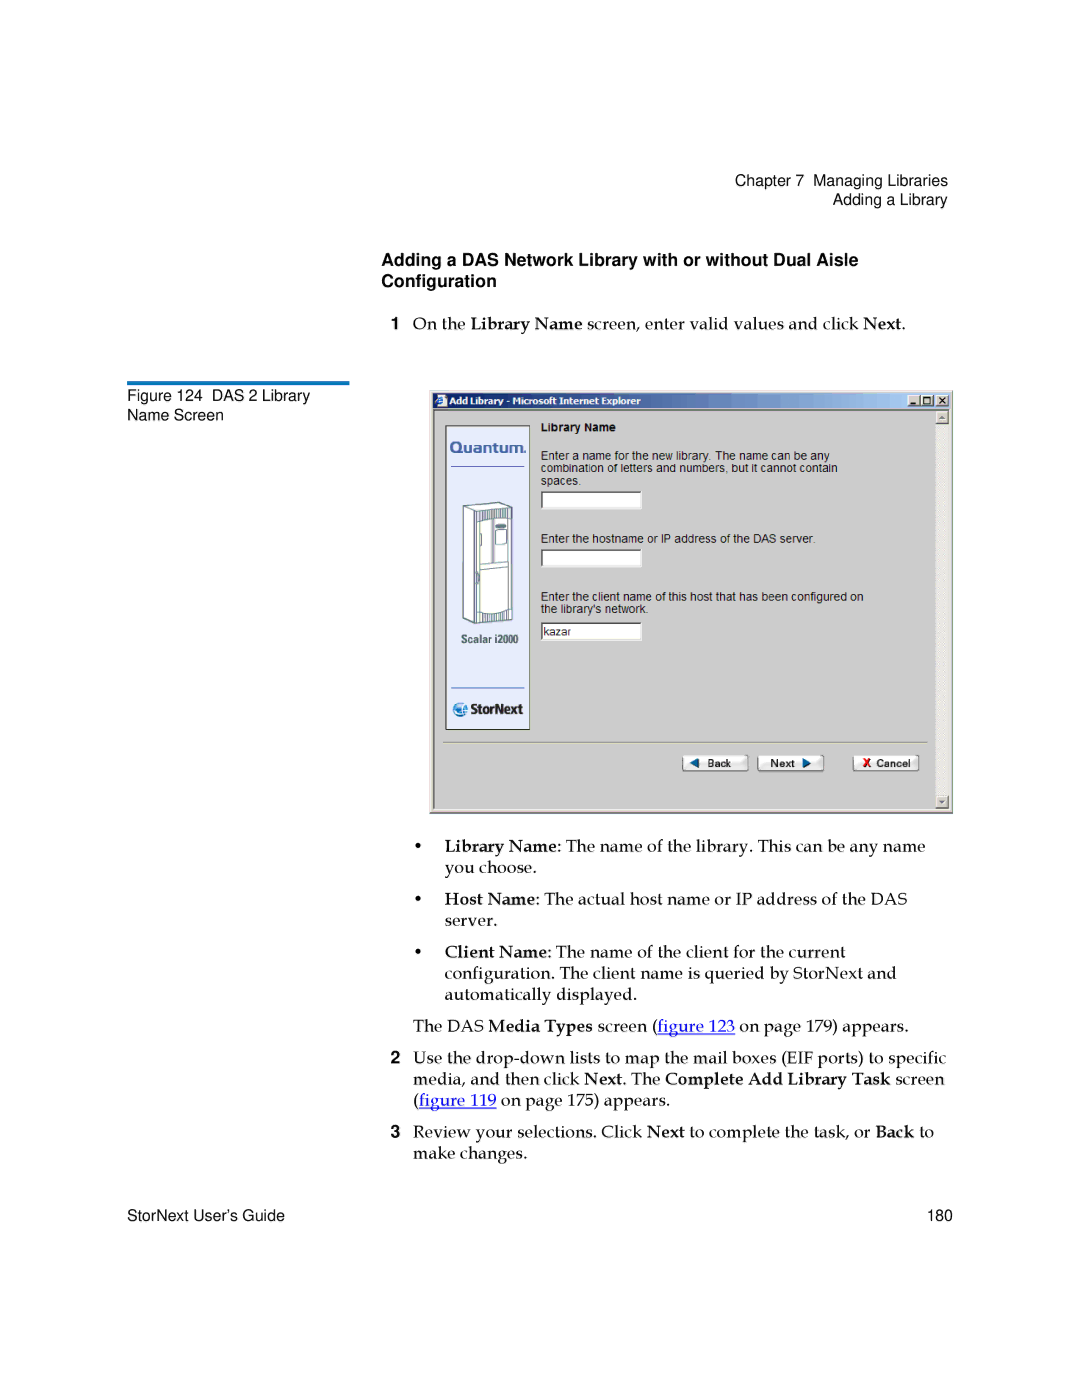
1On the Library Name screen, enter valid values and click Next.
Figure 124 DAS 2 Library
Name Screen
•Library Name: The name of the library. This can be any name you choose.
•Host Name: The actual host name or IP address of the DAS server.
•Client Name: The name of the client for the current configuration. The client name is queried by StorNext and automatically displayed.
The DAS Media Types screen (figure 123 on page 179) appears.
2Use the
3Review your selections. Click Next to complete the task, or Back to make changes.
StorNext User’s Guide | 180 |