INITIAL SET MENU
☞Operable functions during the period set
by the timer
Each of the following menu settings is required to operate these timer functions. After you have made the menu settings, be sure to make the timer settings.
•To change camera images into automatic switching screens.
Set “SEQUENCE” on SCREEN SET screen
<SCREEN SET> |
|
|
1.MULTI SCREEN | : | CHANGE |
MULTI SCREEN SET |
| |
2.SEQUENCE | : | INDIV. |
SEQUENCE SET |
| |
3.MASK | : | ON |
MASK SET |
|
•To hide camera images with a gray pattern
Set the “MASK” setting in the SCREEN SET menu.
<SCREEN SET> |
|
|
1.MULTI SCREEN | : | CHANGE |
MULTI SCREEN SET |
| |
2.SEQUENCE | : | INDIV. |
SEQUENCE SET |
| |
3.MASK | : | ON |
MASK SET |
|
•To detect an alarm input in a camera image
Set “MOTION SENSOR” on ALARM OPERATION SET screen
<ALARM OPERATION SET> |
|
| |
MAIN MON. DISPLAY | : | FULL | |
ALARM PRIORITY | : | LAST | |
MON.2 DISPLAY | : | ON | |
RETRIGGER | : | ON | |
MOTION SENSOR |
|
| |
ALARM DURATION SET |
|
| |
For these settings, set Example 2 consecutively with Example 1.
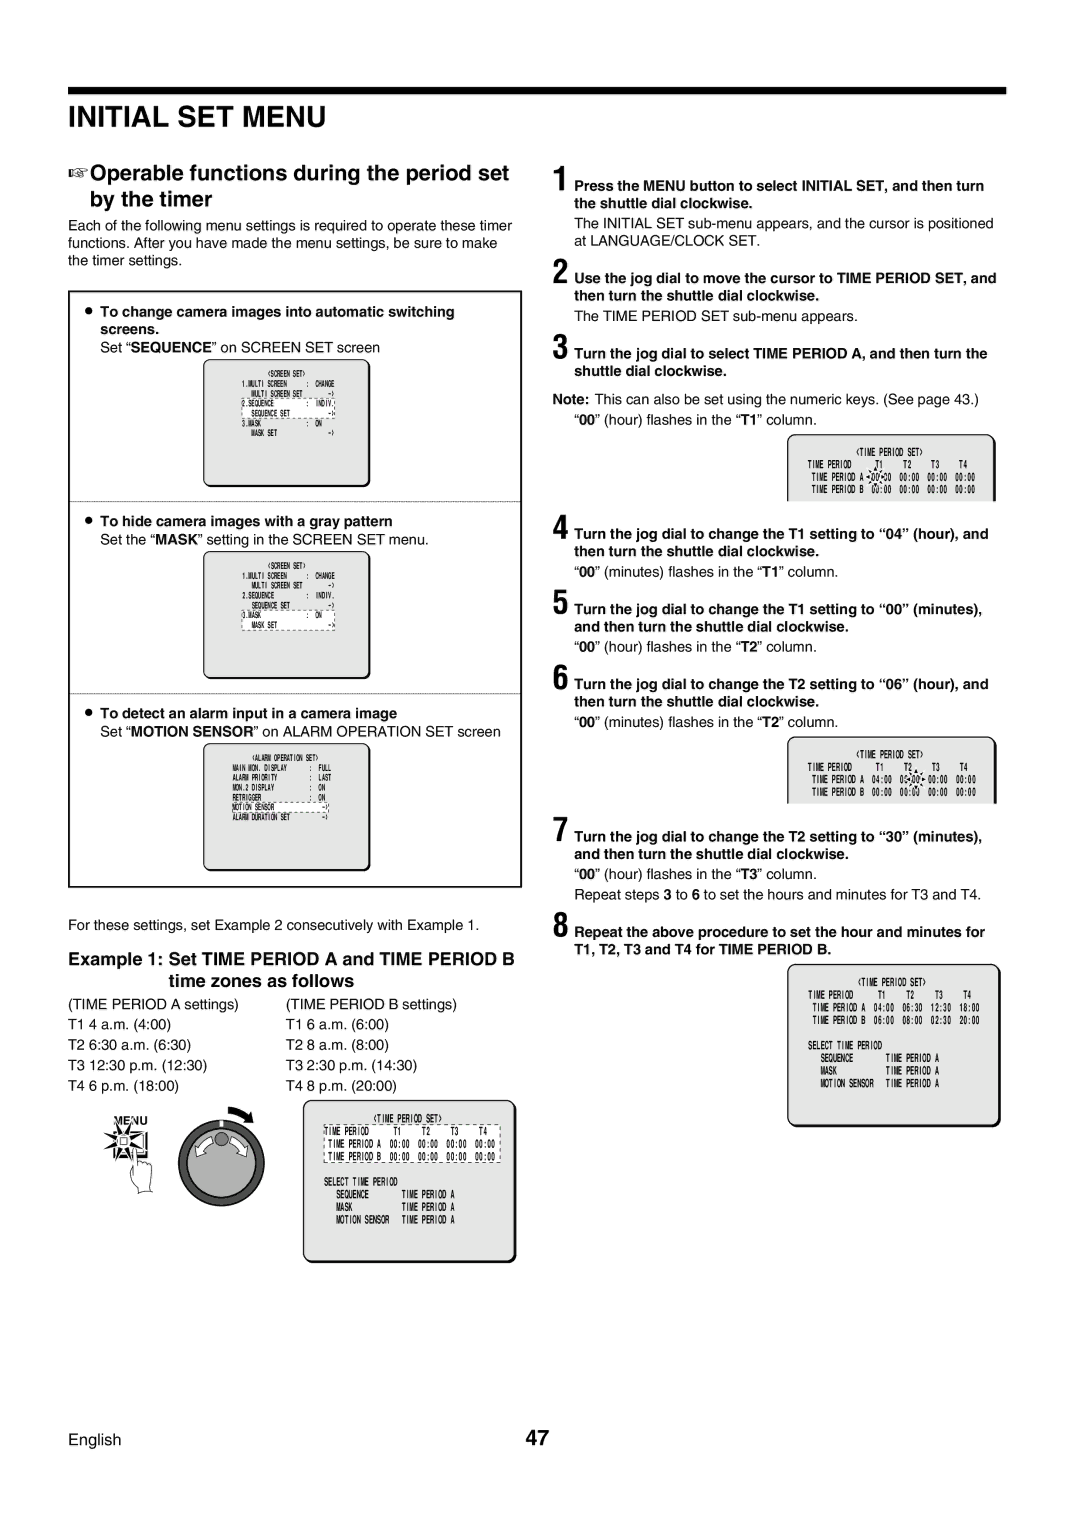
Example 1: Set TIME PERIOD A and TIME PERIOD B time zones as follows
(TIME PERIOD A settings) | (TIME PERIOD B settings) |
| ||||||||
T1 | 4 a.m. (4:00) | T1 | 6 a.m. (6:00) |
|
|
|
| |||
T2 | 6:30 a.m. (6:30) | T2 | 8 a.m. (8:00) |
|
|
|
| |||
T3 | 12:30 p.m. (12:30) | T3 | 2:30 p.m. (14:30) |
|
|
| ||||
T4 | 6 p.m. (18:00) | T4 | 8 p.m. (20:00) |
|
|
| ||||
| MENU |
|
| <TIME PERIOD SET> |
|
| ||||
|
|
|
|
|
| TIME PERIOD | T1 | T2 | T3 | T4 |
|
|
|
|
|
| TIME PERIOD A | 00:00 | 00:00 | 00:00 | 00:00 |
|
|
|
|
|
| TIME PERIOD B | 00:00 | 00:00 | 00:00 | 00:00 |
|
|
|
|
| ||||||
|
|
|
|
| SELECT TIME PERIOD |
|
|
| ||
|
|
|
|
|
| SEQUENCE | TIME PERIOD A |
| ||
|
|
|
|
|
| MASK | TIME PERIOD A |
| ||
|
|
|
|
|
| MOTION SENSOR | TIME PERIOD A |
| ||
1 Press the MENU button to select INITIAL SET, and then turn the shuttle dial clockwise.
The INITIAL SET
2 Use the jog dial to move the cursor to TIME PERIOD SET, and then turn the shuttle dial clockwise.
The TIME PERIOD SET
3 Turn the jog dial to select TIME PERIOD A, and then turn the shuttle dial clockwise.
Note: This can also be set using the numeric keys. (See page 43.) “00” (hour) flashes in the “T1” column.
<TIME PERIOD SET> |
|
| |||
TIME PERIOD | T1 | T2 | T3 | T4 | |
TIME PERIOD A | 00 | :00 | 00:00 | 00:00 | 00:00 |
TIME PERIOD B | 00:00 | 00:00 | 00:00 | 00:00 | |
4 Turn the jog dial to change the T1 setting to “04” (hour), and then turn the shuttle dial clockwise.
“00” (minutes) flashes in the “T1” column.
5 Turn the jog dial to change the T1 setting to “00” (minutes), and then turn the shuttle dial clockwise.
“00” (hour) flashes in the “T2” column.
6 Turn the jog dial to change the T2 setting to “06” (hour), and then turn the shuttle dial clockwise.
“00” (minutes) flashes in the “T2” column.
<TIME PERIOD SET> |
|
| ||||
TIME PERIOD | T1 | T2 | T3 | T4 | ||
TIME PERIOD A | 04:00 | 06: | 00 |
| 00:00 | 00:00 |
TIME PERIOD B | 00:00 | 00:00 |
| 00:00 | 00:00 | |
7 Turn the jog dial to change the T2 setting to “30” (minutes), and then turn the shuttle dial clockwise.
“00” (hour) flashes in the “T3” column.
Repeat steps 3 to 6 to set the hours and minutes for T3 and T4.
8 Repeat the above procedure to set the hour and minutes for T1, T2, T3 and T4 for TIME PERIOD B.
<TIME PERIOD SET> |
|
| ||
TIME PERIOD | T1 | T2 | T3 | T4 |
TIME PERIOD A | 04:00 | 06:30 | 12:30 | 18:00 |
TIME PERIOD B | 06:00 | 08:00 | 02:30 | 20:00 |
SELECT TIME PERIOD |
|
|
| |
SEQUENCE | TIME PERIOD | A |
| |
MASK | TIME PERIOD | A |
| |
MOTION SENSOR | TIME PERIOD | A |
| |
English | 47 |