RECORDING SETTING
7 Use the jog dial to move the cursor to
01 | EXIT |
8 Use the jog dial to move the cursor to the “OFF” setting for LEVEL, and then turn the shuttle dial clockwise to set the sensitivity to “2” .
01 | MODE A | EXIT |
9 Use the jog dial to move the cursor to MODE, and then turn the shuttle dial clockwise to select “A” .
01 | MODE A | EXIT |
10Use the jog dial to move the cursor to EXIT, and then turn the shuttle dial clockwise.
The setting is then complete.
01 | MODE A | EXIT |
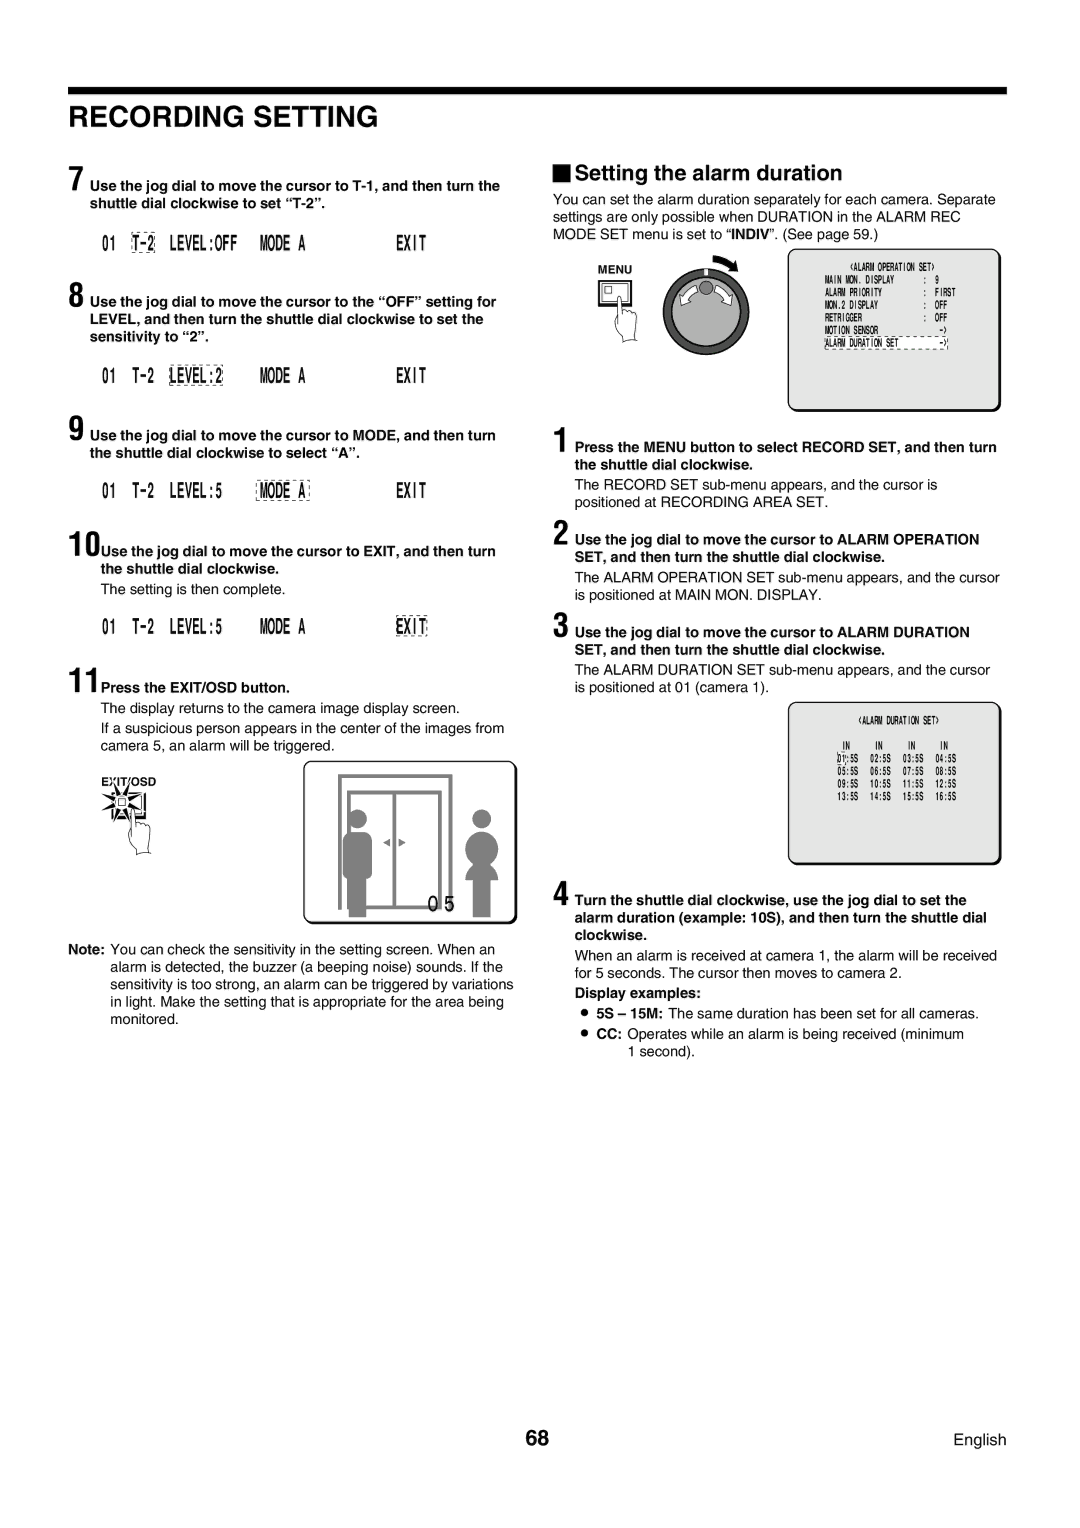
11Press the EXIT/OSD button.
The display returns to the camera image display screen.
If a suspicious person appears in the center of the images from camera 5, an alarm will be triggered.
EXIT/OSD
Note: You can check the sensitivity in the setting screen. When an alarm is detected, the buzzer (a beeping noise) sounds. If the sensitivity is too strong, an alarm can be triggered by variations in light. Make the setting that is appropriate for the area being monitored.
 Setting the alarm duration
You can set the alarm duration separately for each camera. Separate settings are only possible when DURATION in the ALARM REC MODE SET menu is set to “INDIV”. (See page 59.)
MENU | <ALARM OPERATION SET> | 9 | |
| MAIN MON. DISPLAY | : | |
| ALARM PRIORITY | : | FIRST |
| MON.2 DISPLAY | : | OFF |
| RETRIGGER | : | OFF |
| MOTION SENSOR |
| |
| ALARM DURATION SET |
| |
1 Press the MENU button to select RECORD SET, and then turn the shuttle dial clockwise.
The RECORD SET
2 Use the jog dial to move the cursor to ALARM OPERATION SET, and then turn the shuttle dial clockwise.
The ALARM OPERATION SET
3 Use the jog dial to move the cursor to ALARM DURATION SET, and then turn the shuttle dial clockwise.
The ALARM DURATION SET
|
| <ALARM DURATION SET> | ||
IN | IN | IN | IN | |
01 | :5S | 02:5S | 03:5S | 04:5S |
05:5S | 06:5S | 07:5S | 08:5S | |
09:5S | 10:5S | 11:5S | 12:5S | |
13:5S | 14:5S | 15:5S | 16:5S | |
4 Turn the shuttle dial clockwise, use the jog dial to set the alarm duration (example: 10S), and then turn the shuttle dial clockwise.
When an alarm is received at camera 1, the alarm will be received for 5 seconds. The cursor then moves to camera 2.
Display examples:
•5S – 15M: The same duration has been set for all cameras.
•CC: Operates while an alarm is being received (minimum 1 second).
68 | English |