RECORDING SETTING
 AREA FULL RESET setting
When the normal recording area and alarm recording area of the hard disk become full, the images in the recording areas will be automatically overwritten, starting from the oldest images that have been recorded.
However, you can change this setting to prevent overwriting of images when the recording areas become full, at times such as when you want to check or edit the recorded images. In this case you need to specify each time that you want images to be overwritten in each recording area. The following procedure describes the method of doing this.
1 Set the OVERWRITE setting for the NORMAL RECORDING AREA or ALARM RECORDING AREA to “OFF” in the RECORDING CONDITIONS SET menu. (See page 53.)
<RECORDING CONDITIONS | SET> | |||
DIGITAL SERIES RECORDING | : | OFF | ||
TOTAL NUMBER | : | 1 |
| |
NORMAL RECORDING AREA |
|
|
|
|
OVERWRITE | : |
| OFF |
|
ALARM RECORDING AREA |
|
|
|
|
OVERWRITE | : |
| OFF |
|
REMAINING DISK WARNING | : | 1 % | ||
This setting can be used to display the remaining recording area of the hard disk on the screen. At the same time, the FULL or ALARM FULL indicator at the front of the digital video recorder will flash.
When writing to the hard disk is complete, you can use playback operations to check the recordings.
2 Use the jog dial to move the cursor to the AREA FULL RESET
→setting for the NORMAL RECORDING AREA, and then turn the shuttle dial clockwise.
“NO” flashes on the WARNING screen.
| <RECORDING AREA SET> |
|
| ||
TOTAL CAPACITY | : | 80GB | |||
NORMAL RECORDING AREA | : | 80 | % | ||
| AREA FULL RESET | : | 19 | % | |
ALARM RECORDING AREA |
| ||||
| AREA FULL RESET |
|
|
| |
ARCHIVE AREA | : | 1 | % | ||
| AREA FULL RESET |
|
|
| |
CAUTION : WHEN THE AREA SETTING IS CHANGED,
THE WHOLE AREA WILL BE INITIALIZED !
<WARNING>
AREA FULL RESET
NORMAL RECORDING AREA
ARE YOU SURE ?
NO
CHANGE WITH JOG. SET WITH SHUTTLE
3 Use the jog dial to change “NO” to “YES” , and then turn the shuttle dial clockwise.
The NORMAL RECORDING AREA is set to single overwriting.
4 Follow the same procedure to make the setting for the
ALARM RECORDING AREA.
5 Press the EXIT/OSD button.
The display returns to the normal screen.
EXIT/OSD
Note: For overwriting to be carried out automatically, change the OVERWRITE setting for the NORMAL RECORDING AREA or ALARM RECORDING AREA to “ON”.
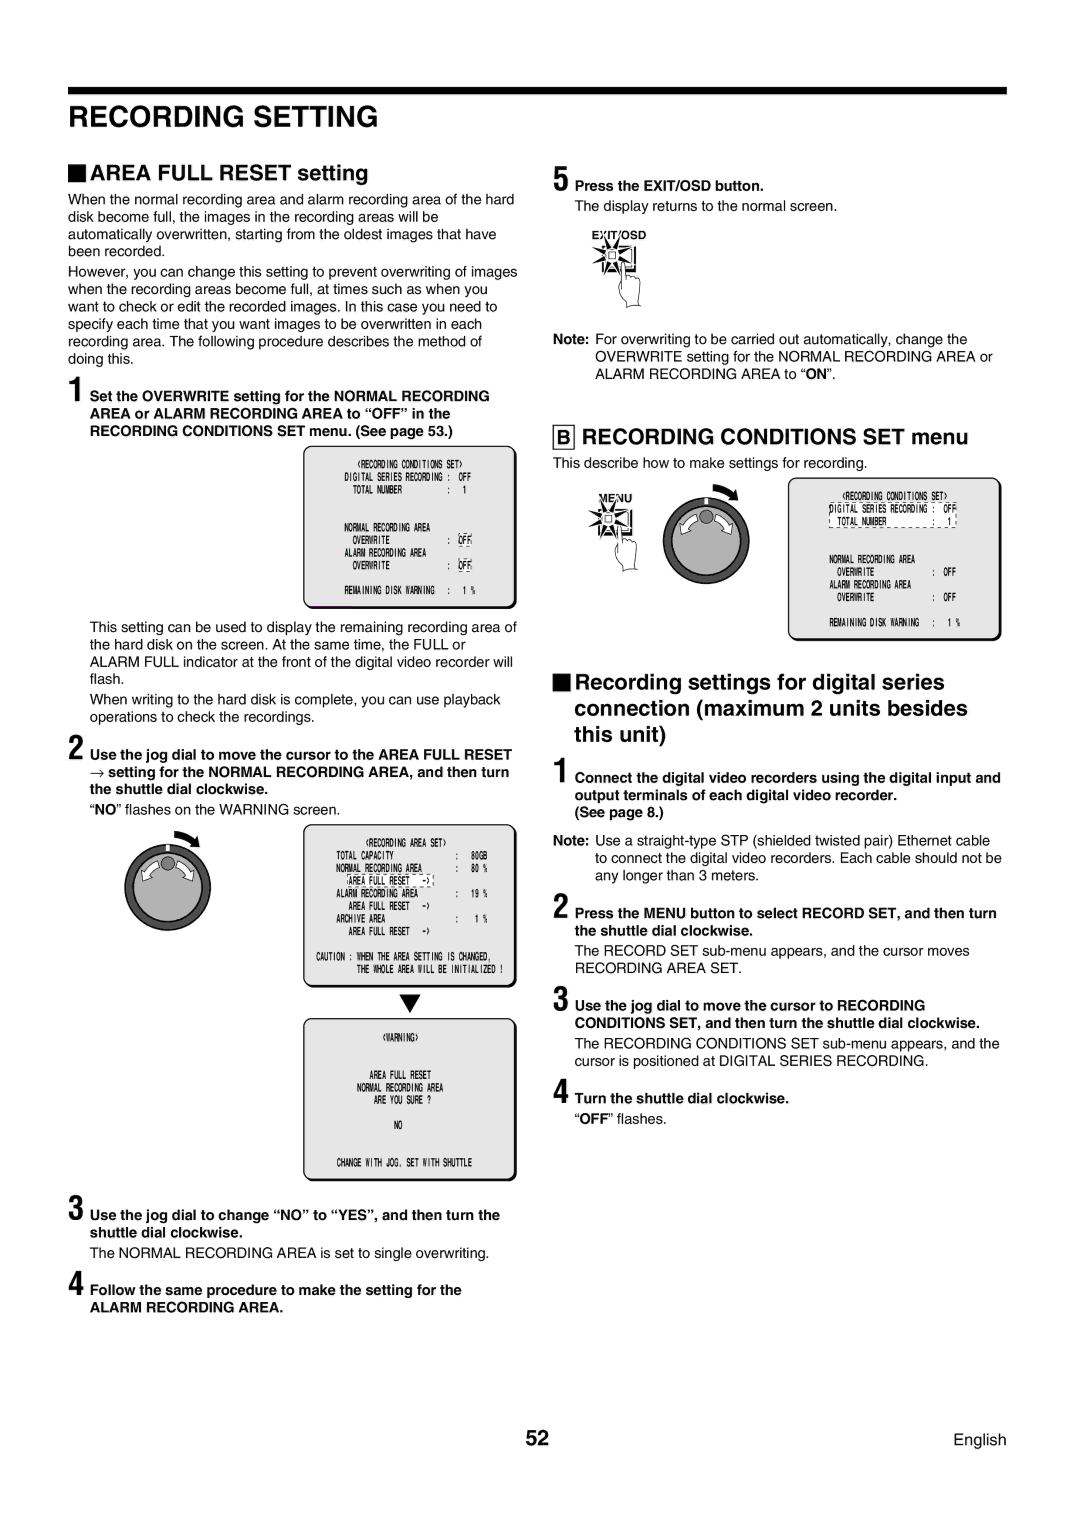
BRECORDING CONDITIONS SET menu
This describe how to make settings for recording.
MENU | <RECORDING CONDITIONS | SET> | ||
| DIGITAL SERIES | RECORDING | : | OFF |
| TOTAL NUMBER |
| : | 1 |
| NORMAL RECORDING AREA |
|
| |
| OVERWRITE |
| : | OFF |
| ALARM RECORDING AREA |
|
| |
| OVERWRITE |
| : | OFF |
| REMAINING DISK | WARNING | : | 1 % |
![]() Recording settings for digital series connection (maximum 2 units besides this unit)
Recording settings for digital series connection (maximum 2 units besides this unit)
1 Connect the digital video recorders using the digital input and output terminals of each digital video recorder.
(See page 8.)
Note: Use a
2 Press the MENU button to select RECORD SET, and then turn the shuttle dial clockwise.
The RECORD SET
RECORDING AREA SET.
3 Use the jog dial to move the cursor to RECORDING CONDITIONS SET, and then turn the shuttle dial clockwise.
The RECORDING CONDITIONS SET
4 Turn the shuttle dial clockwise.
“OFF” flashes.
52 | English |