RECORDING SETTING
DPROGRAM REC SET menu
Recording for particular cameras only can be carried out by specifying those cameras. Programs from no. 1 to no. 4 can be set. For example, program no. 1 could be set to record images from cameras 1 to 4 only, and program no. 2 could be set to record images from cameras 3 to 9. In addition, these programs can be used during timer recording and
Display examples:
To set program no. 1 to record only images from cameras 1 to 3
Only images (1 – 3) from selected cameras are recorded
<PROGRAM REC SET>
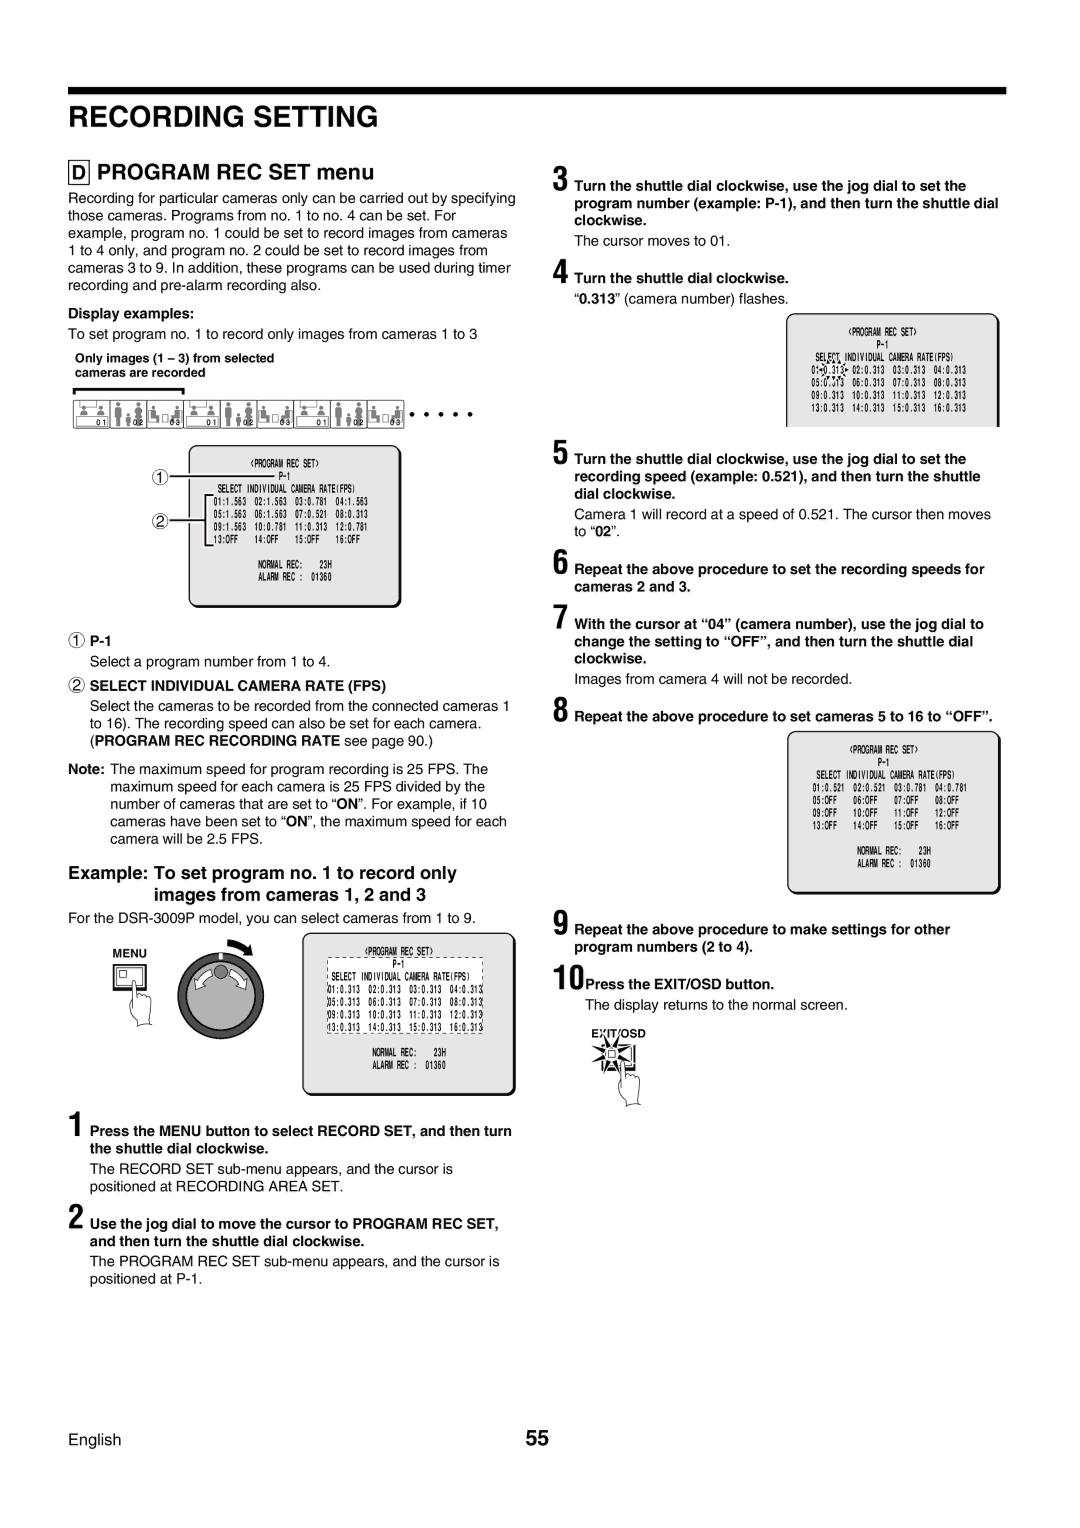
1![]()
SELECT INDIVIDUAL CAMERA RATE(FPS) 01:1.563 02:1.563 03:0.781 04:1.563
209:1.563 10:0.781 11:0.313 12:0.781 13:OFF 14:OFF 15:OFF 16:OFF05:1.563 06:1.563 07:0.521 08:0.313
NORMAL REC: 23H
ALARM REC : 01360
1P-1
Select a program number from 1 to 4.
2SELECT INDIVIDUAL CAMERA RATE (FPS)
Select the cameras to be recorded from the connected cameras 1 to 16). The recording speed can also be set for each camera. (PROGRAM REC RECORDING RATE see page 90.)
Note: The maximum speed for program recording is 25 FPS. The maximum speed for each camera is 25 FPS divided by the number of cameras that are set to “ON”. For example, if 10 cameras have been set to “ON”, the maximum speed for each camera will be 2.5 FPS.
Example: To set program no. 1 to record only images from cameras 1, 2 and 3
For the DSR-3009P model, you can select cameras from 1 to 9.
MENU | <PROGRAM REC SET> |
SELECT INDIVIDUAL CAMERA RATE(FPS) 01:0.313 02:0.313 03:0.313 04:0.313 05:0.313 06:0.313 07:0.313 08:0.313 09:0.313 10:0.313 11:0.313 12:0.313 13:0.313 14:0.313 15:0.313 16:0.313
NORMAL REC: 23H
ALARM REC : 01360
1 Press the MENU button to select RECORD SET, and then turn the shuttle dial clockwise.
The RECORD SET
2 Use the jog dial to move the cursor to PROGRAM REC SET, and then turn the shuttle dial clockwise.
The PROGRAM REC SET
3 Turn the shuttle dial clockwise, use the jog dial to set the program number (example:
The cursor moves to 01.
4 Turn the shuttle dial clockwise.
“0.313” (camera number) flashes.
<PROGRAM REC SET>
SELECT INDIVIDUAL CAMERA RATE(FPS)
01:0.313 | 02:0.313 | 03:0.313 | 04:0.313 |
05:0.313 | 06:0.313 | 07:0.313 | 08:0.313 |
09:0.313 | 10:0.313 | 11:0.313 | 12:0.313 |
13:0.313 | 14:0.313 | 15:0.313 | 16:0.313 |
5 Turn the shuttle dial clockwise, use the jog dial to set the recording speed (example: 0.521), and then turn the shuttle dial clockwise.
Camera 1 will record at a speed of 0.521. The cursor then moves to “02”.
6 Repeat the above procedure to set the recording speeds for cameras 2 and 3.
7 With the cursor at “04” (camera number), use the jog dial to change the setting to “OFF” , and then turn the shuttle dial clockwise.
Images from camera 4 will not be recorded.
8 Repeat the above procedure to set cameras 5 to 16 to “OFF” .
<PROGRAM REC SET>
SELECT INDIVIDUAL CAMERA RATE(FPS) 01:0.521 02:0.521 03:0.781 04:0.781 05:OFF 06:OFF 07:OFF 08:OFF 09:OFF 10:OFF 11:OFF 12:OFF 13:OFF 14:OFF 15:OFF 16:OFF
NORMAL REC: 23H
ALARM REC : 01360
9 Repeat the above procedure to make settings for other program numbers (2 to 4).
10Press the EXIT/OSD button.
The display returns to the normal screen.
EXIT/OSD
English | 55 |