SCREEN SETTING
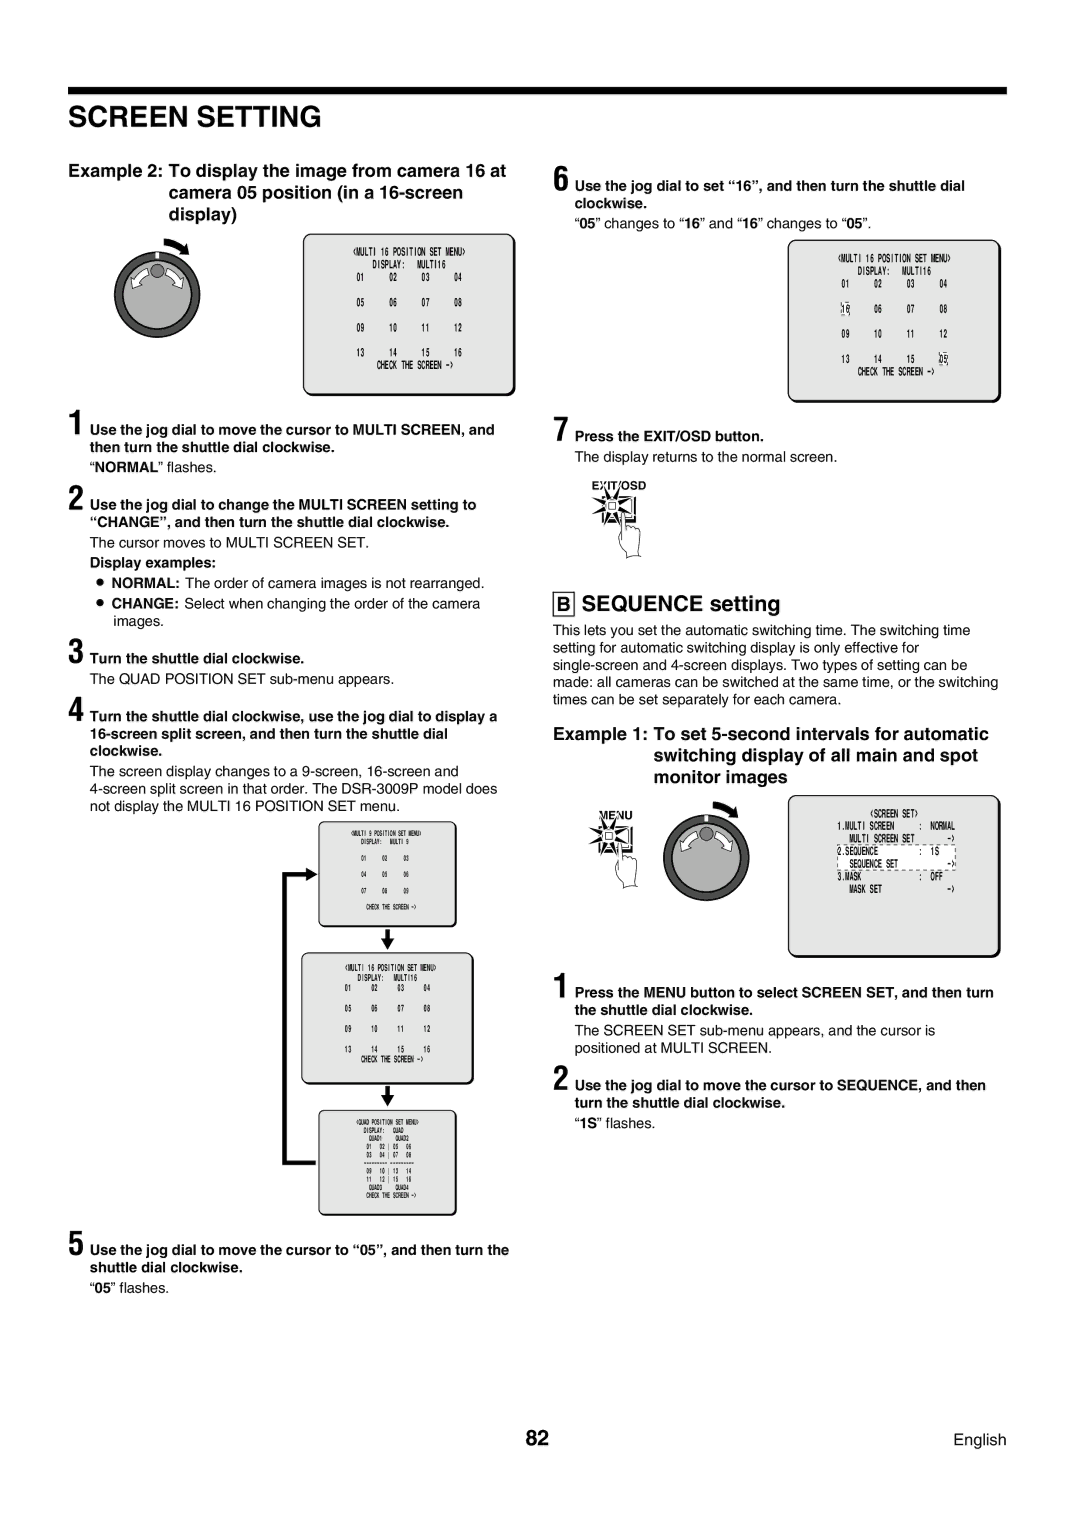
Example 2: To display the image from camera 16 at camera 05 position (in a
<MULTI 16 POSITION SET MENU>
| DISPLAY: | MULTI16 |
|
01 | 02 | 03 | 04 |
05 | 06 | 07 | 08 |
09 | 10 | 11 | 12 |
13 | 14 | 15 | 16 |
| CHECK THE SCREEN |
| |
1 Use the jog dial to move the cursor to MULTI SCREEN, and then turn the shuttle dial clockwise.
“NORMAL” flashes.
2 Use the jog dial to change the MULTI SCREEN setting to “CHANGE” , and then turn the shuttle dial clockwise.
The cursor moves to MULTI SCREEN SET.
Display examples:
•NORMAL: The order of camera images is not rearranged.
•CHANGE: Select when changing the order of the camera images.
3 Turn the shuttle dial clockwise.
4 Turn the shuttle dial clockwise, use the jog dial to display a
The screen display changes to a
<MULTI 9 POSITION SET MENU>
DISPLAY: MULTI 9
01 | 02 | 03 |
04 | 05 | 06 |
07 | 08 | 09 |
CHECK THE SCREEN
<MULTI 16 POSITION SET MENU>
| DISPLAY: | MULTI16 | ||
01 | 02 |
| 03 | 04 |
05 | 06 |
| 07 | 08 |
09 | 10 |
| 11 | 12 |
13 | 14 |
| 15 | 16 |
| CHECK THE SCREEN | |||
|
| |||
|
|
| ||
| <QUAD POSITION SET MENU> | |||
| DISPLAY: | QUAD |
| |
| QUAD1 | QUAD2 | ||
| 01 | 02 05 | 06 | |
| 03 | 04 07 | 08 | |
| ||||
| 09 | 10 13 | 14 | |
| 11 | 12 15 | 16 | |
| QUAD3 | QUAD4 | ||
| CHECK THE SCREEN | |||
5 Use the jog dial to move the cursor to “05” , and then turn the shuttle dial clockwise.
“05” flashes.
6 Use the jog dial to set “16” , and then turn the shuttle dial clockwise.
“05” changes to “16” and “16” changes to “05”.
<MULTI 16 POSITION SET MENU>
| DISPLAY: | MULTI16 |
|
|
01 | 02 | 03 | 04 | |
| 06 | 07 | 08 | |
16 | ||||
09 | 10 | 11 | 12 | |
13 | 14 | 15 |
| |
| 05 | |||
| CHECK THE SCREEN |
|
| |
7 Press the EXIT/OSD button.
The display returns to the normal screen.
EXIT/OSD
BSEQUENCE setting
This lets you set the automatic switching time. The switching time setting for automatic switching display is only effective for
Example 1: To set
MENU | <SCREEN | SET> | : | NORMAL |
1.MULTI | SCREEN |
| ||
MULTI SCREEN | SET |
| ||
2.SEQUENCE |
| : | 1S | |
SEQUENCE SET |
|
| ||
3.MASK |
|
| : | OFF |
MASK | SET |
|
| |
1 Press the MENU button to select SCREEN SET, and then turn the shuttle dial clockwise.
The SCREEN SET
2 Use the jog dial to move the cursor to SEQUENCE, and then turn the shuttle dial clockwise.
“1S” flashes.
82 | English |