Charging and installing the | Зàðяäêà è óñòàíîâêà |
battery pack | áàòàðåéíîãî èñòî÷íèêà |
|
|
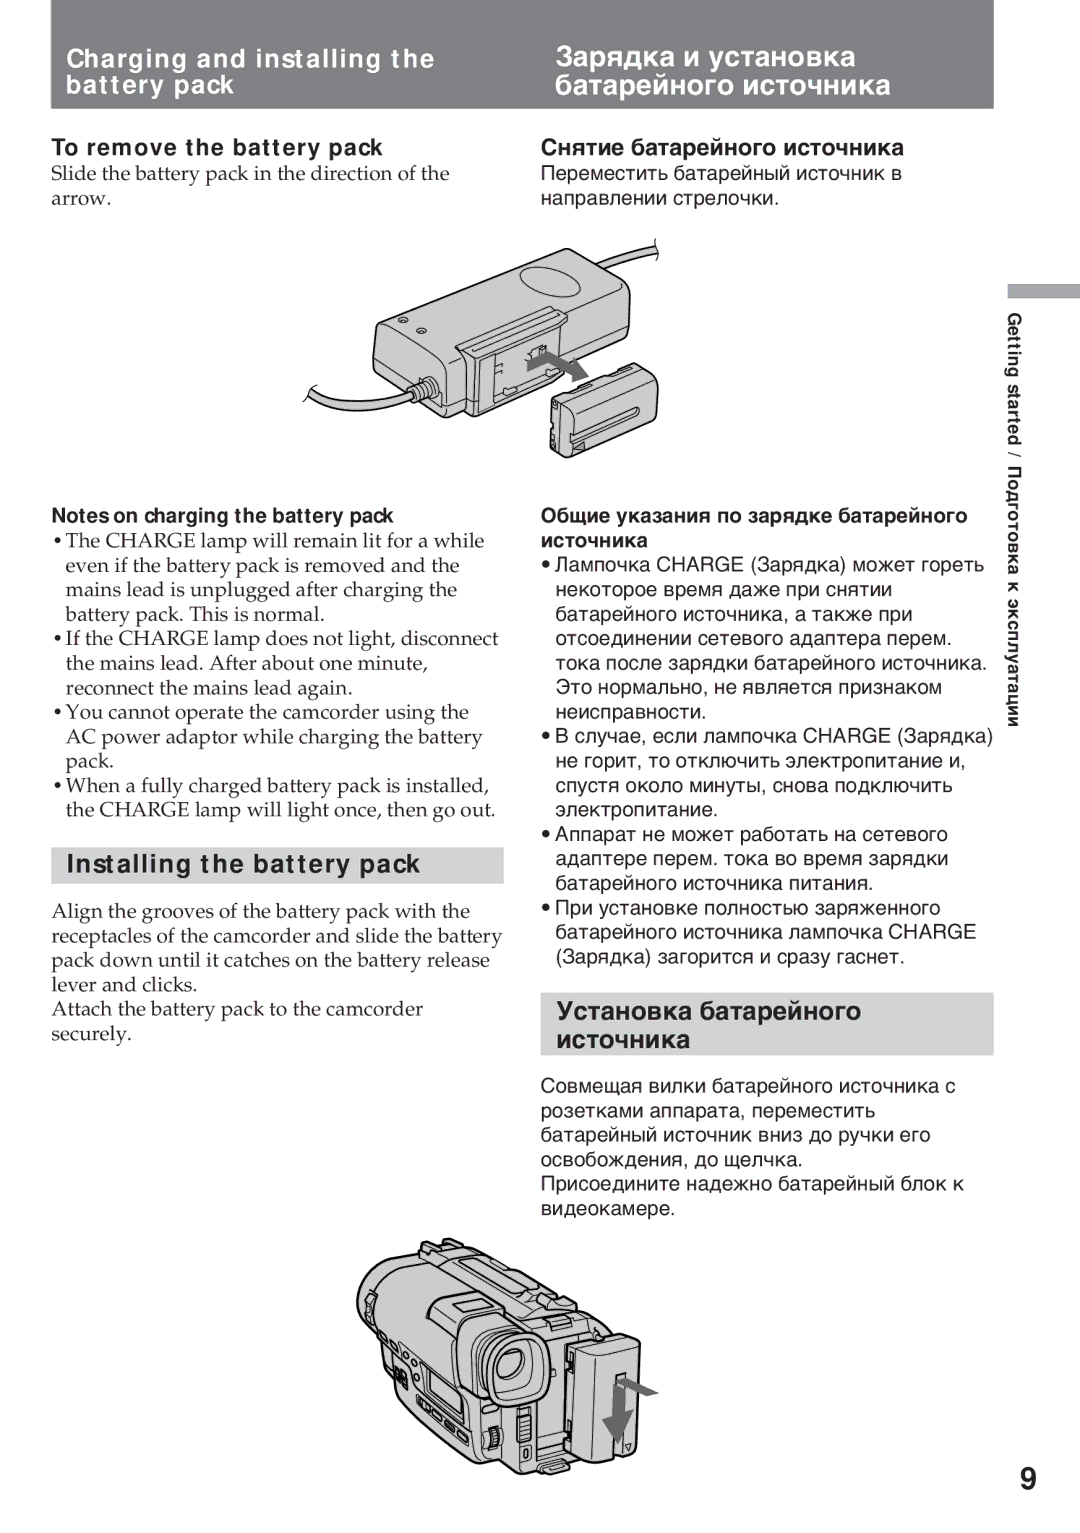
To remove the battery pack | Сíяòèå áàòàðåéíîãî èñòî÷íèêà |
Slide the battery pack in the direction of the | Пåðåìåñòèòü áàòàðåéíûé èñòî÷íèê â |
arrow. | íàïðàâëåíèè ñòðåëî÷êè. |
Notes on charging the battery pack
•The CHARGE lamp will remain lit for a while even if the battery pack is removed and the mains lead is unplugged after charging the battery pack. This is normal.
•If the CHARGE lamp does not light, disconnect the mains lead. After about one minute, reconnect the mains lead again.
•You cannot operate the camcorder using the AC power adaptor while charging the battery pack.
•When a fully charged battery pack is installed, the CHARGE lamp will light once, then go out.
Installing the battery pack
Align the grooves of the battery pack with the receptacles of the camcorder and slide the battery pack down until it catches on the battery release lever and clicks.
Attach the battery pack to the camcorder securely.
| Getting started / |
• Лàìïî÷êà CHARGE (Зàðяäêà) ìîæåò ãîðåòü | Пîäãîòîâêà |
Оáùèå óêàçàíèя ïî çàðяäêå áàòàðåéíîãî |
|
èñòî÷íèêà |
|
íåêîòîðîå âðåìя äàæå ïðè ñíяòèè | ê |
áàòàðåéíîãî èñòî÷íèêà, à òàêæå ïðè | ýêñïëóàòàöèè |
| |
îòñîåäèíåíèè ñåòåâîãî àäàïòåðà ïåðåì. |
|
òîêà ïîñëå çàðяäêè áàòàðåéíîãî èñòî÷íèêà. |
|
Эòî íîðìàëüíî, íå яâëяåòñя ïðèçíàêîì |
|
íåèñïðàâíîñòè. |
|
• В ñëó÷àå, åñëè ëàìïî÷êà CHARGE (Зàðяäêà) |
|
íå ãîðèò, òî îòêëþ÷èòü ýëåêòðîïèòàíèå è, |
|
ñïóñòя îêîëî ìèíóòû, ñíîâà ïîäêëþ÷èòü |
|
ýëåêòðîïèòàíèå. |
|
• Аïïàðàò íå ìîæåò ðàáîòàòü íà ñåòåâîãî |
|
àäàïòåðå ïåðåì. òîêà âî âðåìя çàðяäêè |
|
áàòàðåéíîãî èñòî÷íèêà ïèòàíèя. |
|
• Пðè óñòàíîâêå ïîëíîñòüþ çàðяæåííîãî |
|
áàòàðåéíîãî èñòî÷íèêà ëàìïî÷êà CHARGE |
|
(Зàðяäêà) çàãîðèòñя è ñðàçó ãàñíåò. |
|
Уñòàíîâêà áàòàðåéíîãî èñòî÷íèêà
Сîâìåùàя âèëêè áàòàðåéíîãî èñòî÷íèêà ñ ðîçåòêàìè àïïàðàòà, ïåðåìåñòèòü áàòàðåéíûé èñòî÷íèê âíèç äî ðó÷êè åãî îñâîáîæäåíèя, äî ùåë÷êà.
Пðèñîåäèíèòå íàäåæíî áàòàðåéíûé áëîê ê âèäåîêàìåðå.
9
