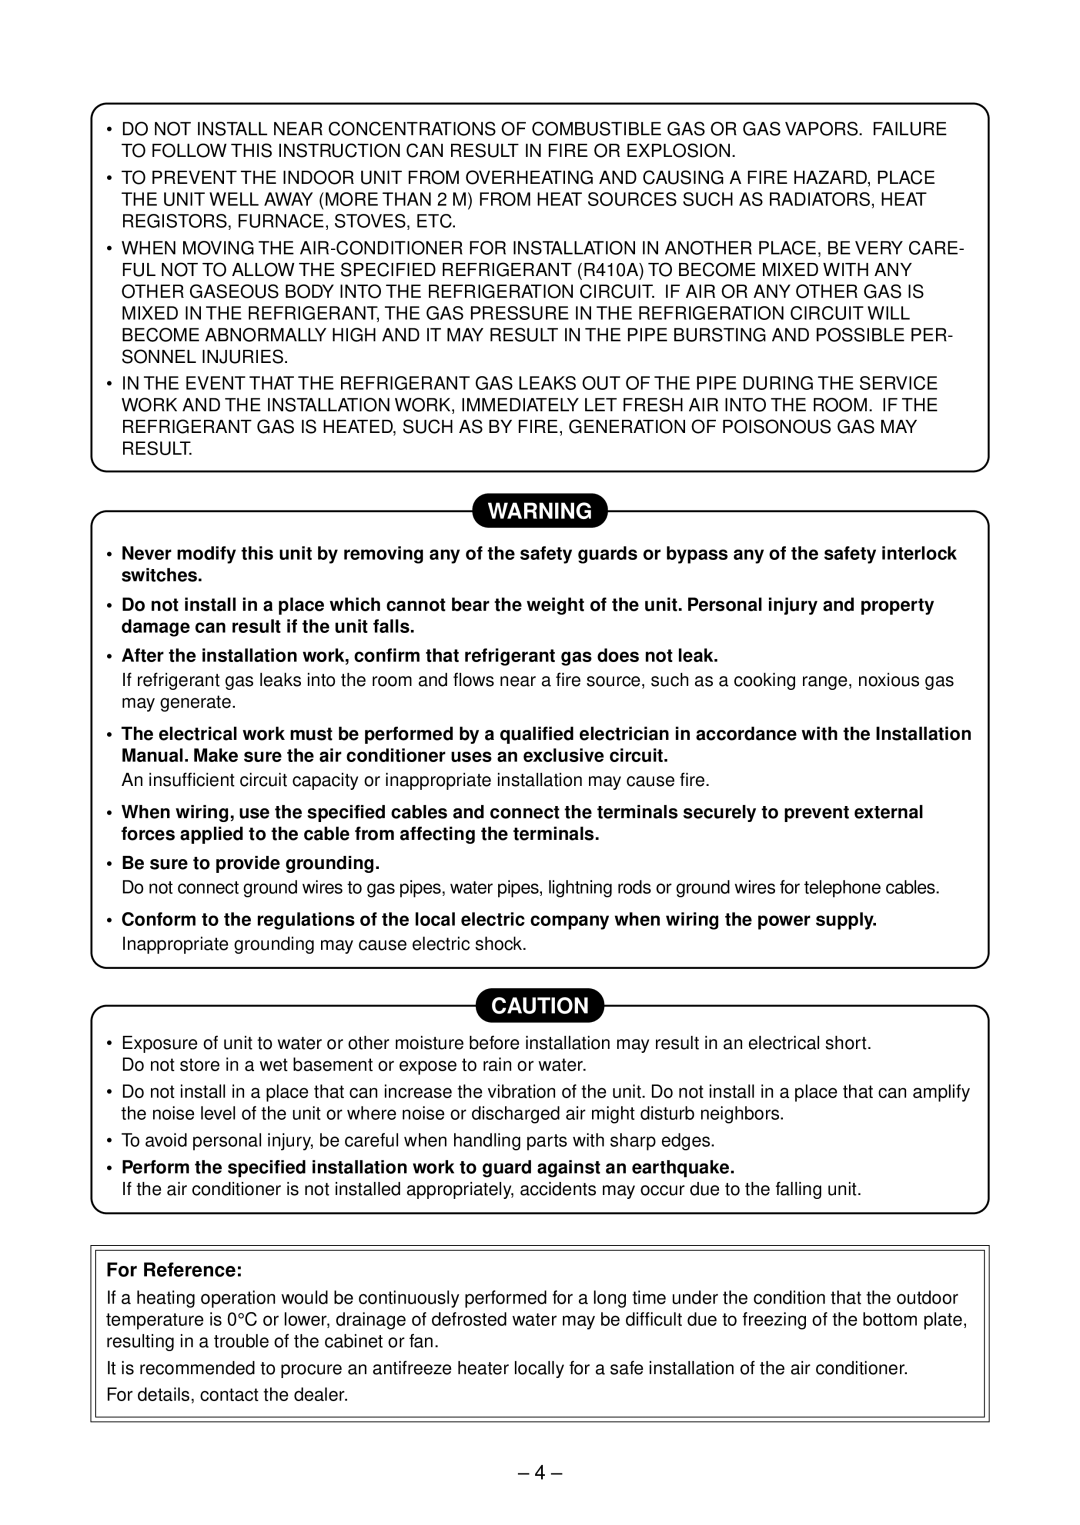
SERVICE MANUAL
AIR-CONDITIONER
SPLIT TYPE
RAS-B10SKVP-E RAS-B13SKVP-E RAS-B16SKVP-E
CONTENTS
1. SAFETY PRECAUTIONS
New Refrigerant Air Conditioner Installation
DANGER
DANGER: HIGH VOLTAGE
– 4 –
For Reference
2. SPECIFICATIONS
2-1.Specifications
– 6 –
2-2.Operation Characteristic Curve
– 7 –
RAS-B10SKVP-E, RAS-B13SKVP-E, RAS-B16SKVP-E
Heating
– 8 –
RAS-B10SKVP-E, RAS-B13SKVP-E, RAS-B16SKVP-E
<Cooling>
RAS-10SKVP-ND, RAS-13SKVP-ND, RAS-16SKVP-ND
3-1.Safety During Installation/Servicing
3-2.Refrigerant Piping Installation
3. REFRIGERANT R410A
3-2-1.Piping Materials and Joints Used
1.Flare processing procedures and precautions
3-2-2.Processing of Piping Materials
– 10 –
2.Joints
– 11 –
2.Flare Connecting Procedures and Precautions
– 12 –
Page
3-4.Recharging of Refrigerant
– 14 –
3.Low temperature brazing filler
1.Reason why flux is necessary
3-5-1.Materials for Brazing
3-5-2.Flux
2.Characteristics required for flux
3-5-3.Brazing
Never use gas other than Nitrogen gas
3.Types of flux
4-1.Indoor Unit
4. CONSTRUCTION VIEWS
RAS-B10SKVP-E, RAS-B13SKVP-E, RAS-B16SKVP-E
– 18 –
RAS-10SKVP-ND, RAS-13SKVP-ND, RAS-16SKVP-ND
4-2.Outdoor Unit
– 19 –
Detailed A leg part
Detailed B leg part
5-1.Outdoor Unit
5. WIRING DIAGRAM
5-2.Indoor Unit
5-3.Outdoor Unit
5-4.Indoor Unit
P. C. Board
MCC-5009
Specifications
RAS-B10SKVP-E, RAS-B13SKVP-E, RAS-B16SKVP-E
RAS-10SKVP-ND, RAS-13SKVP-ND, RAS-16SKVP-ND
RAS-10SAVP-E, RAS-13SAVP-E, RAS-16SAVP-E
7. REFRIGERANT CYCLE DIAGRAM
7-1.Refrigerant Cycle Diagram
– 24 –
7-2.Operation Data <Cooling>
<Heating>
NOTES
REMOTE CONTROLLER
8. CONTROL BLOCK DIAGRAM
8-1.Indoor Unit
MICRO-COMPUTERBLOCK DIAGRAM
Outdoor Unit Inverter Assembly
10SAVP-ND, RAS-13SAVP-ND, RAS-16SAVP
10SAVP-E, RAS-13SAVP-E, RAS-16SAVP-E
9. OPERATION DESCRIPTION
9-1.Outline of Air Conditioner Control
1.Role of indoor unit controller
2.Role of outdoor unit controller
9-2.Operation Description
– 29 –
Operation flow and applicable data, etc
Description
1.Basic 1. Operation control
Item
Operation flow and applicable data, etc
Description
1.Basic 2. Cooling/Heating operation
Indication
– 31 –
Fan speed
Item
Operation flow and applicable data, etc
Description
<In heating operation>
– 33 –
Remote controller
Item
Operation flow and applicable data, etc
Description
Item
Operation flow and applicable data, etc
Description
<In cooling/dry operation>
Item
Operation flow and applicable data, etc
In case of operation stop
Description
Item
Operation flow and applicable data, etc
Description
1 Louver position in cooling operation
Item
Operation flow and applicable data, etc
Description
<Cooling operation>
– 39 –
Item
Operation flow and applicable data, etc
Description
Item
Operation flow and applicable data, etc
Description
1. Purpose
Setup value
Setup value
Setup value
Power OFF
Clean operation
Item
Operation flow and applicable data, etc
Description
Setting the clean operation cancel
Setting the clean operation
J201
Item
1.Setting the remote controller
2.Setting the unit
This operation will change the setting to “B”
Operation flow and applicable data, etc
Item
Operation flow and applicable data, etc
Description
<Indoor control P.C. board At shipment>
Item
Operation flow and applicable data, etc
Description
<With Quiet control/Non-selectmethod>
Operation flow and applicable data, etc
Description
<Start>
During stop of air conditioner
Operation flow and applicable data, etc
Description
<Indoor fan control>
Item
Operation flow and applicable data, etc
Description
<Base plate cord heater control>
9-3-1.How to Set the Auto Restart Function
• When the unit is standby Not operating
When the unit is in operation
– 50 –
9-3-2.How to Cancel the Auto Restart Function
9-3-3.Power Failure During Timer Operation
9-4-1.How to Turn Off FILTER Indicator
• When the system is on stand-bynot operating
9-5.Remote Controller and Its Fuctions
9-5-1.Parts Name of Remote Controller
– 53 –
Display
9-6.Hi POWER Mode
5.Release of Hi POWER mode
– 54 –
1.Automatic operation
10. INSTALLATION PROCEDURE
10-1.Safety Cautions
10-2-1.Optional Installation Parts
10-2-2.Accessory and Installation Parts
Attachment bolt arrangement of outdoor unit
<Others>
New tools for R410A
10-2-3.Installation/Servicing Tools
Changes in the product and components
10-3-1.Installation Location
Remote controller
10-3-2.Drilling and Mounting Installation Plate
Mounting the installation plate
How to connect the connecting cable
10-3-4.Wiring Connection
10-3-3.Electrical Work
10-3-5.Piping and Drain Hose Installation
How to remove the drain cap
How to remove the drain hose
Piping and drain hose forming
How to attach the drain cap
How to attach the drain hose
Using a different screw may cause water to leak
In case of bottom right or bottom left piping
10-3-7.Drainage
10-3-6.Indoor Unit Installation
– 62 –
Precautions for adding refrigerant
10-4-1.Installation Location
10-4.Outdoor Unit
10-4-2.Draining the Water
10-4-3.Refrigerant Piping Connection Flaring
– 64 –
Projection margin in flaring A Unit mm
Tightening Connection
Use a vacuum pump
– 65 –
•IMPORTANT POINTS FOR PIPING WORK
Packed Valve handling precautions
10-4-5.Wiring Connection
Stripping length of connecting cable
– 66 –
10-5-3.Auto Restart Setting
How to Set the Auto Restart
Information
10-5-1.Gas Leak Test
11. HOW TO DIAGNOSE THE TROUBLE
CAUTION: HIGH VOLTAGEN
< Discharging method >
– 69 –
11-1-2.Confirmation of Power Voltage
11-1-1.Confirmation of Power Supply
11-1.First Confirmation
11-2.Primary Judgment
11-3.Judgment by Flashing LED of Indoor Unit
– 71 –
NOTES
2 Push ON or OFF button
– 72 –
Fig.
11-4-2.Caution at Servicing
– 74 –
11-5.Judgment of Trouble by Every Symptom
11-5-1.Indoor Unit Including Remote Controller
<Confirmation procedure>
<Primary check>
– 76 –
<Primary check>
3 Only the indoor motor fan does not operate
<Cause>
<Inspection procedure>
– 77 –
<Primary check>
5 Troubleshooting for remote controller
– 78 –
– 79 –
1Outdoor unit does not operate
Check procedure
– 81 –
11-7.Troubleshooting
Operation check
11-8.How to Diagnose Trouble in Outdoor Unit
Diagnosis/Process flowchart
Contents
– 82 –
11-9.How to Check Simply the Main Parts
11-9-1.How to Check the P.C. Board Indoor Unit
1Operating precautions
2Inspection procedures
3 Check procedures
Procedure
– 84 –
Check points
11-9-2.P.C. Board Layout
1 Sensor characteristic table
– 85 –
11-9-4.Outdoor Unit
11-9-3.Indoor Unit Other Parts
– 86 –
11-9-5.Checking Method for Each Part
+ ~ ~ –
DBO1
– 88 –
1.Symptom
2.Cause
12-1
12. HOW TO REPLACE THE MAIN PARTS
Indoor Unit
– 90 –
– 91 –
– 92 –
Page
– 94 –
– 95 –
Procedures
– 96 –
No. Part name
Remarks
12-2.Microcomputer
<P.C. board layout>
12-3.Outdoor Unit
– 98 –
– 99 –
– 100 –
Requirement
– 101 –
– 102 –
Detail A
Detail B
Detail C
– 103 –
– 104 –
Procedure
– 105 –
Part name
Remarks
Procedure
– 106 –
Remarks
Parts name
– 107 –
MCC-5009
13. EXPLODED VIEWS AND PARTS LIST
13-1.Indoor Unit
402 407, 408, 403 406 404 405 410401
– 109 –
240 238 243 214
402 411, 412, 403 406 404 405 410401
– 111 –
13-2.Outdoor Unit
– 113 –
13, 16, 19,
– 115 –
705 701 Sensor, TE 702 Sensor, TS 703 Sensor, TO
13-3.P.C. Board Layout
704 Sensor, TD Ø4 707
704 Sensor, TD Ø4 707 709 708 706
705 701 Sensor, TE 702 Sensor, TS 703 Sensor, TO
– 117 –
RAS-10SAVP-E, RAS-13SAVP-E, RAS-16SAVP-E
RAS-10SAVP-ND, RAS-13SAVP-ND, RAS-16SAVP-ND
Corresponding
ORIGINAL
TOSHIBA CARRIER CORPORATION