| When you have programmed all the |
| satisfactorily, exit ✱ 56 interactive mode at the Enter Zn Num. prompt by |
| entering [ 0] [ 0] as the next zone number. |
| Then exit the programming mode by keying ✱99. |
| See the special notes below, then proceed to the |
| follows. |
Special Notes on Zone | • In field *56, at the summary line for each zone, the entered values can be |
Programming: | checked. If you wish to change anything, press [#] to move to the previous |
| entry. Press [#] a number of times to move to earlier entries. Press [✱] to |
| move to later entries again. |
| • Zone entries can be reviewed by pressing [#][5][6]. Changes cannot be |
| made here, so this is safer for review. Enter the first zone number to be |
| viewed and press [#]. To view each zone, press [#] and the zone number |
| will advance to the next programmed zone. When the end of the list is |
| reached, press [0][0] to exit. This method of exiting may also be done at any |
| time during the review. |
| • To either temporarily or permanently remove a zone from the system, go |
| into programming mode and press [ ✱][5][6]. Enter the zone number and |
| press [ ✱]. At the Zone Type prompt, enter [0][0] and [ ✱]. This sets the type |
| of the zone to Not Used. The next prompt will be "Delete Zone?". "Yes" will |
| permanently remove the zone from the system while "No" will disable it but |
| retain all data except the original zone type. You can then go back to this |
| zone later and put back an active Zone Type to |
Check-Out Procedure For Hard-Wired Zones
After installation of all
1.Make certain that all devices and sensors connected to the
2.Plug in the AC Transformer if you have not already done so..
3.With all
✮ ✮ ✮ DISARMED ✮ ✮ ✮
READY TO ARM
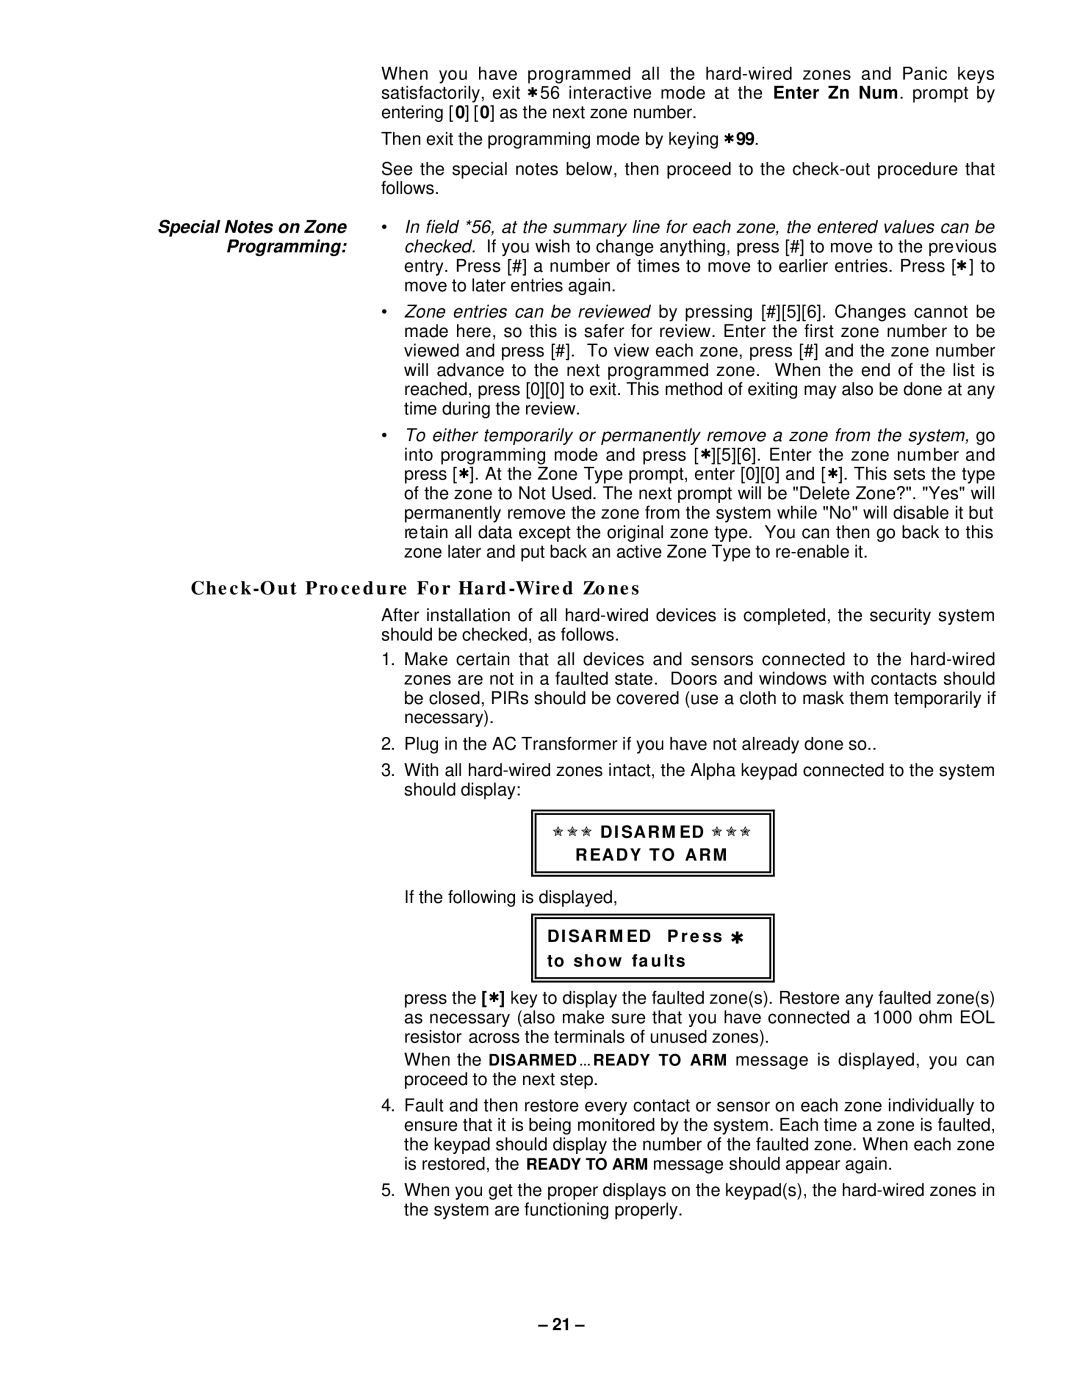
If the following is displayed,
DISARMED Pr e ss ✱ to show fa ults
press the [ ✱] key to display the faulted zone(s). Restore any faulted zone(s) as necessary (also make sure that you have connected a 1000 ohm EOL resistor across the terminals of unused zones).
When the DISARMED ... READY TO ARM message is displayed, you can proceed to the next step.
4.Fault and then restore every contact or sensor on each zone individually to ensure that it is being monitored by the system. Each time a zone is faulted, the keypad should display the number of the faulted zone. When each zone is restored, the READY TO ARM message should appear again.
5.When you get the proper displays on the keypad(s), the
– 21 –