Scan Options for Faxing
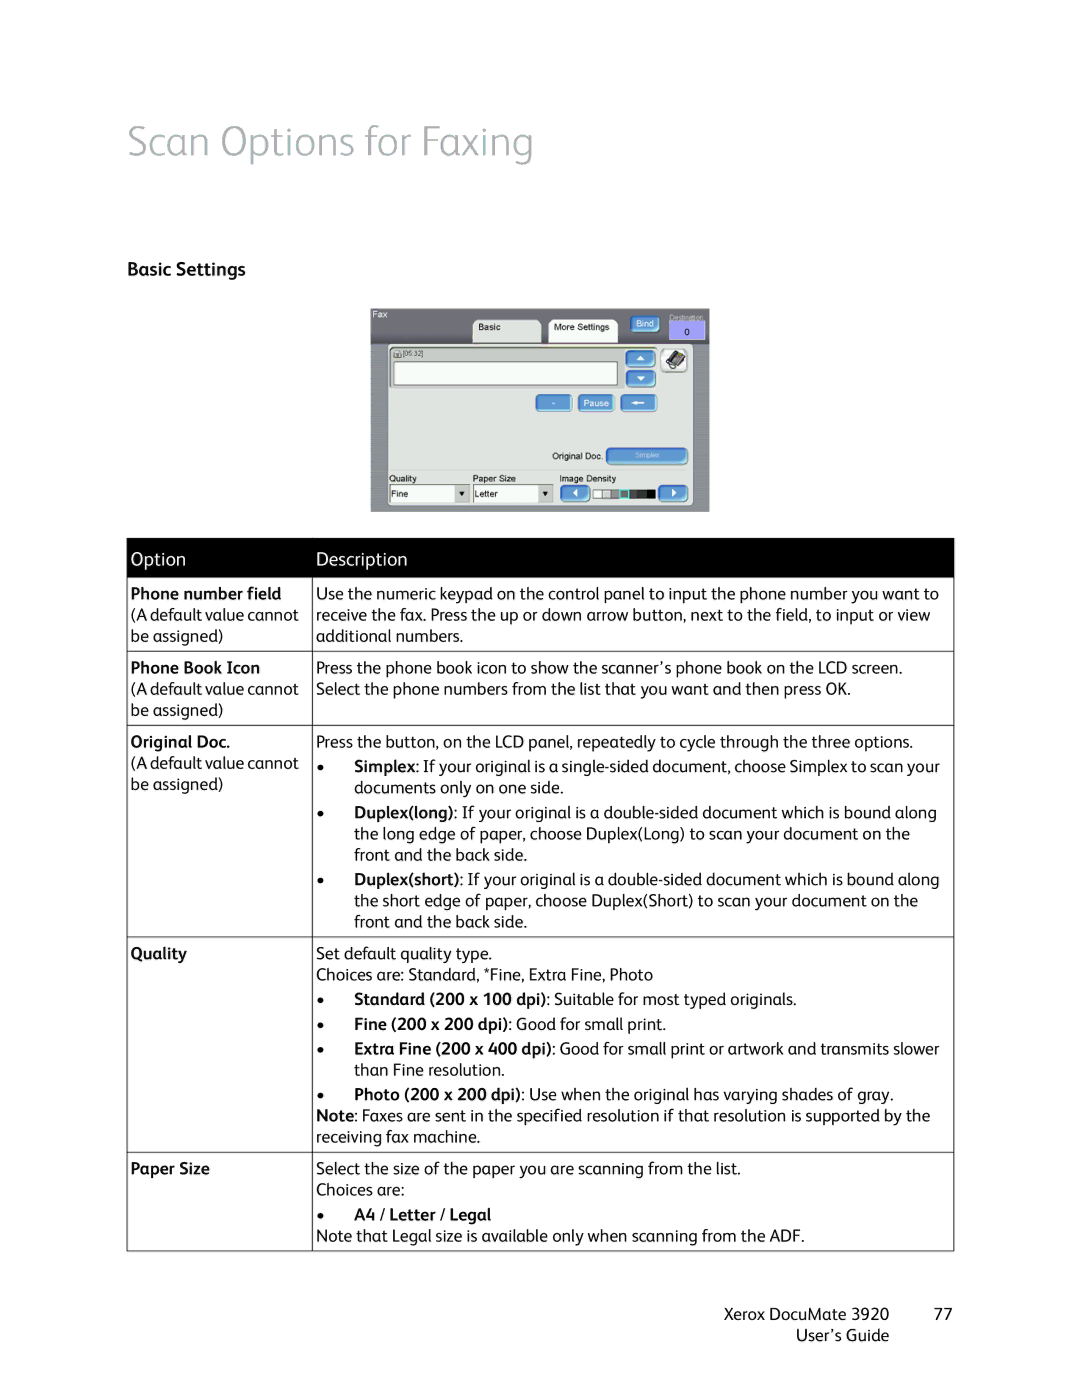
Basic Settings
Option | Description | |
|
| |
Phone number field | Use the numeric keypad on the control panel to input the phone number you want to | |
(A default value cannot | receive the fax. Press the up or down arrow button, next to the field, to input or view | |
be assigned) | additional numbers. | |
|
| |
Phone Book Icon | Press the phone book icon to show the scanner’s phone book on the LCD screen. | |
(A default value cannot | Select the phone numbers from the list that you want and then press OK. | |
be assigned) |
|
|
|
| |
Original Doc. | Press the button, on the LCD panel, repeatedly to cycle through the three options. | |
(A default value cannot | • | Simplex: If your original is a |
be assigned) |
| documents only on one side. |
| • | Duplex(long): If your original is a |
|
| the long edge of paper, choose Duplex(Long) to scan your document on the |
|
| front and the back side. |
| • | Duplex(short): If your original is a |
|
| the short edge of paper, choose Duplex(Short) to scan your document on the |
|
| front and the back side. |
|
| |
Quality | Set default quality type. | |
| Choices are: Standard, *Fine, Extra Fine, Photo | |
| • | Standard (200 x 100 dpi): Suitable for most typed originals. |
| • | Fine (200 x 200 dpi): Good for small print. |
| • | Extra Fine (200 x 400 dpi): Good for small print or artwork and transmits slower |
|
| than Fine resolution. |
| • | Photo (200 x 200 dpi): Use when the original has varying shades of gray. |
| Note: Faxes are sent in the specified resolution if that resolution is supported by the | |
| receiving fax machine. | |
|
| |
Paper Size | Select the size of the paper you are scanning from the list. | |
| Choices are: | |
| • | A4 / Letter / Legal |
| Note that Legal size is available only when scanning from the ADF. | |
|
|
|
Xerox DocuMate 3920 | 77 |
User’s Guide |
|